Reroot tutorials - Menu
How to start - back to menuYou dont have to start with a real reroot with all the supplies if its making you nervous.Most of us started out with unravelled yarn on a ratty barbie head or in my case, adding metallic thread to a hairdo and streaks from a long haired barbie folded and rooted onto a shorter haired doll. The thing is to get a feel for it and if its something you really dont like then wig making is fine too. I currently use a mix of the tool methods: hair strand on the finger method for detailing and dragging out a plug with the needle fork from a strand of hair placed on the head method for bulking. How to make a reroot tool - back to menu
You can get a wooden handle (aka mushroom) pin vise for $3 and 10 x size 7 embroidery needles for $3. The only problem with DIY is if you dont wear
safety goggles and send needle bits flying. This reroot tool has done
200 reroots. It has a nail inside - the head blocks the needle from
dropping inside on hard heads. If you want a seperate hole poker, I
suggest a second pin vise and a size 5 needle inserted point upwards
with a piece of hard foam to cover it when not in use. Mine is a simple pin vise wrapped in rag cloth with a broken kitchen utensil for the rubber part.
I use size 7 crewels aka embroider needles for 5/6? heads, size 8 for smaller more precision work and size 4 or 5 for yarn reroots. Howto cut reroot needles - back to menu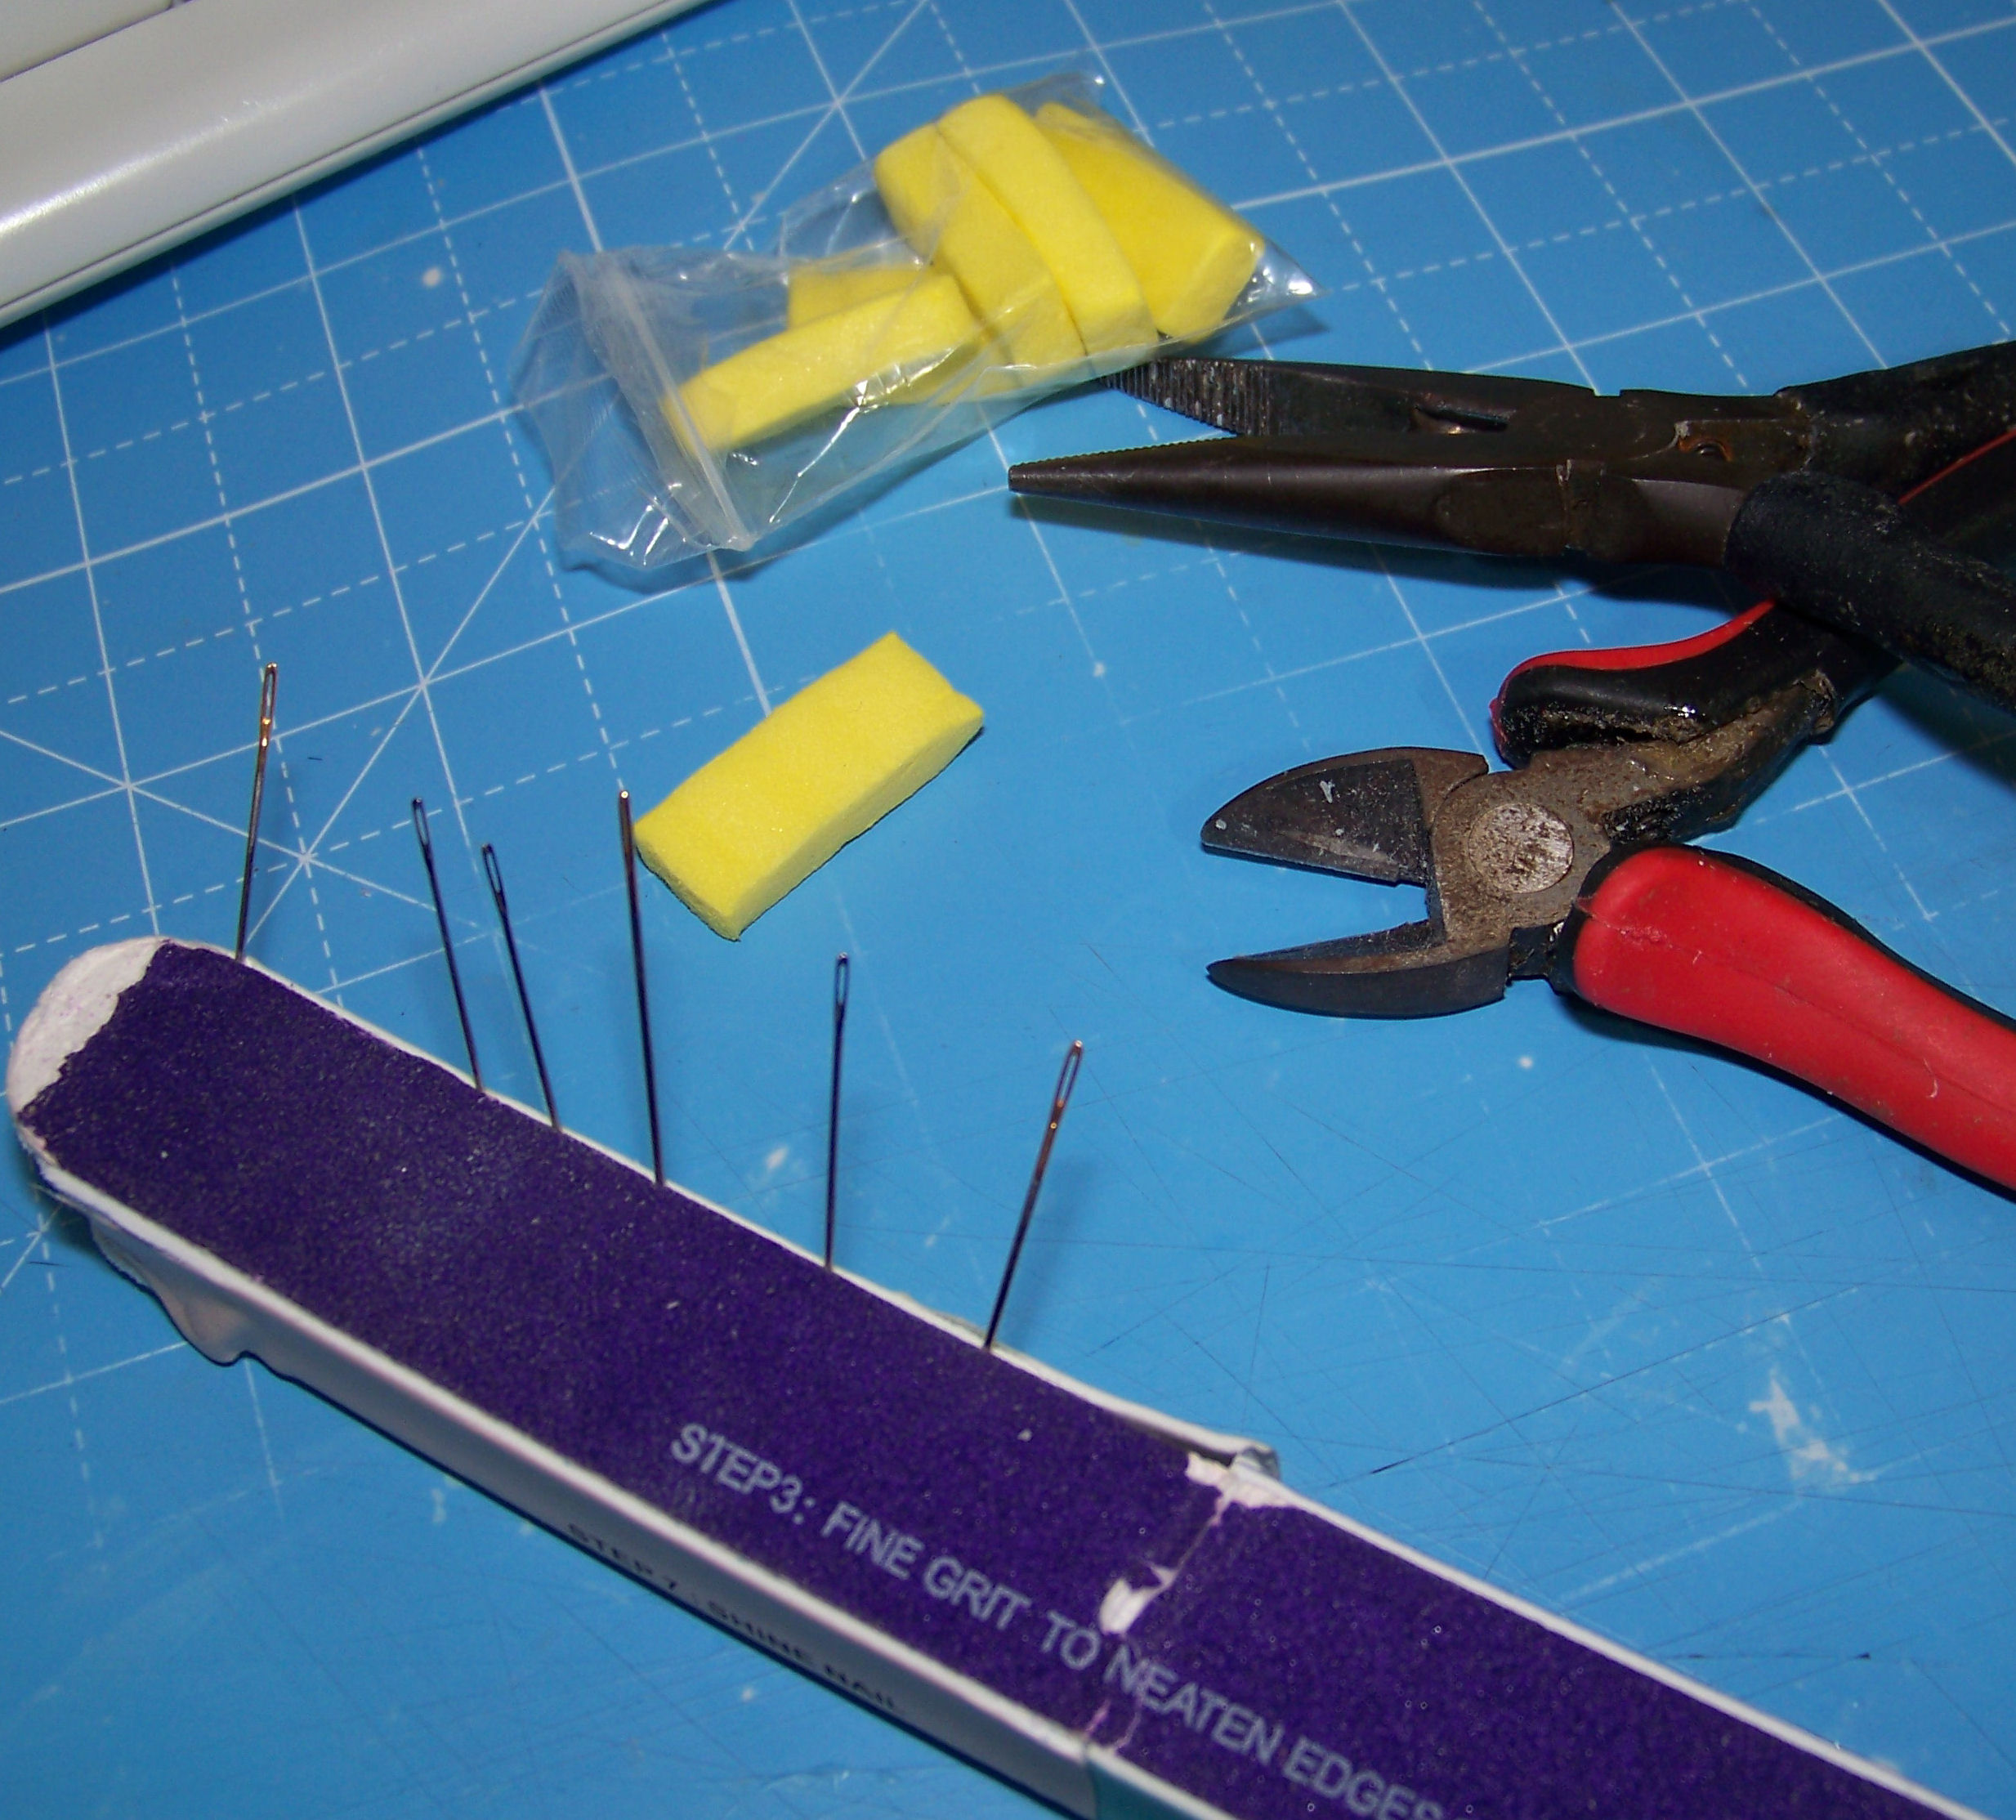
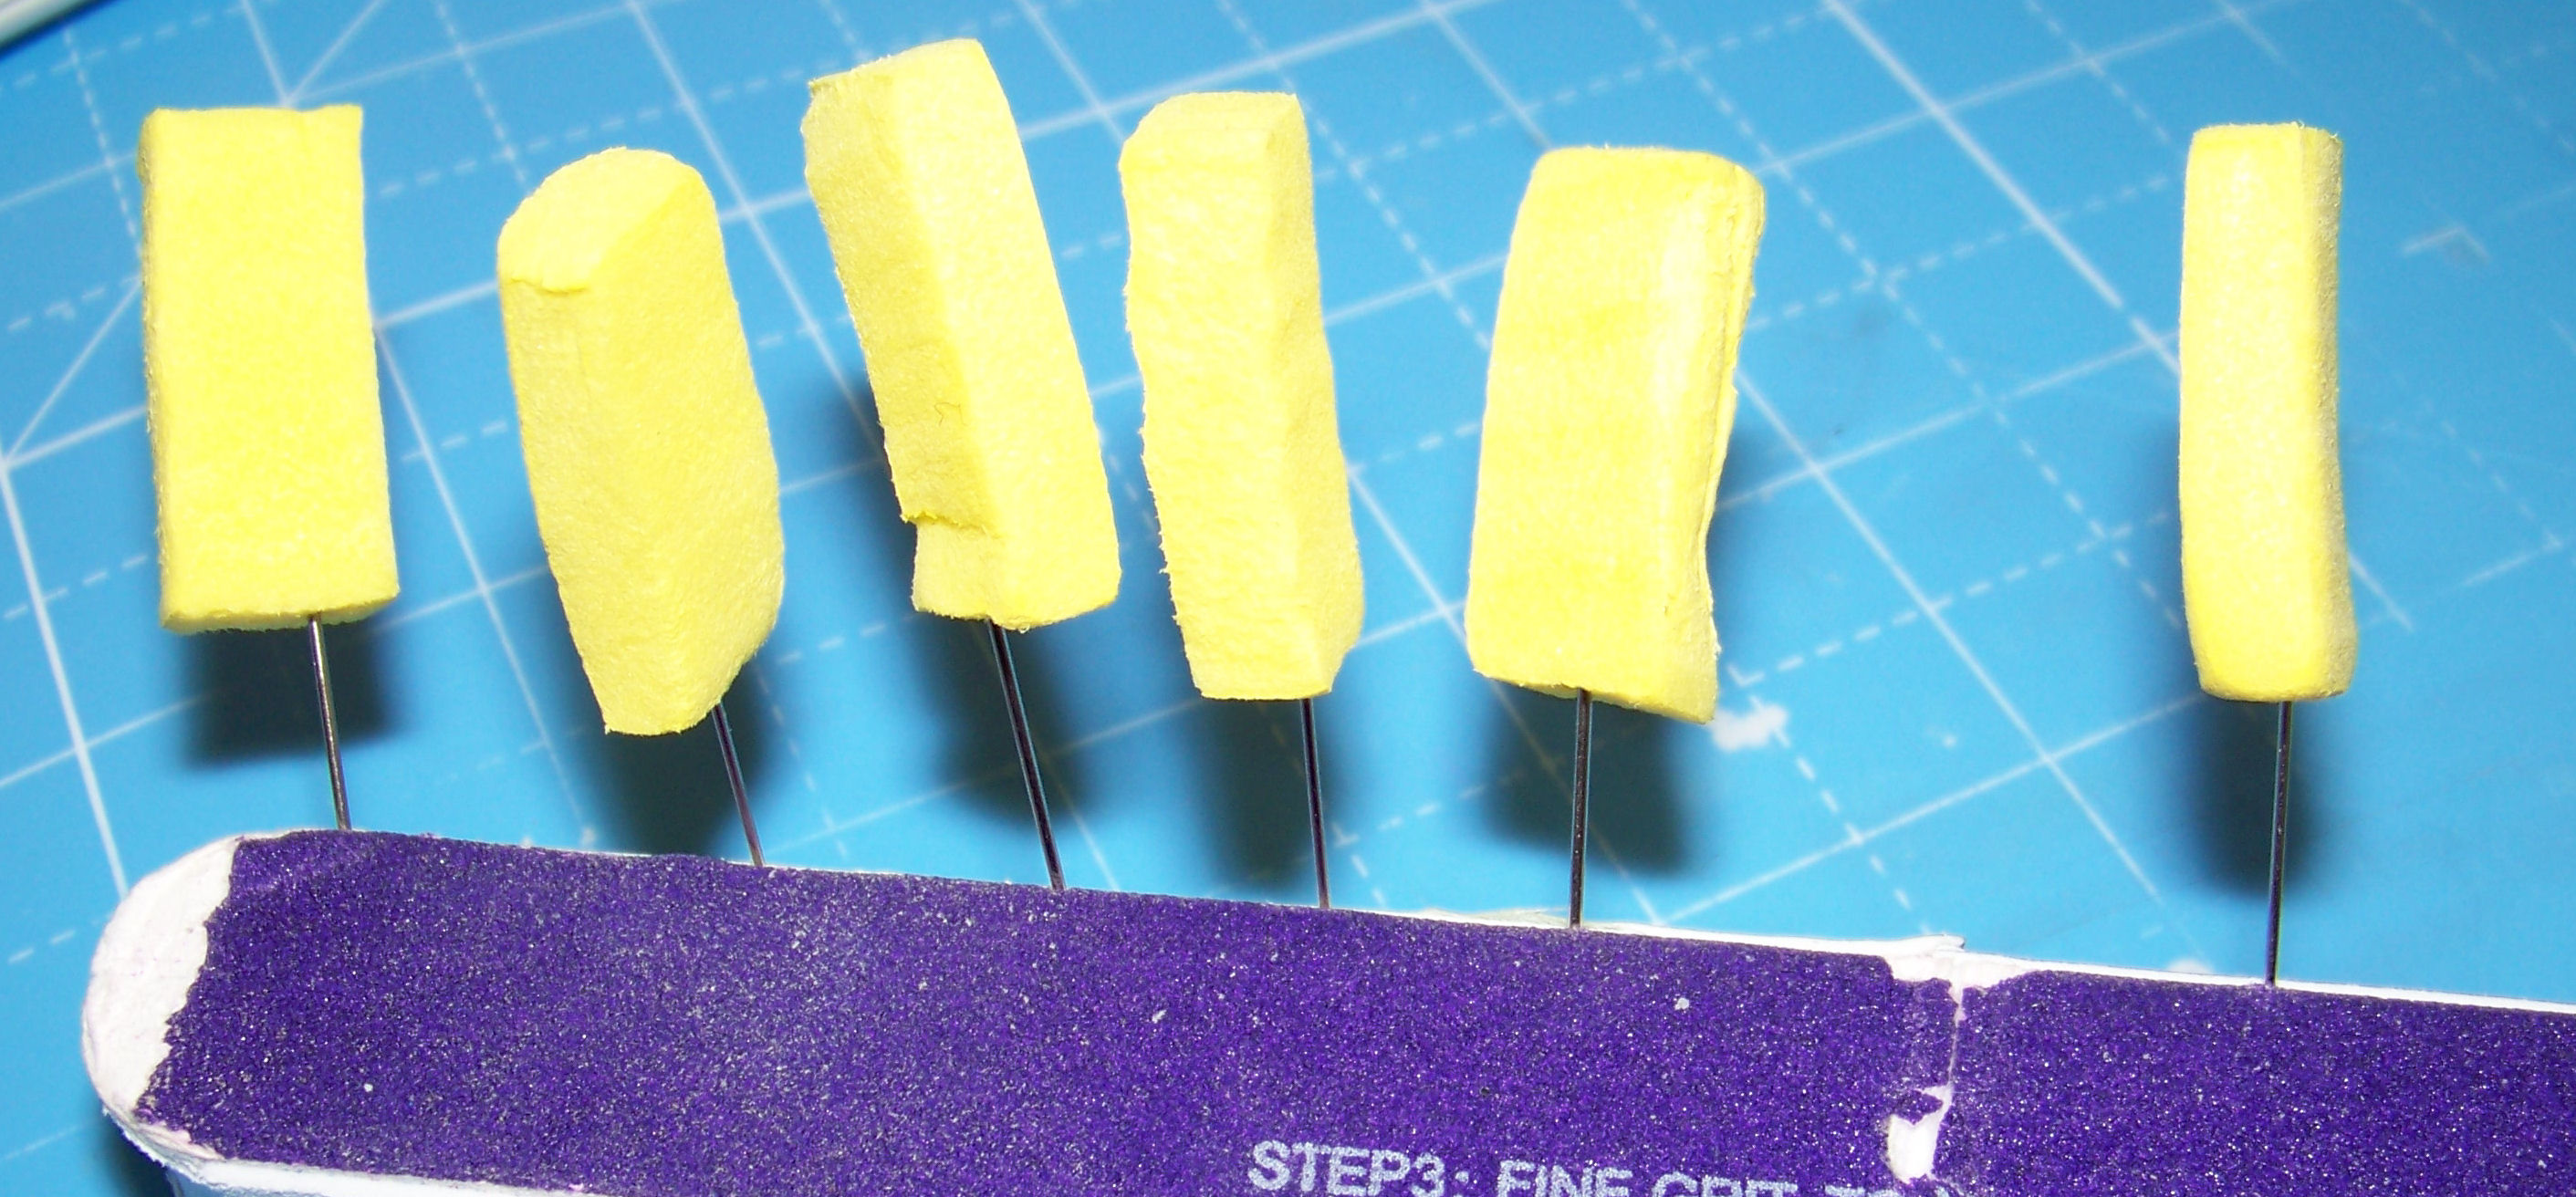
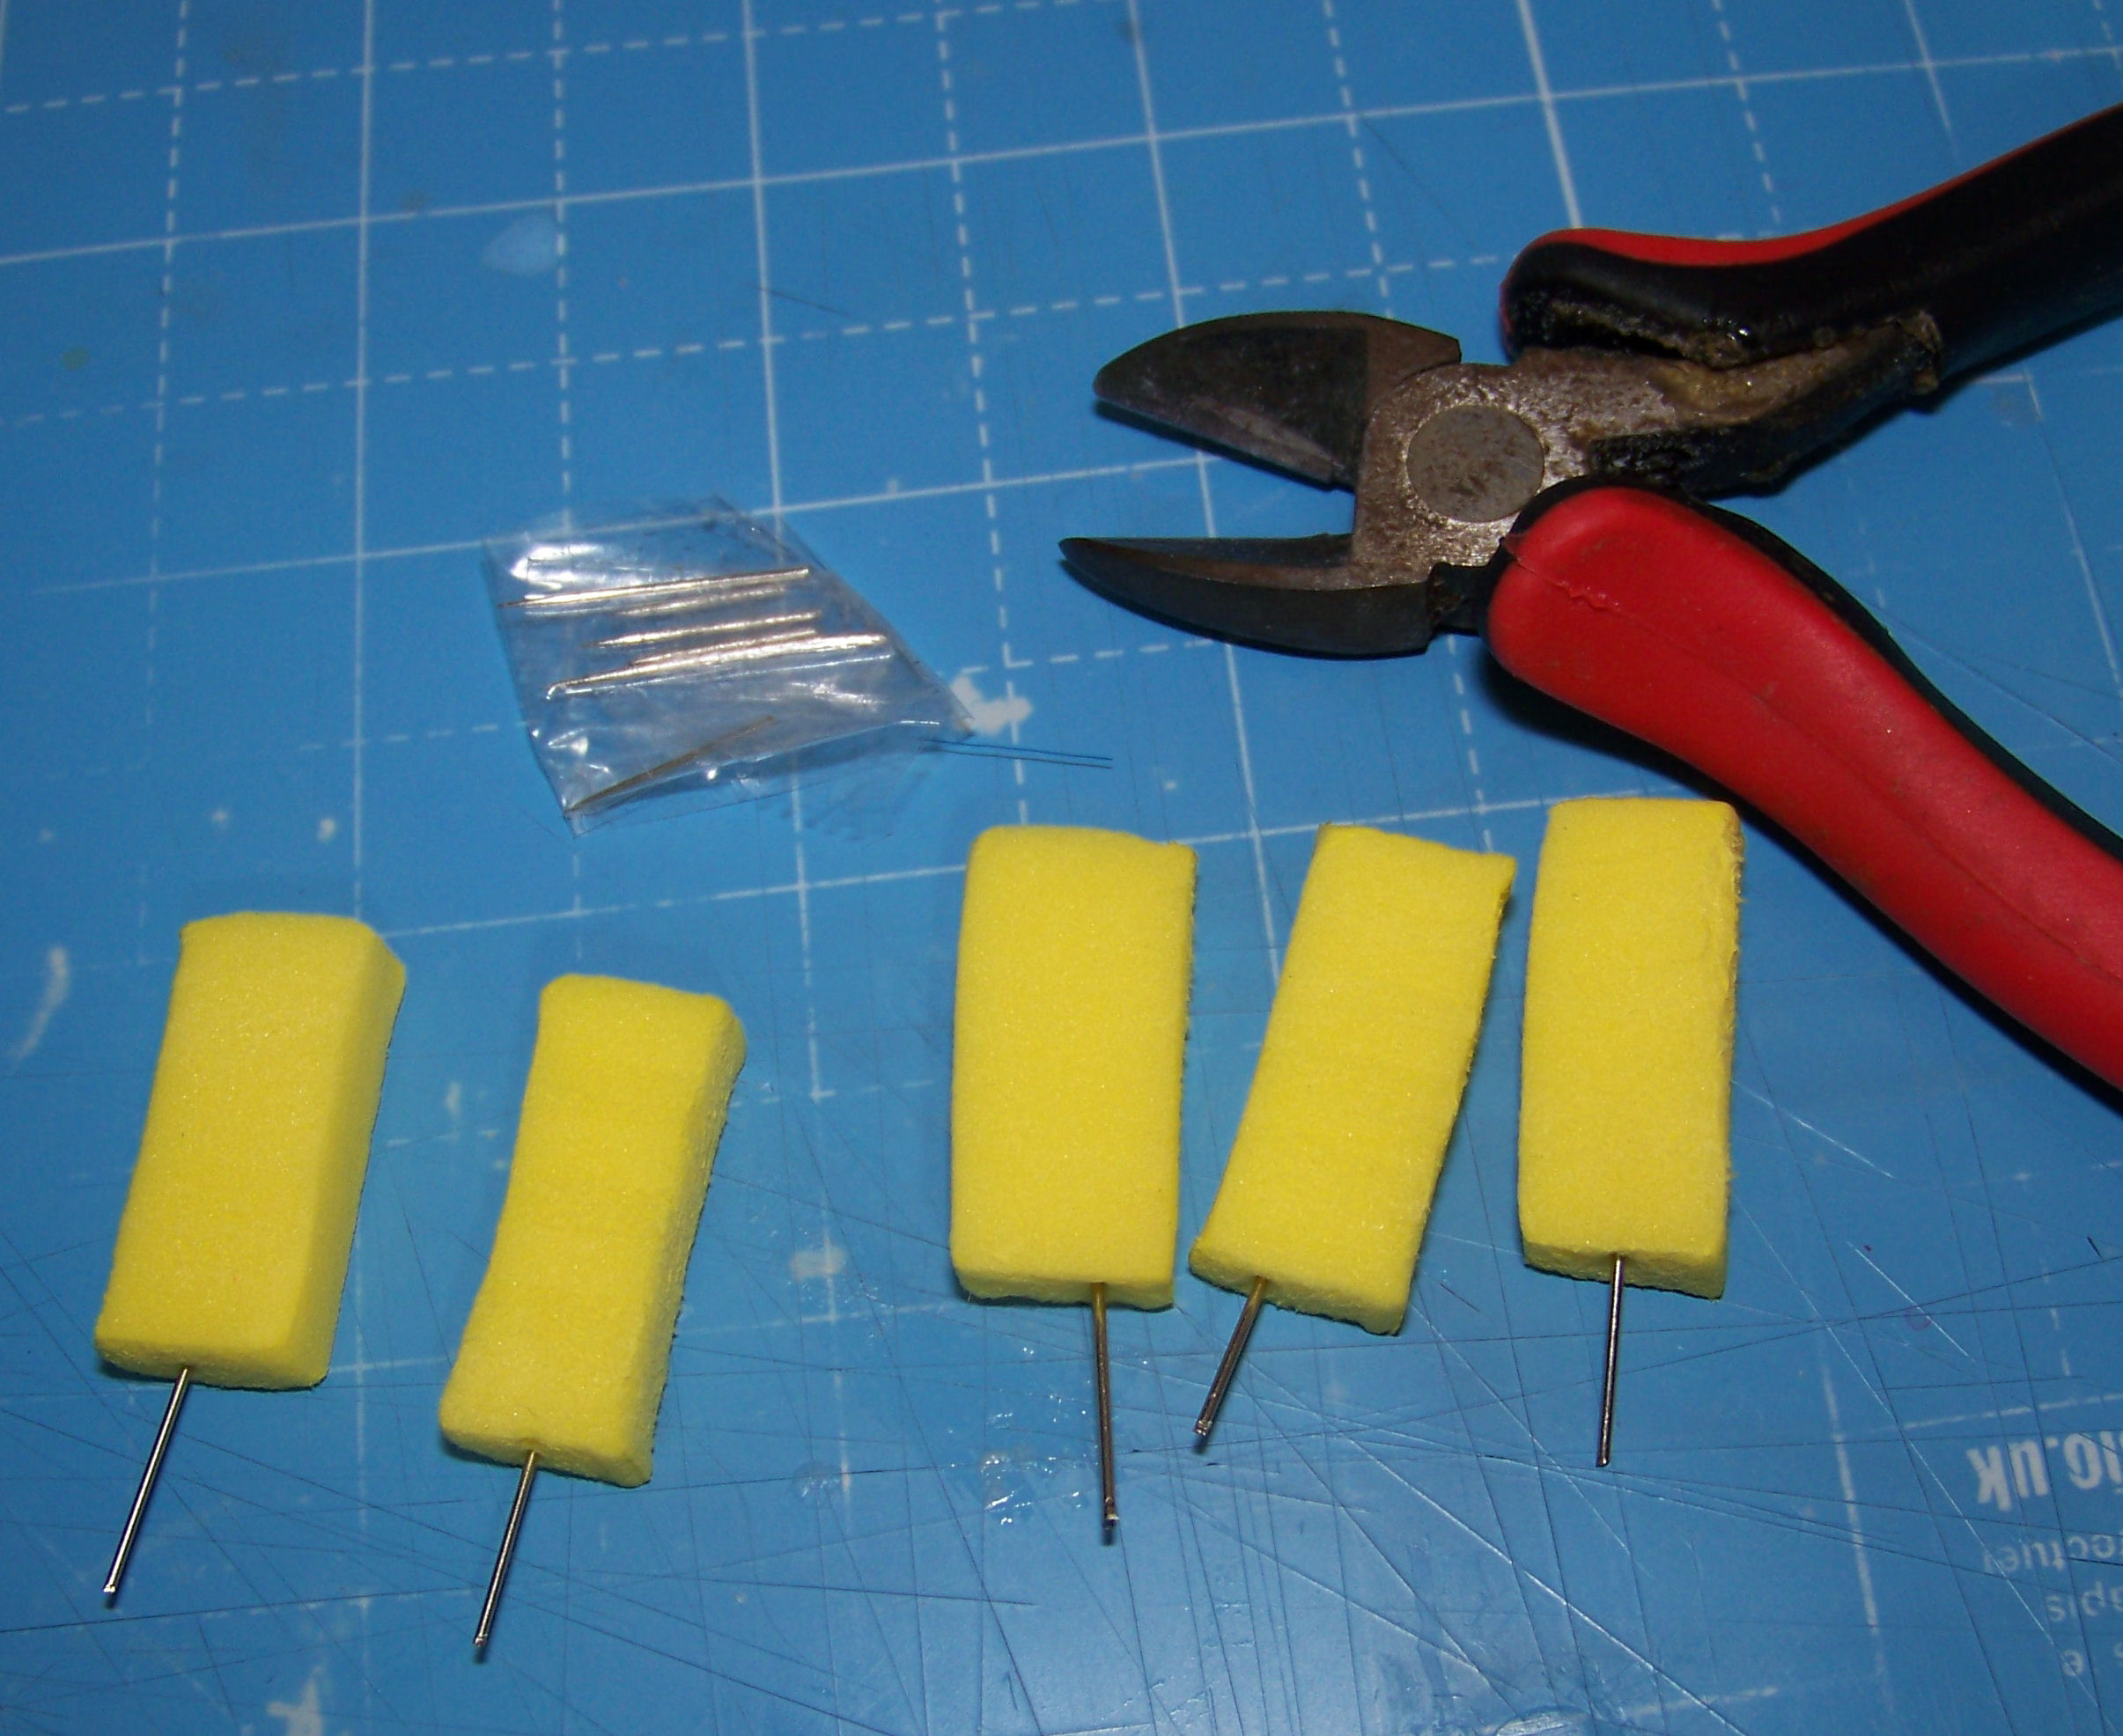
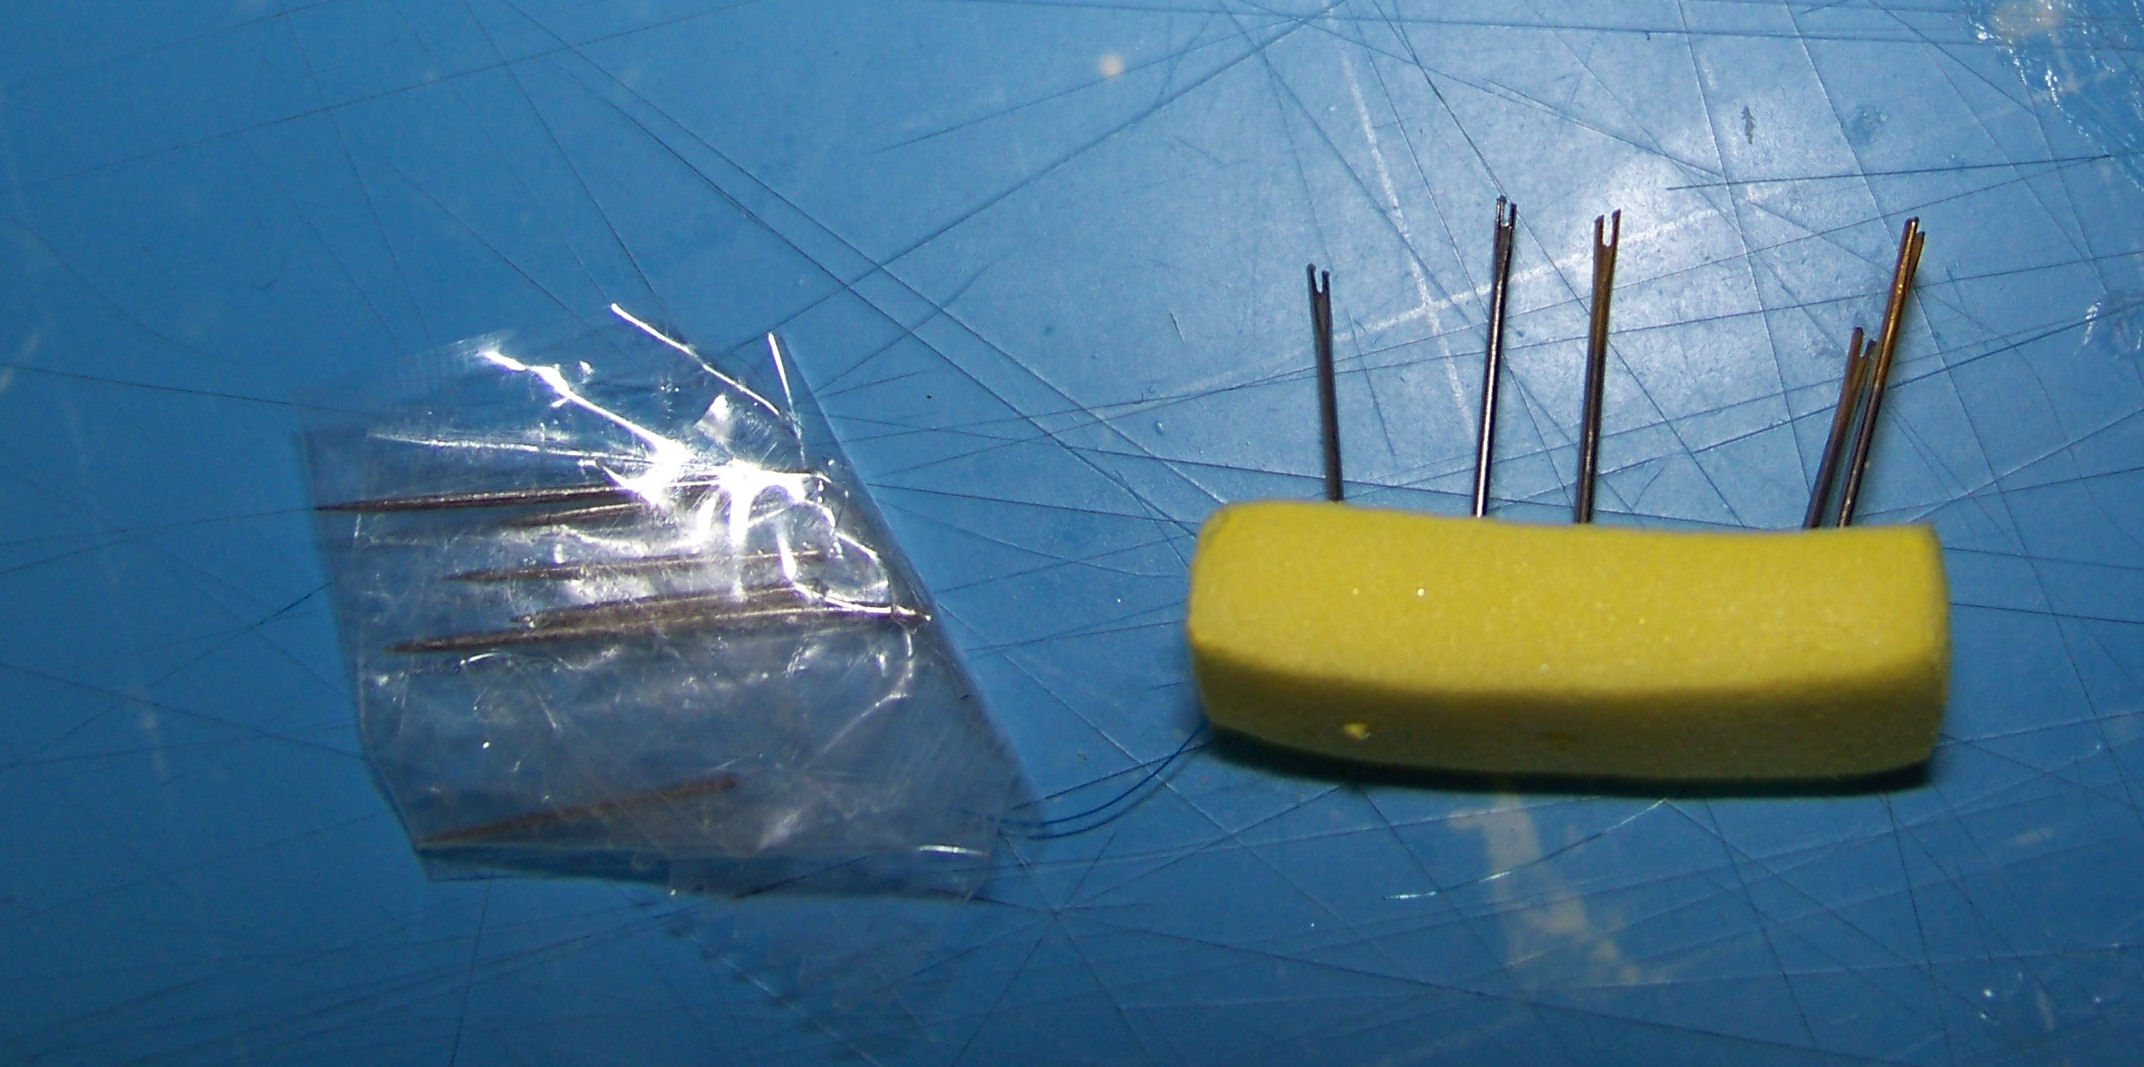 These are size 7 and 8 crewels/embroidery needles. The 8s are thinner and more fragile but better for detail work or soft vinyl. keep the large prong of the fork downwards and pointing inwards when doing the front line to avoid visible tears.
How to Reroot - back to menu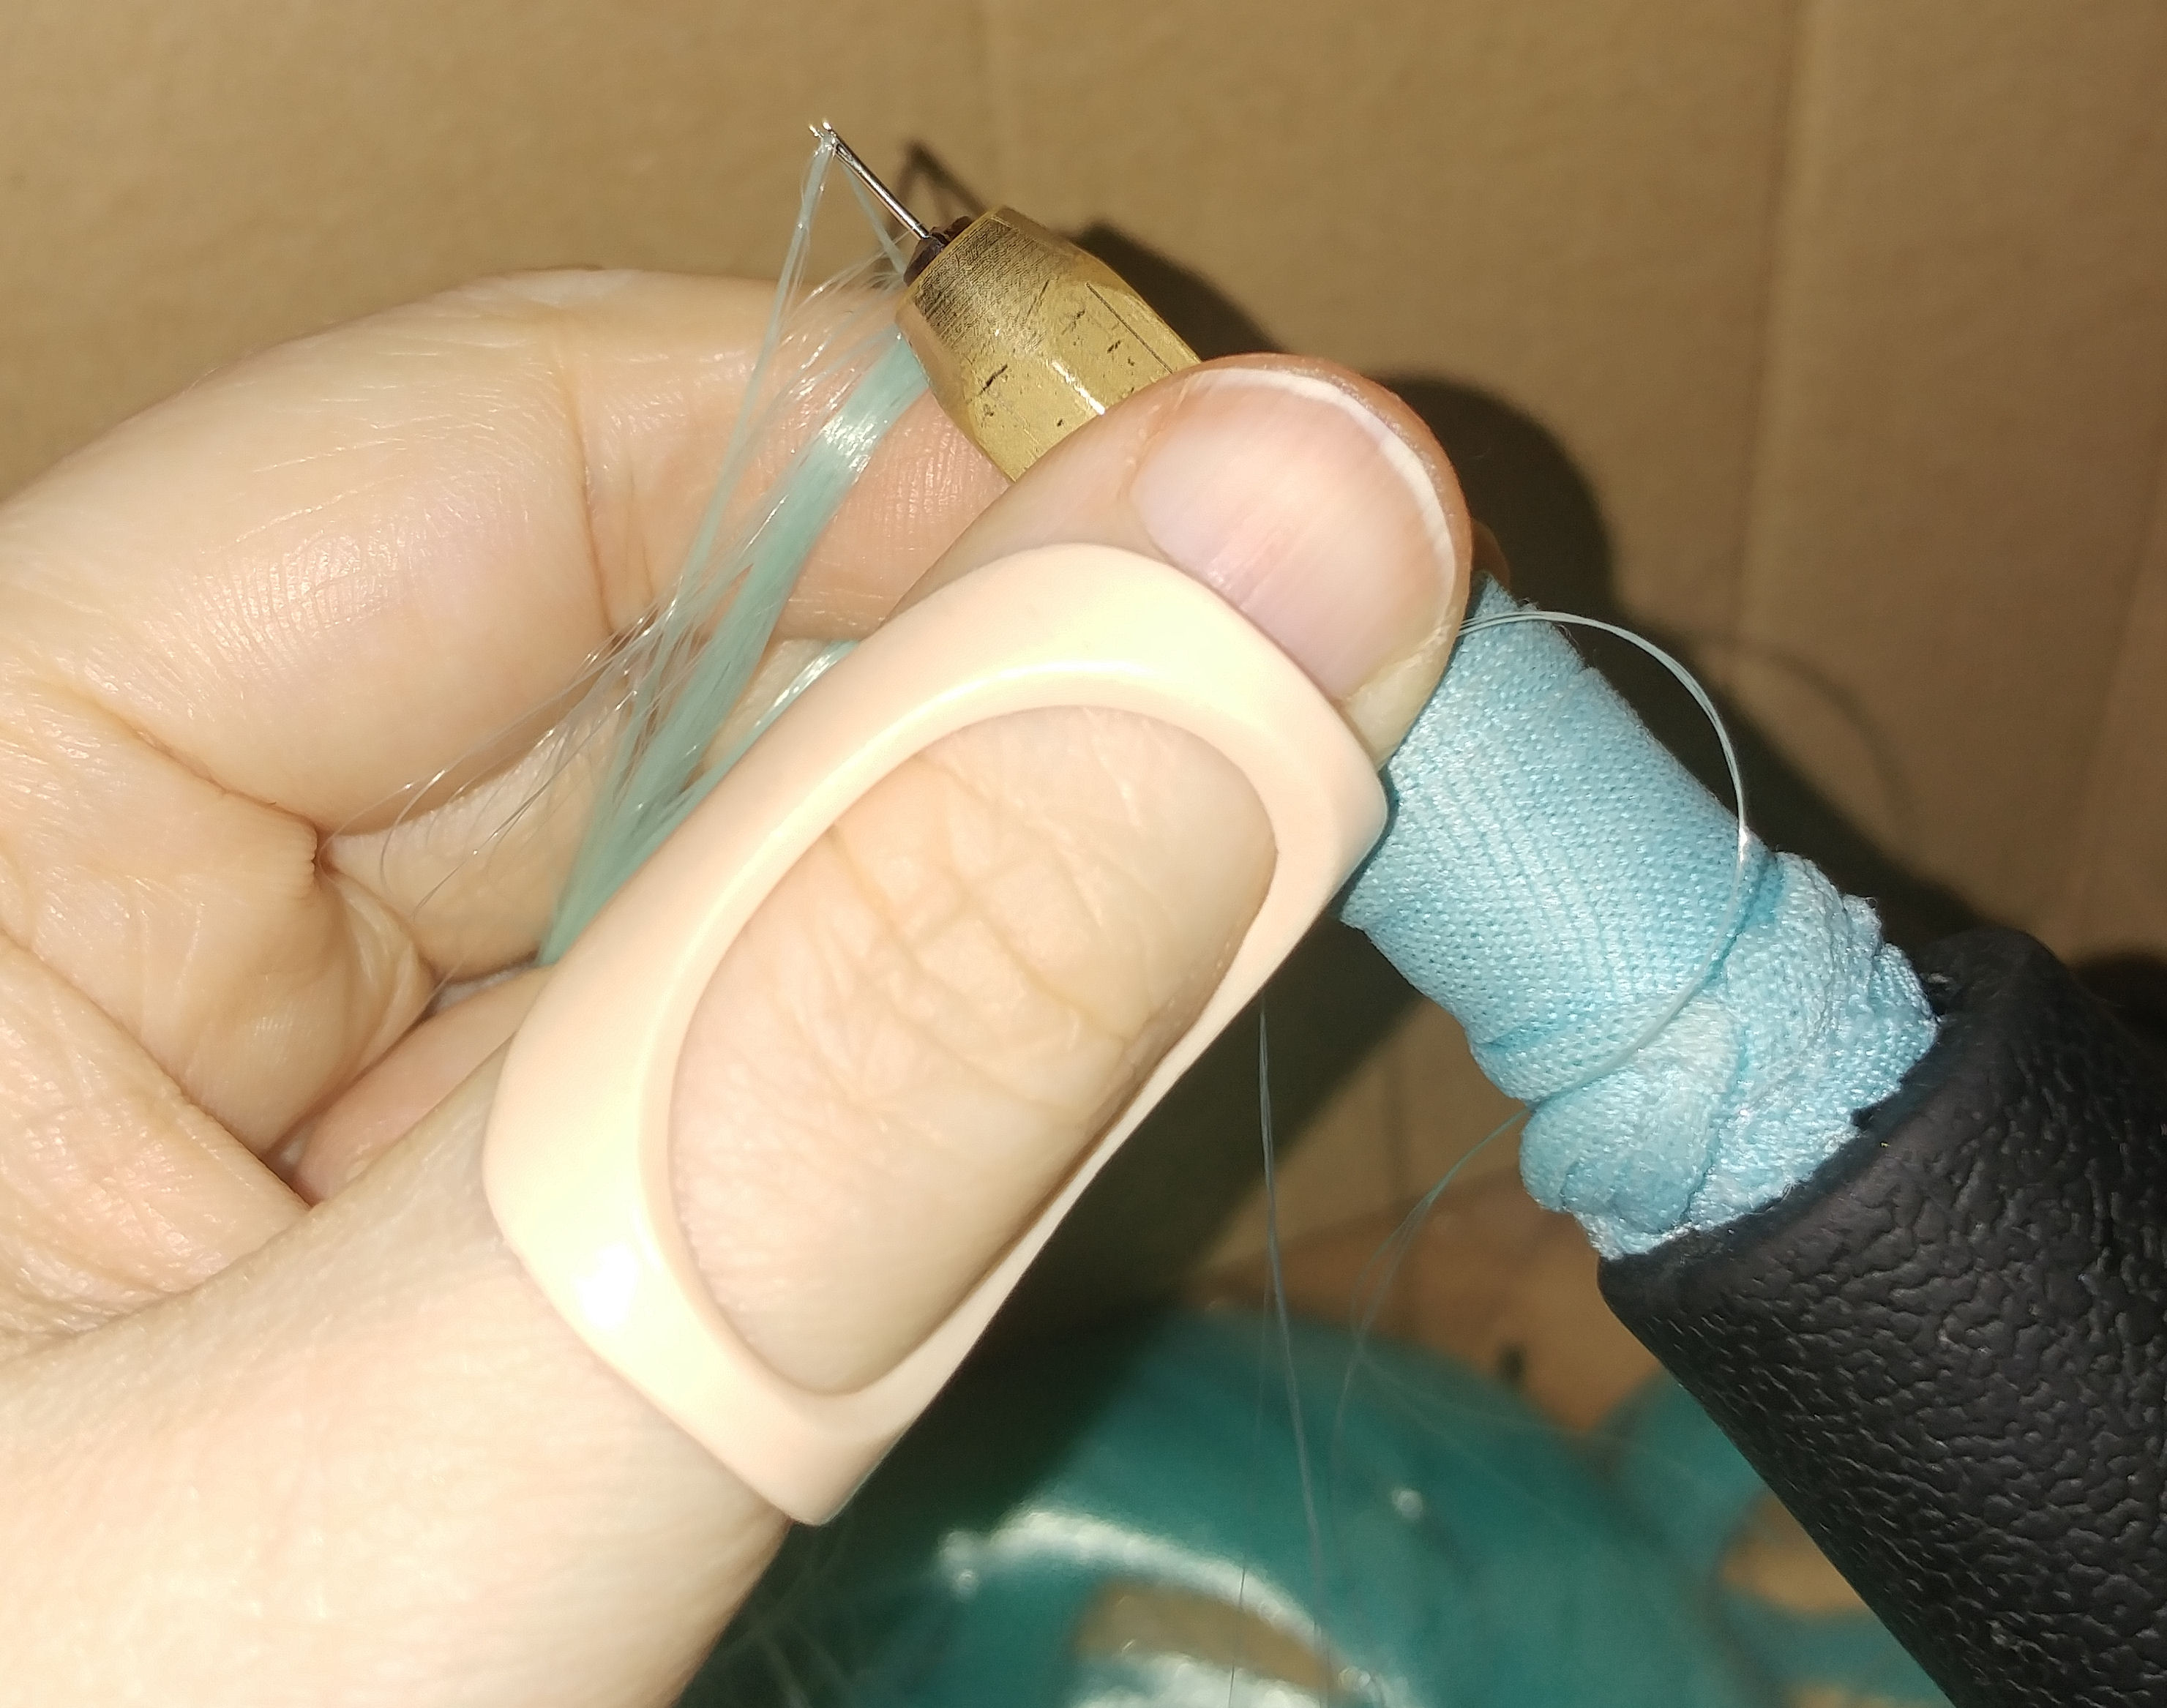
What glue to use to seal the hair in? Lots of people use fabri-tac or other non water soluble glues because you want to be able to wash a doll without it falling apart. Just make sure to get glue all around the inside of the head and dry upside down and you should be fine I use UHU all purpose (black and yellow - not the green version) It dries hard after 48hours which
is ideal for slippery fibers and easily cracked heads but if you boil
the head itll turn white and rubbery and still hold the hair tight even
though the scalp can be squished. How to prepare a head for rerooting - back to menu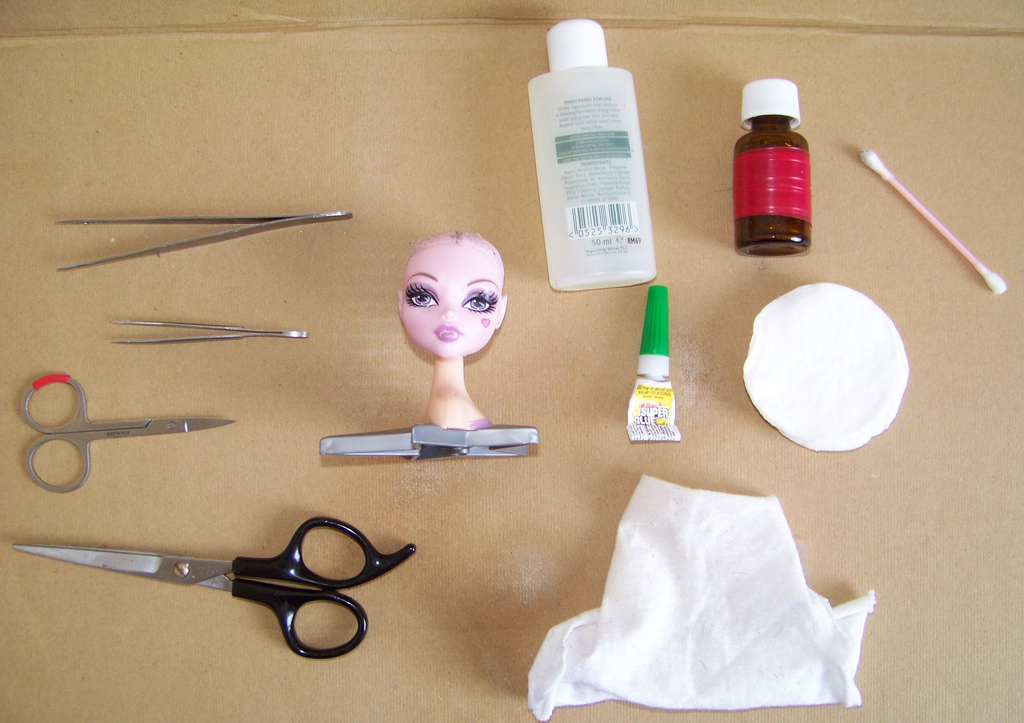
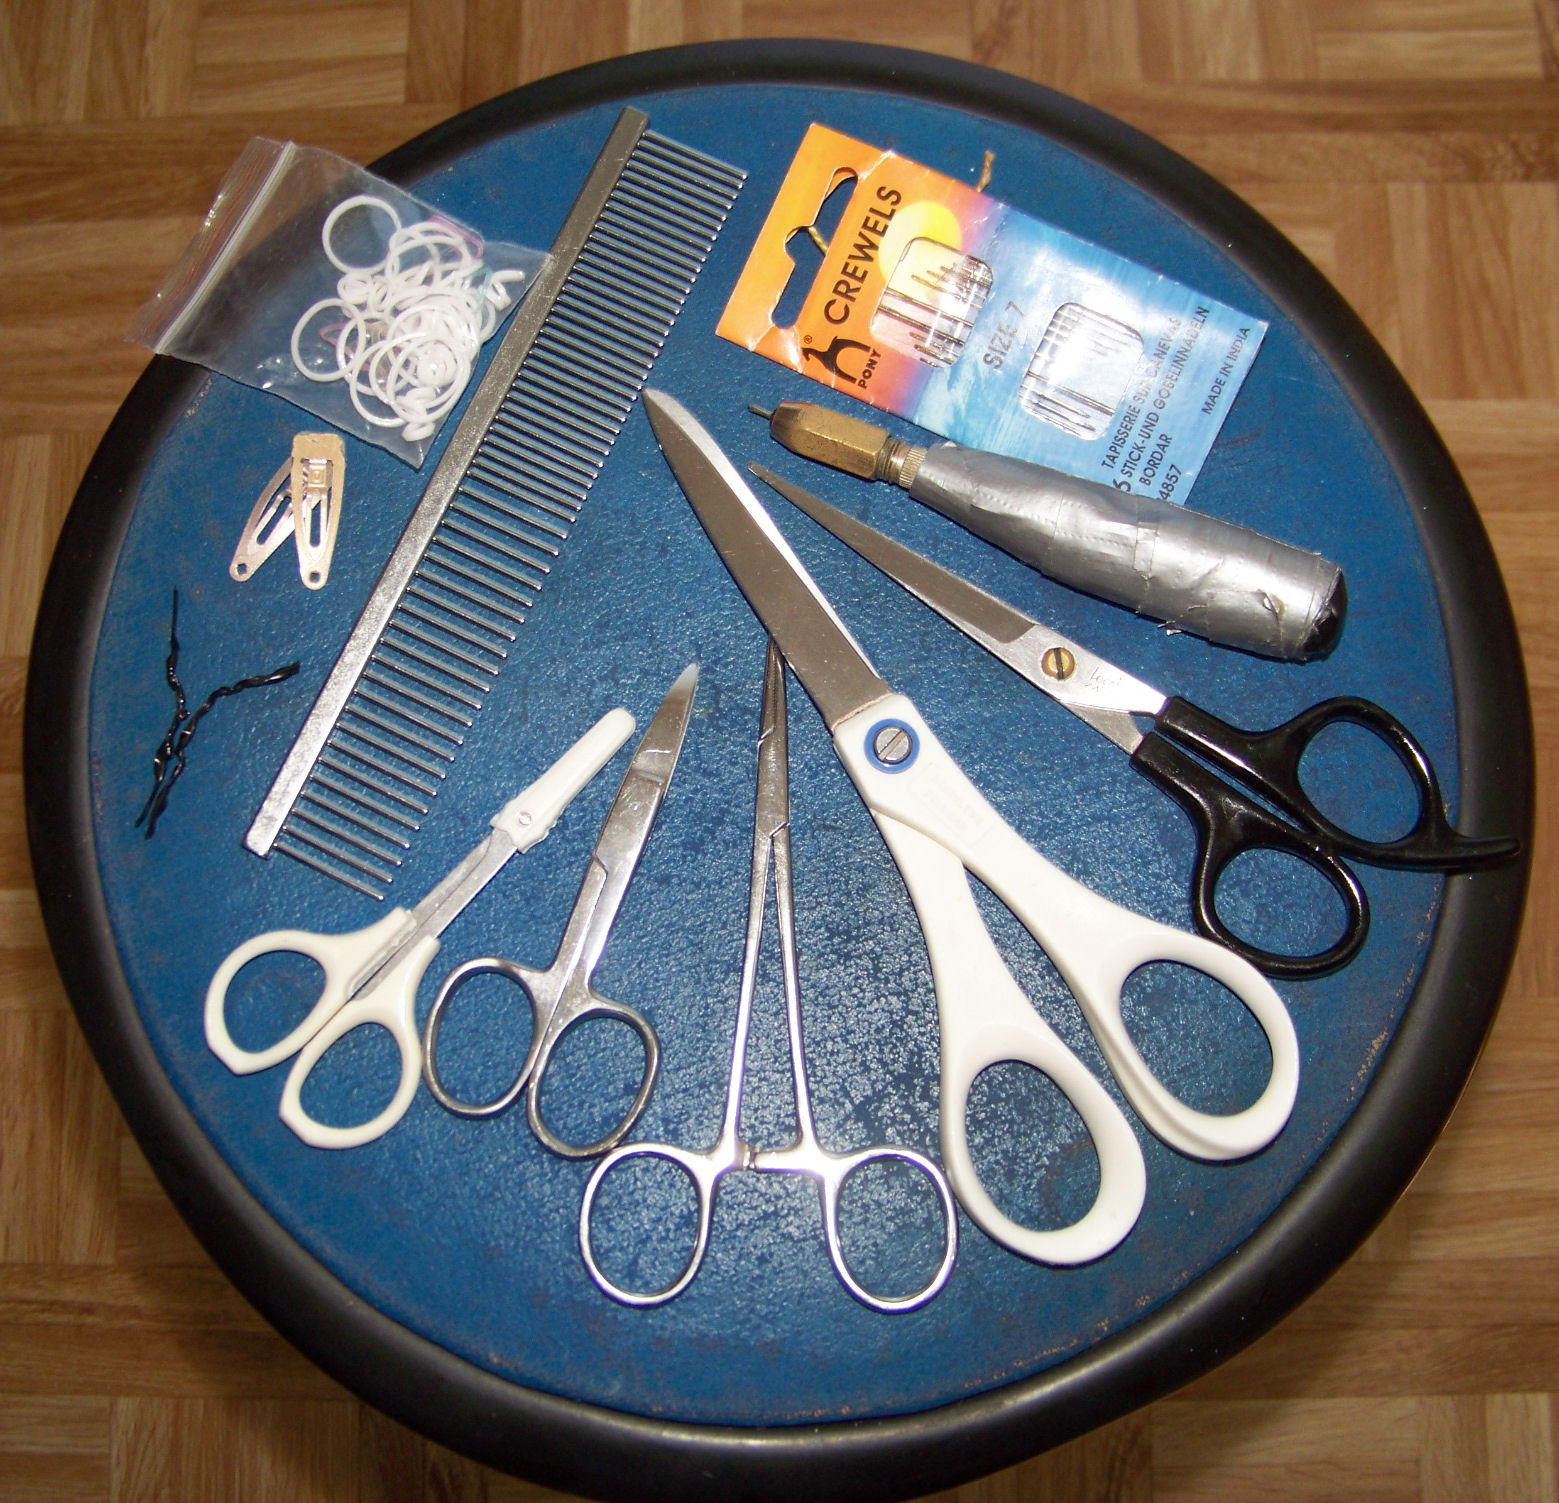 An important part of the rerooting process is head preparation: removing the old hair and preparing the scalp for new hair.Here are the tools I use:
Reroot checklist - back to menu
Tutorial for quickly making a generic doll into a custom to gift, donate or resell - back to menu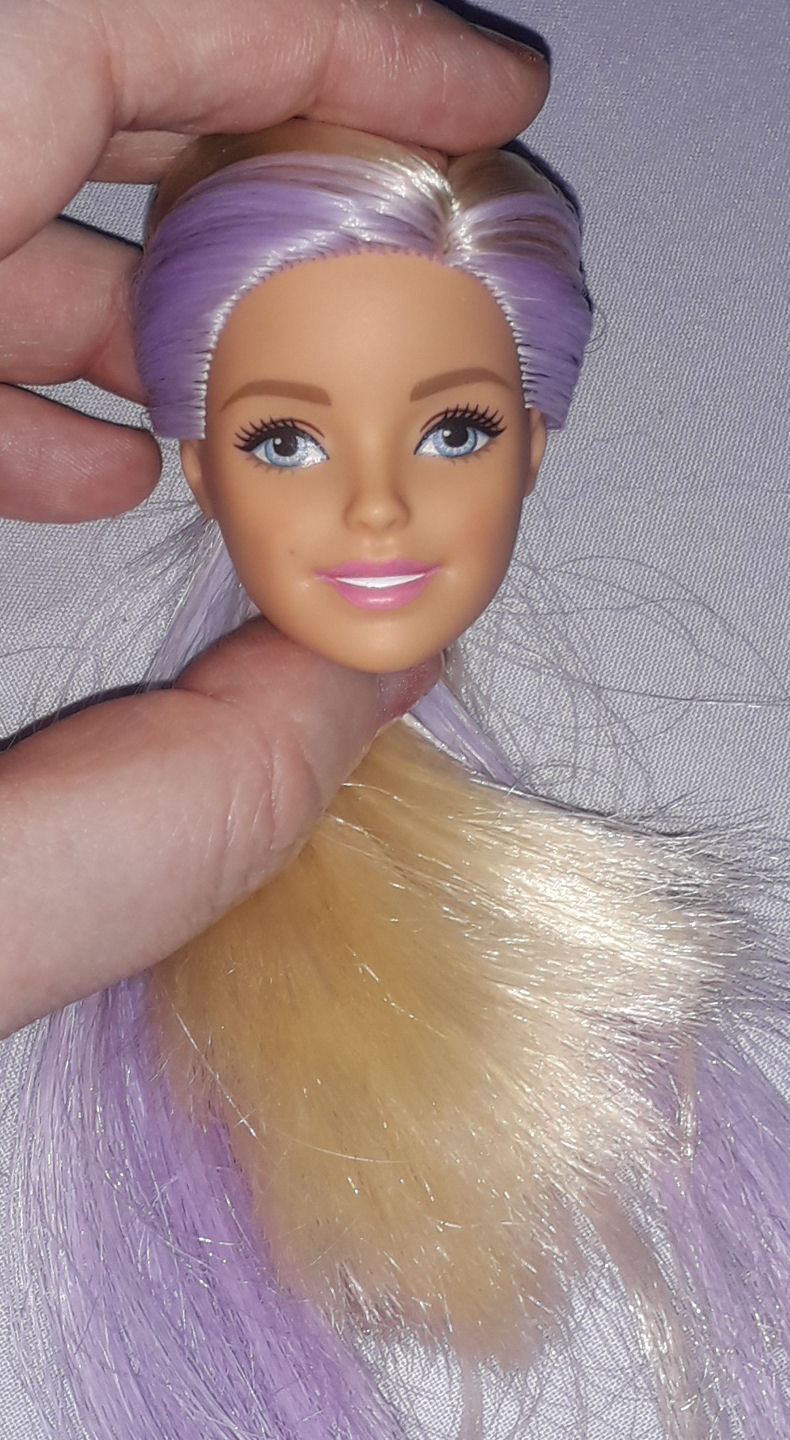
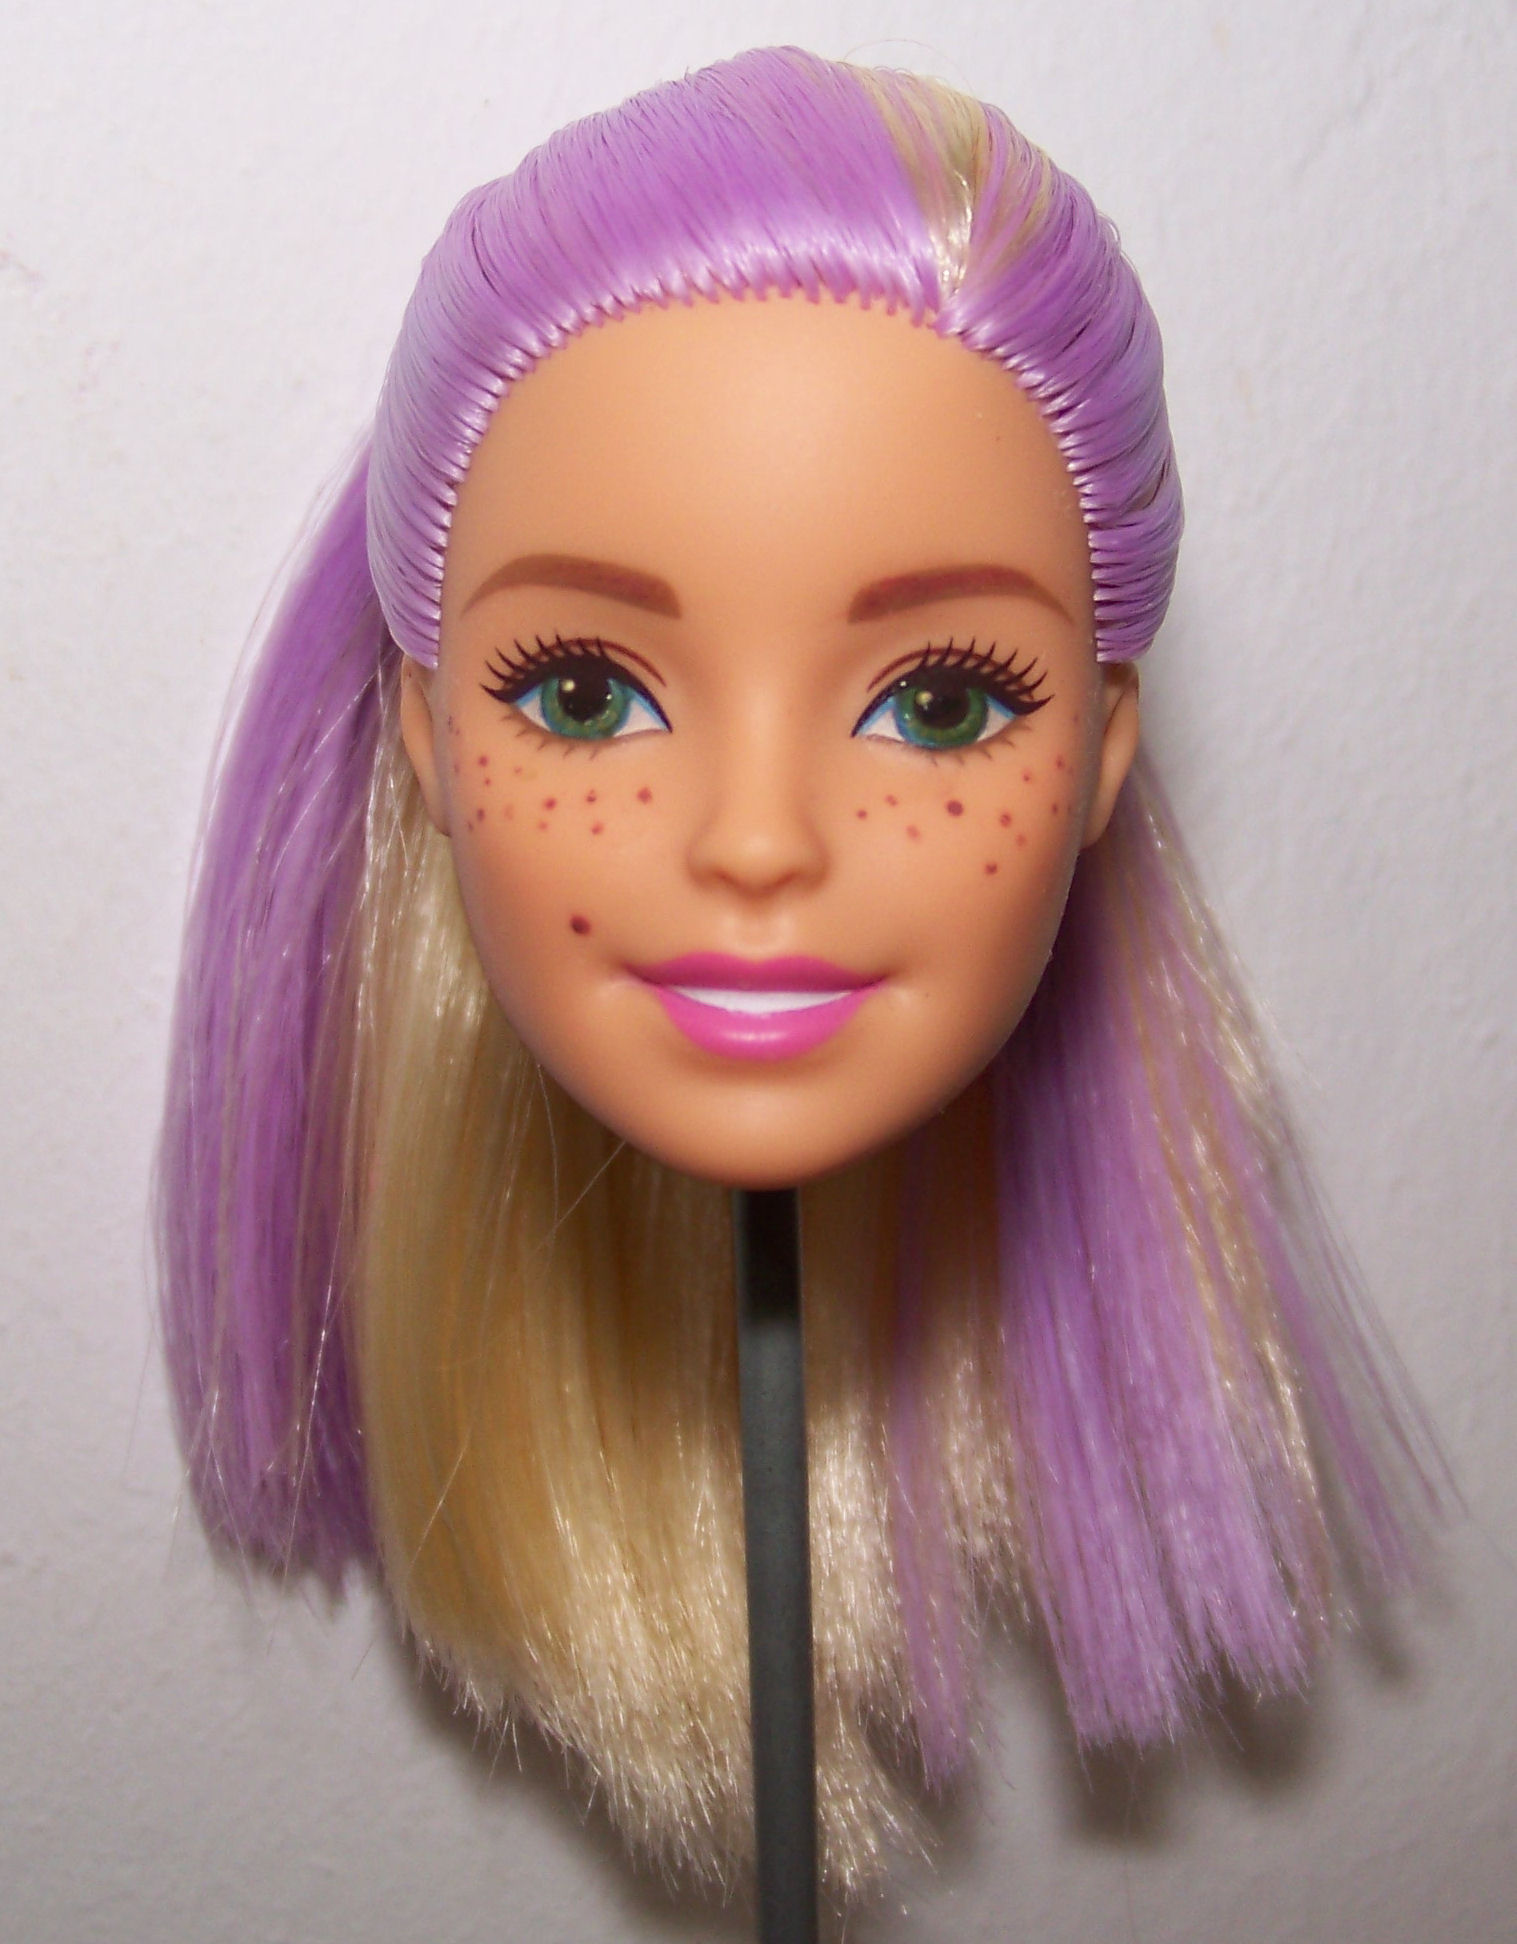
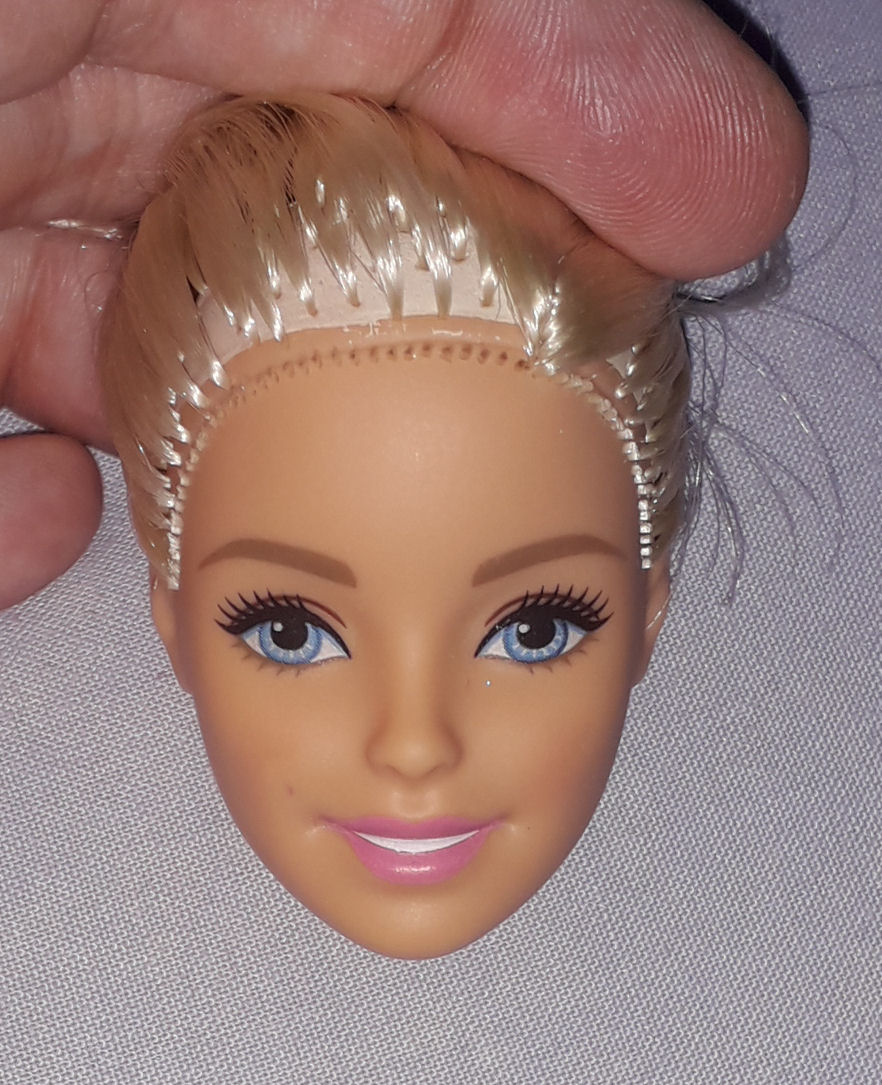
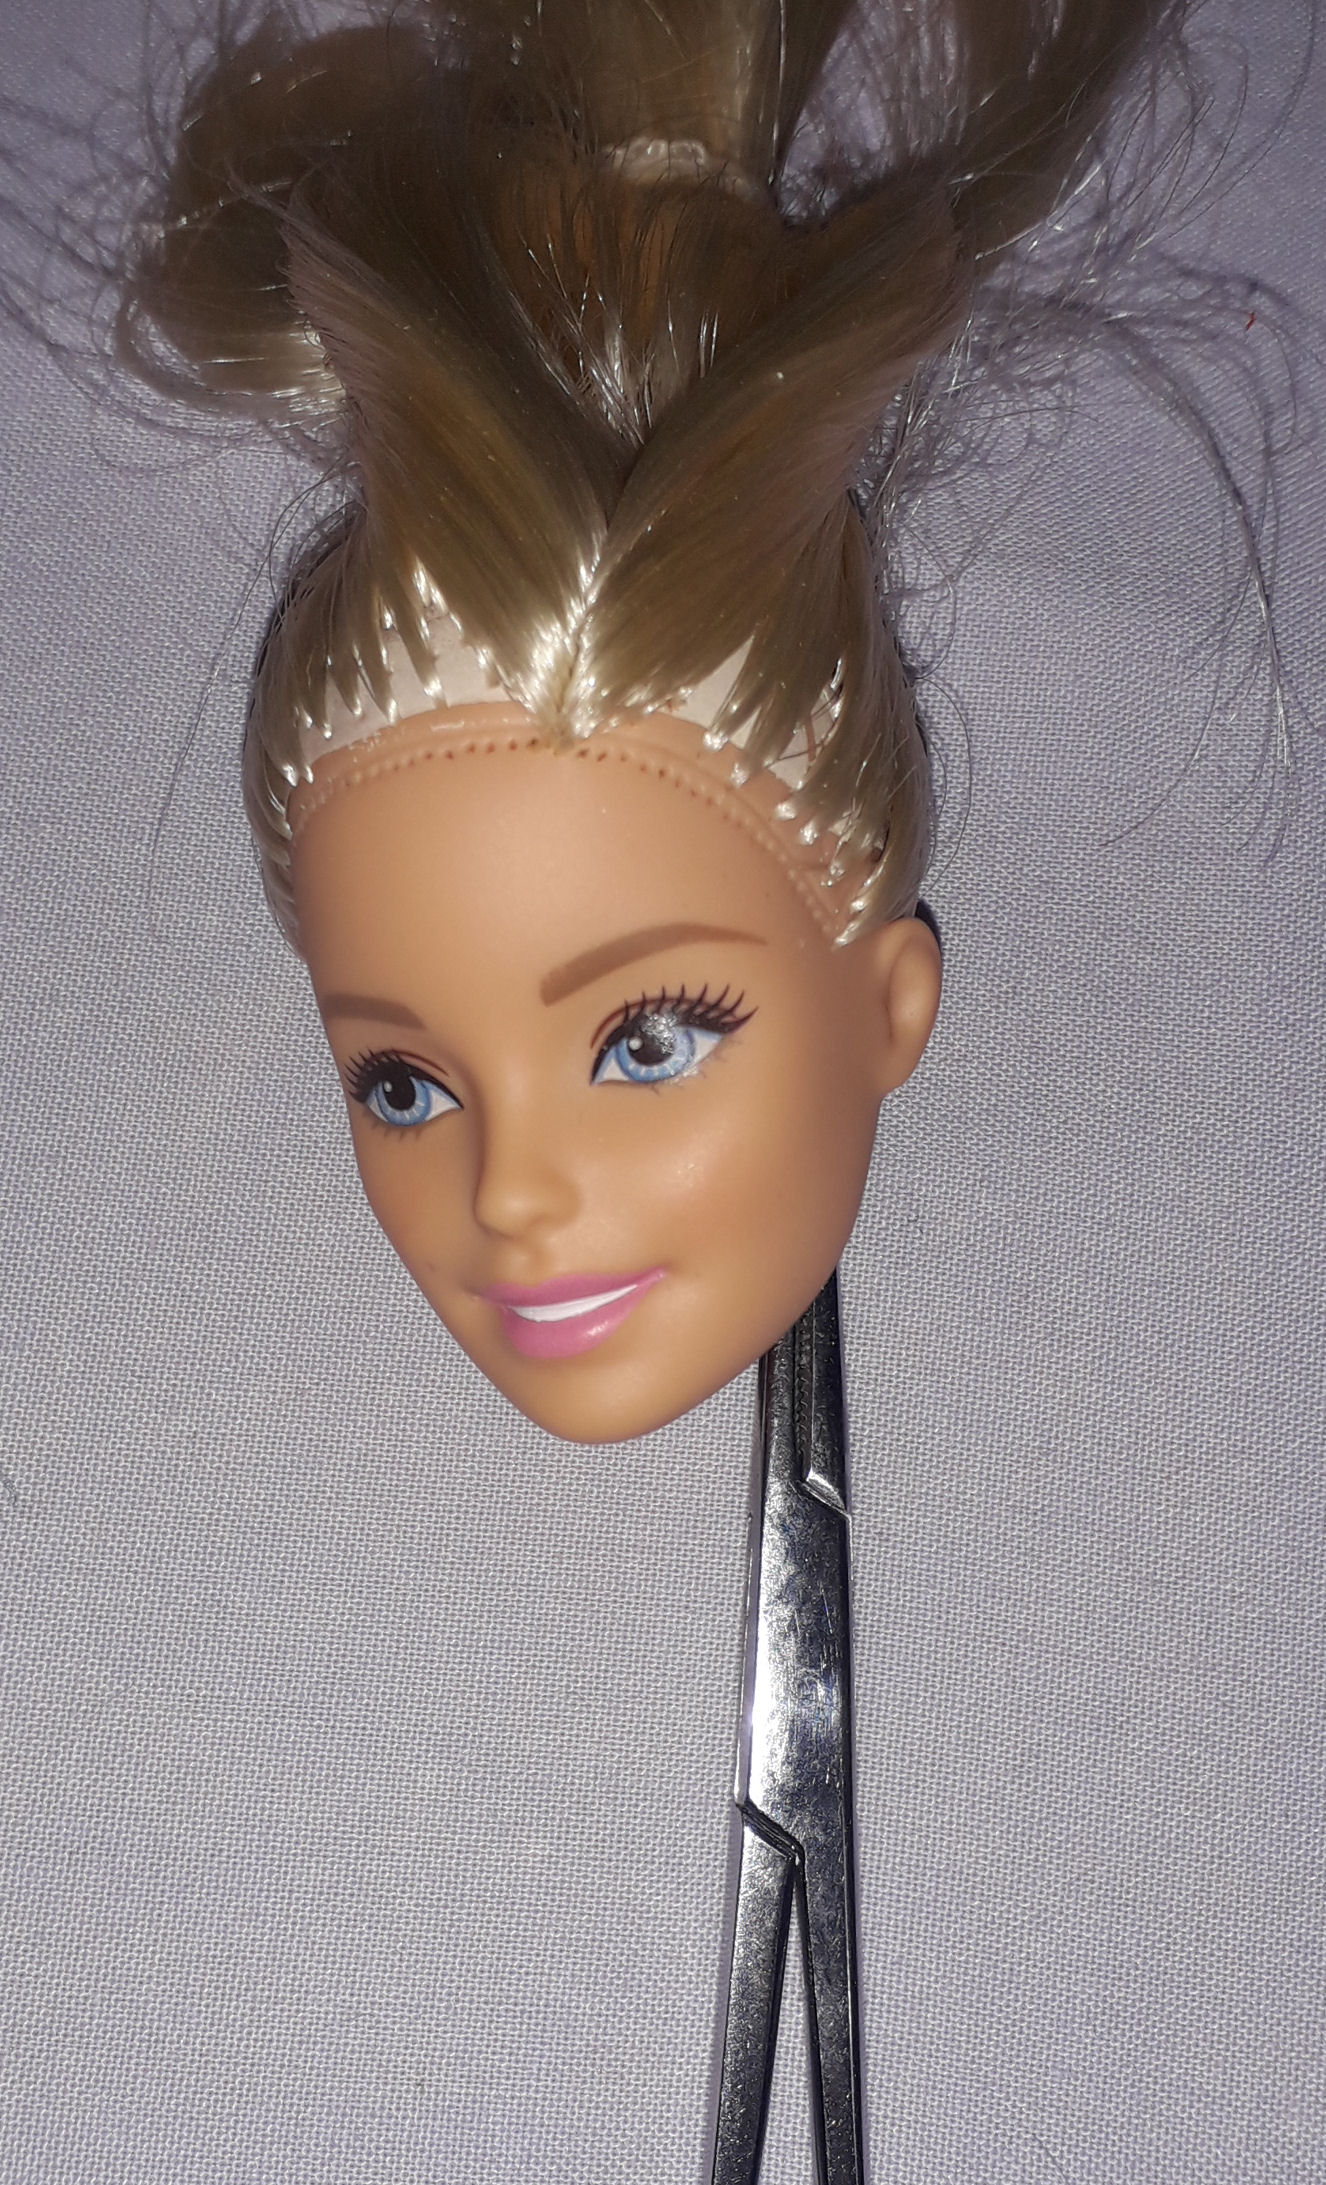 Especially useful around the holidays. Youll need
First
put the dolls hair into a loose ponytail then gently cut the first
line of hair (you can brush it out later), put your chopstick or
hemostats inside the neck and scrape to pull the hair out of the holes
then root in the hair. Listen to a podcast or watch some tv to not get
too bored as this is a bit tedious. I like to put an extra line of plugs
behind the originals to make the hair look thick. Also add a few plugs
to the front of the parting so the doll will look cool with her hair
down as well as in a ponytail. Optional: You can also change the dolls eye color with acrylic paint or with sharpie (sharpie only on the actual eye decal or itll bleed into the vinyl) or add nail art decorations. This is also the method I use for restoring dolls who have worn hair from overbrushing if theyve still got enough hair to avoid a full reroot (or dont have glue heads!) except that youll need to take up to 2-3 hours gently back brushing the hair with your hands and cutting out torn, shorter strands. The area that gets the most damaged is that first line of plugs and the parting so cutting them out and replacing them after pruning the rest of the hair is a way of getting a like new custom doll. 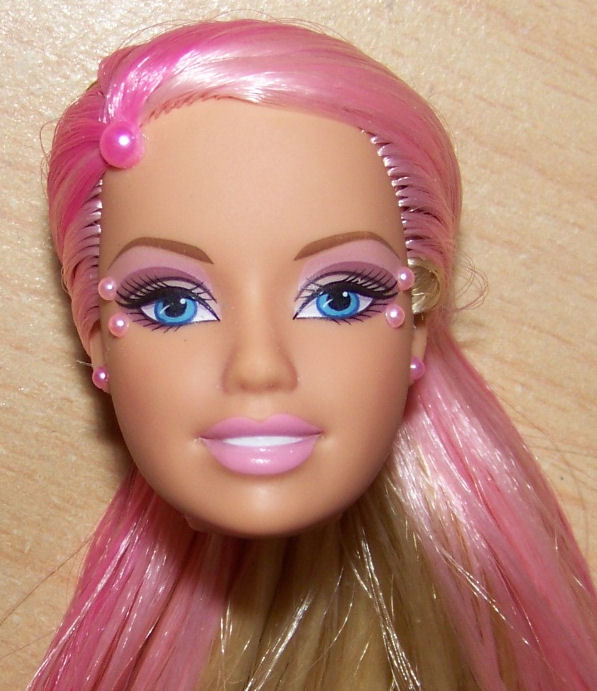
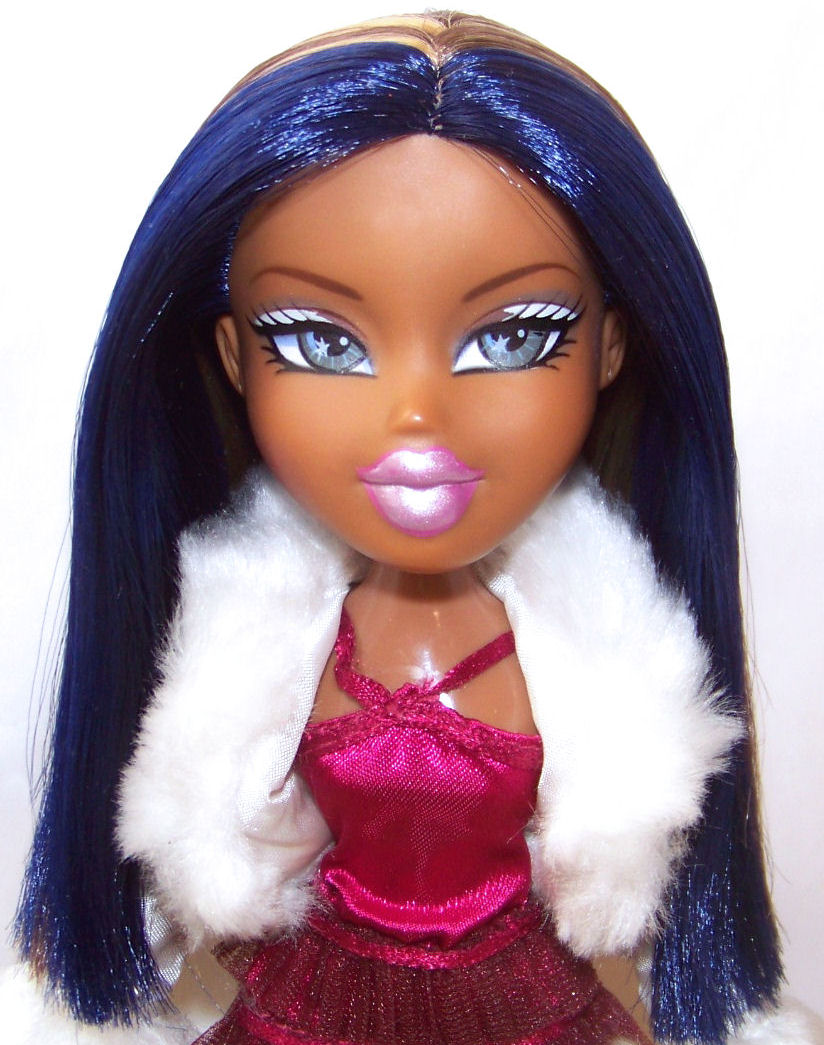
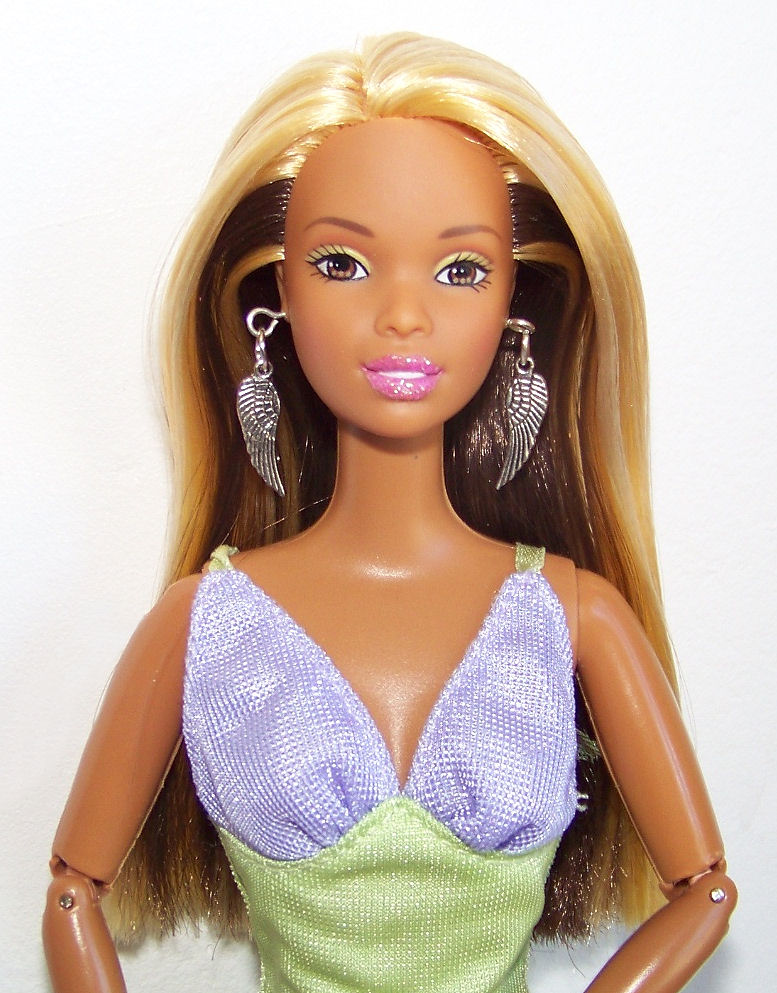
 How to reroot dolls with very fragile heads - back to menu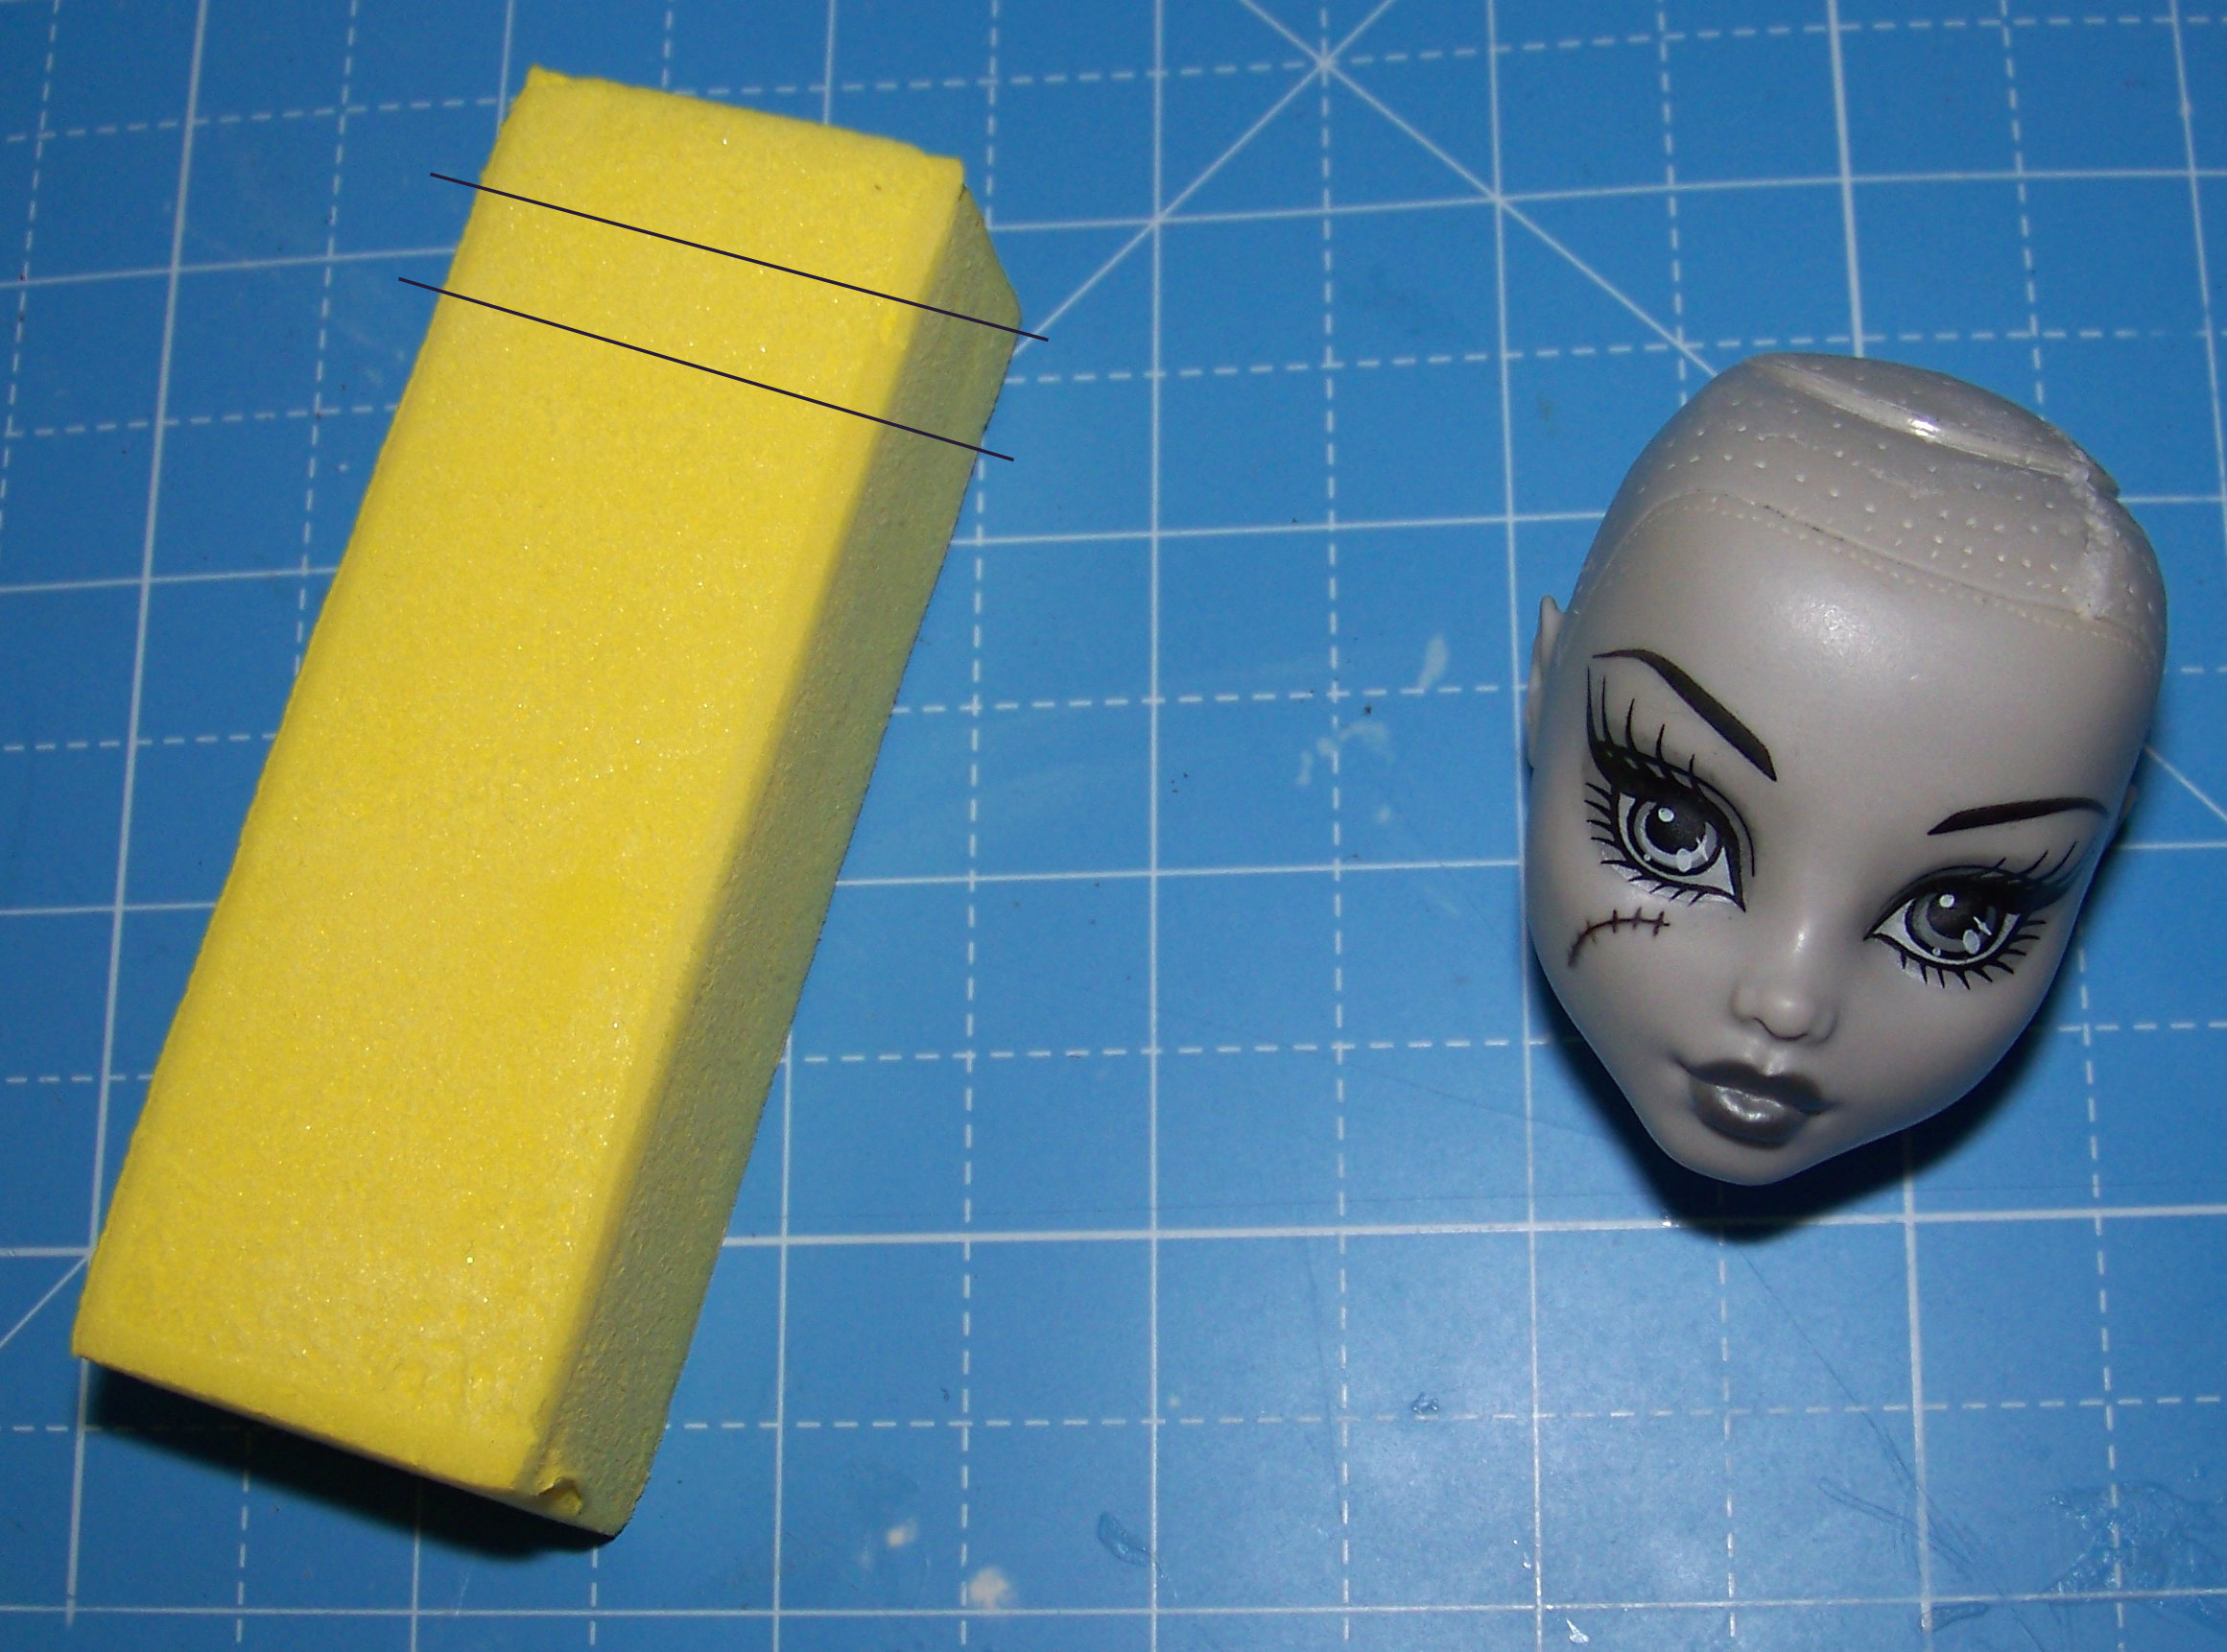
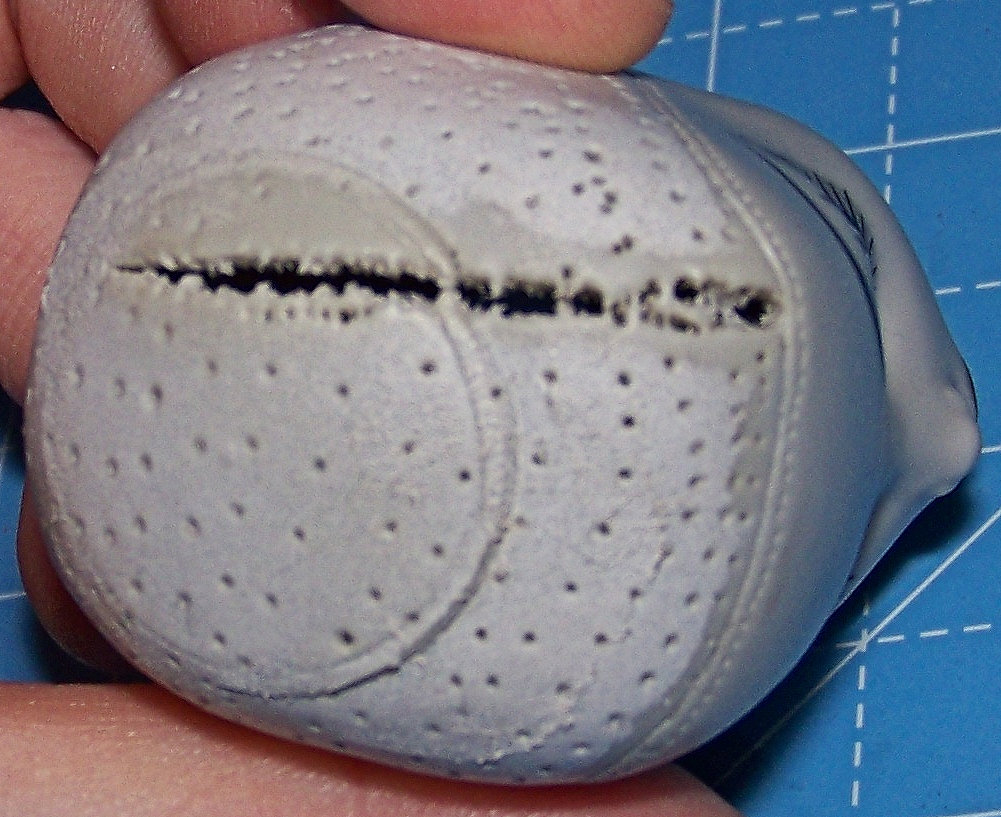
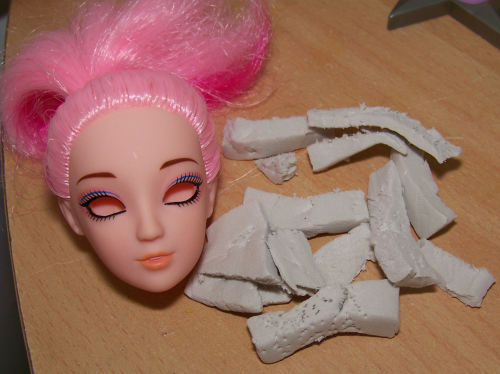
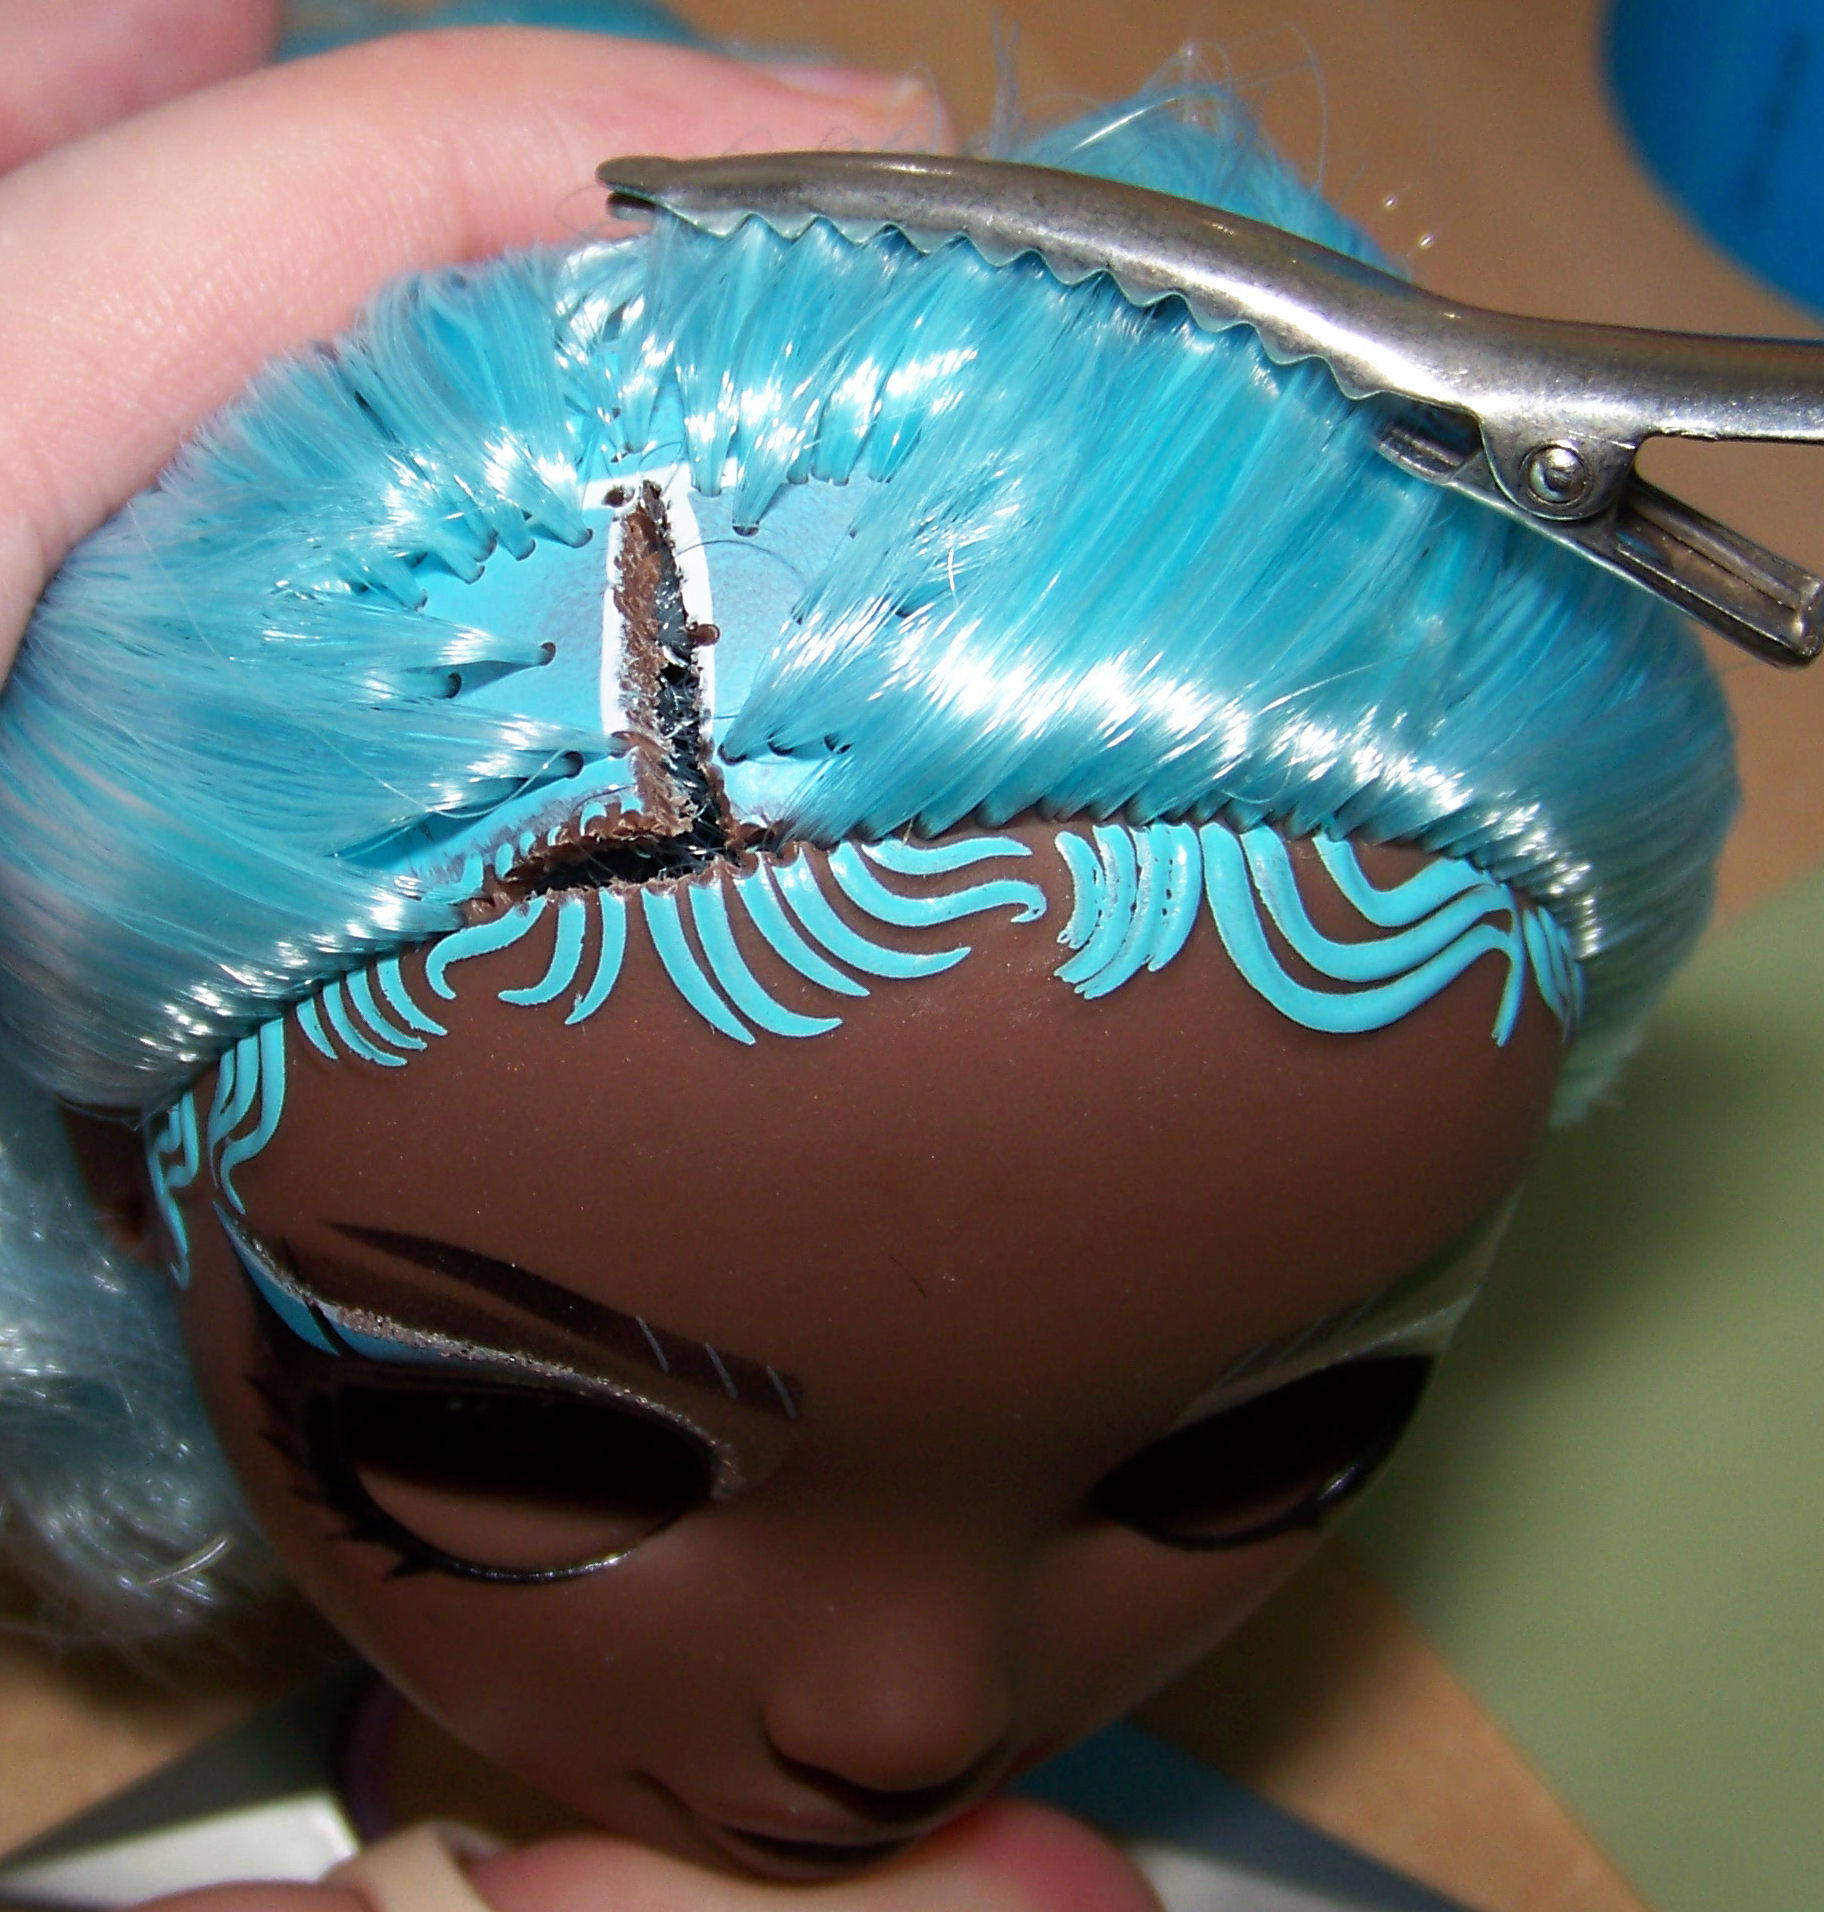
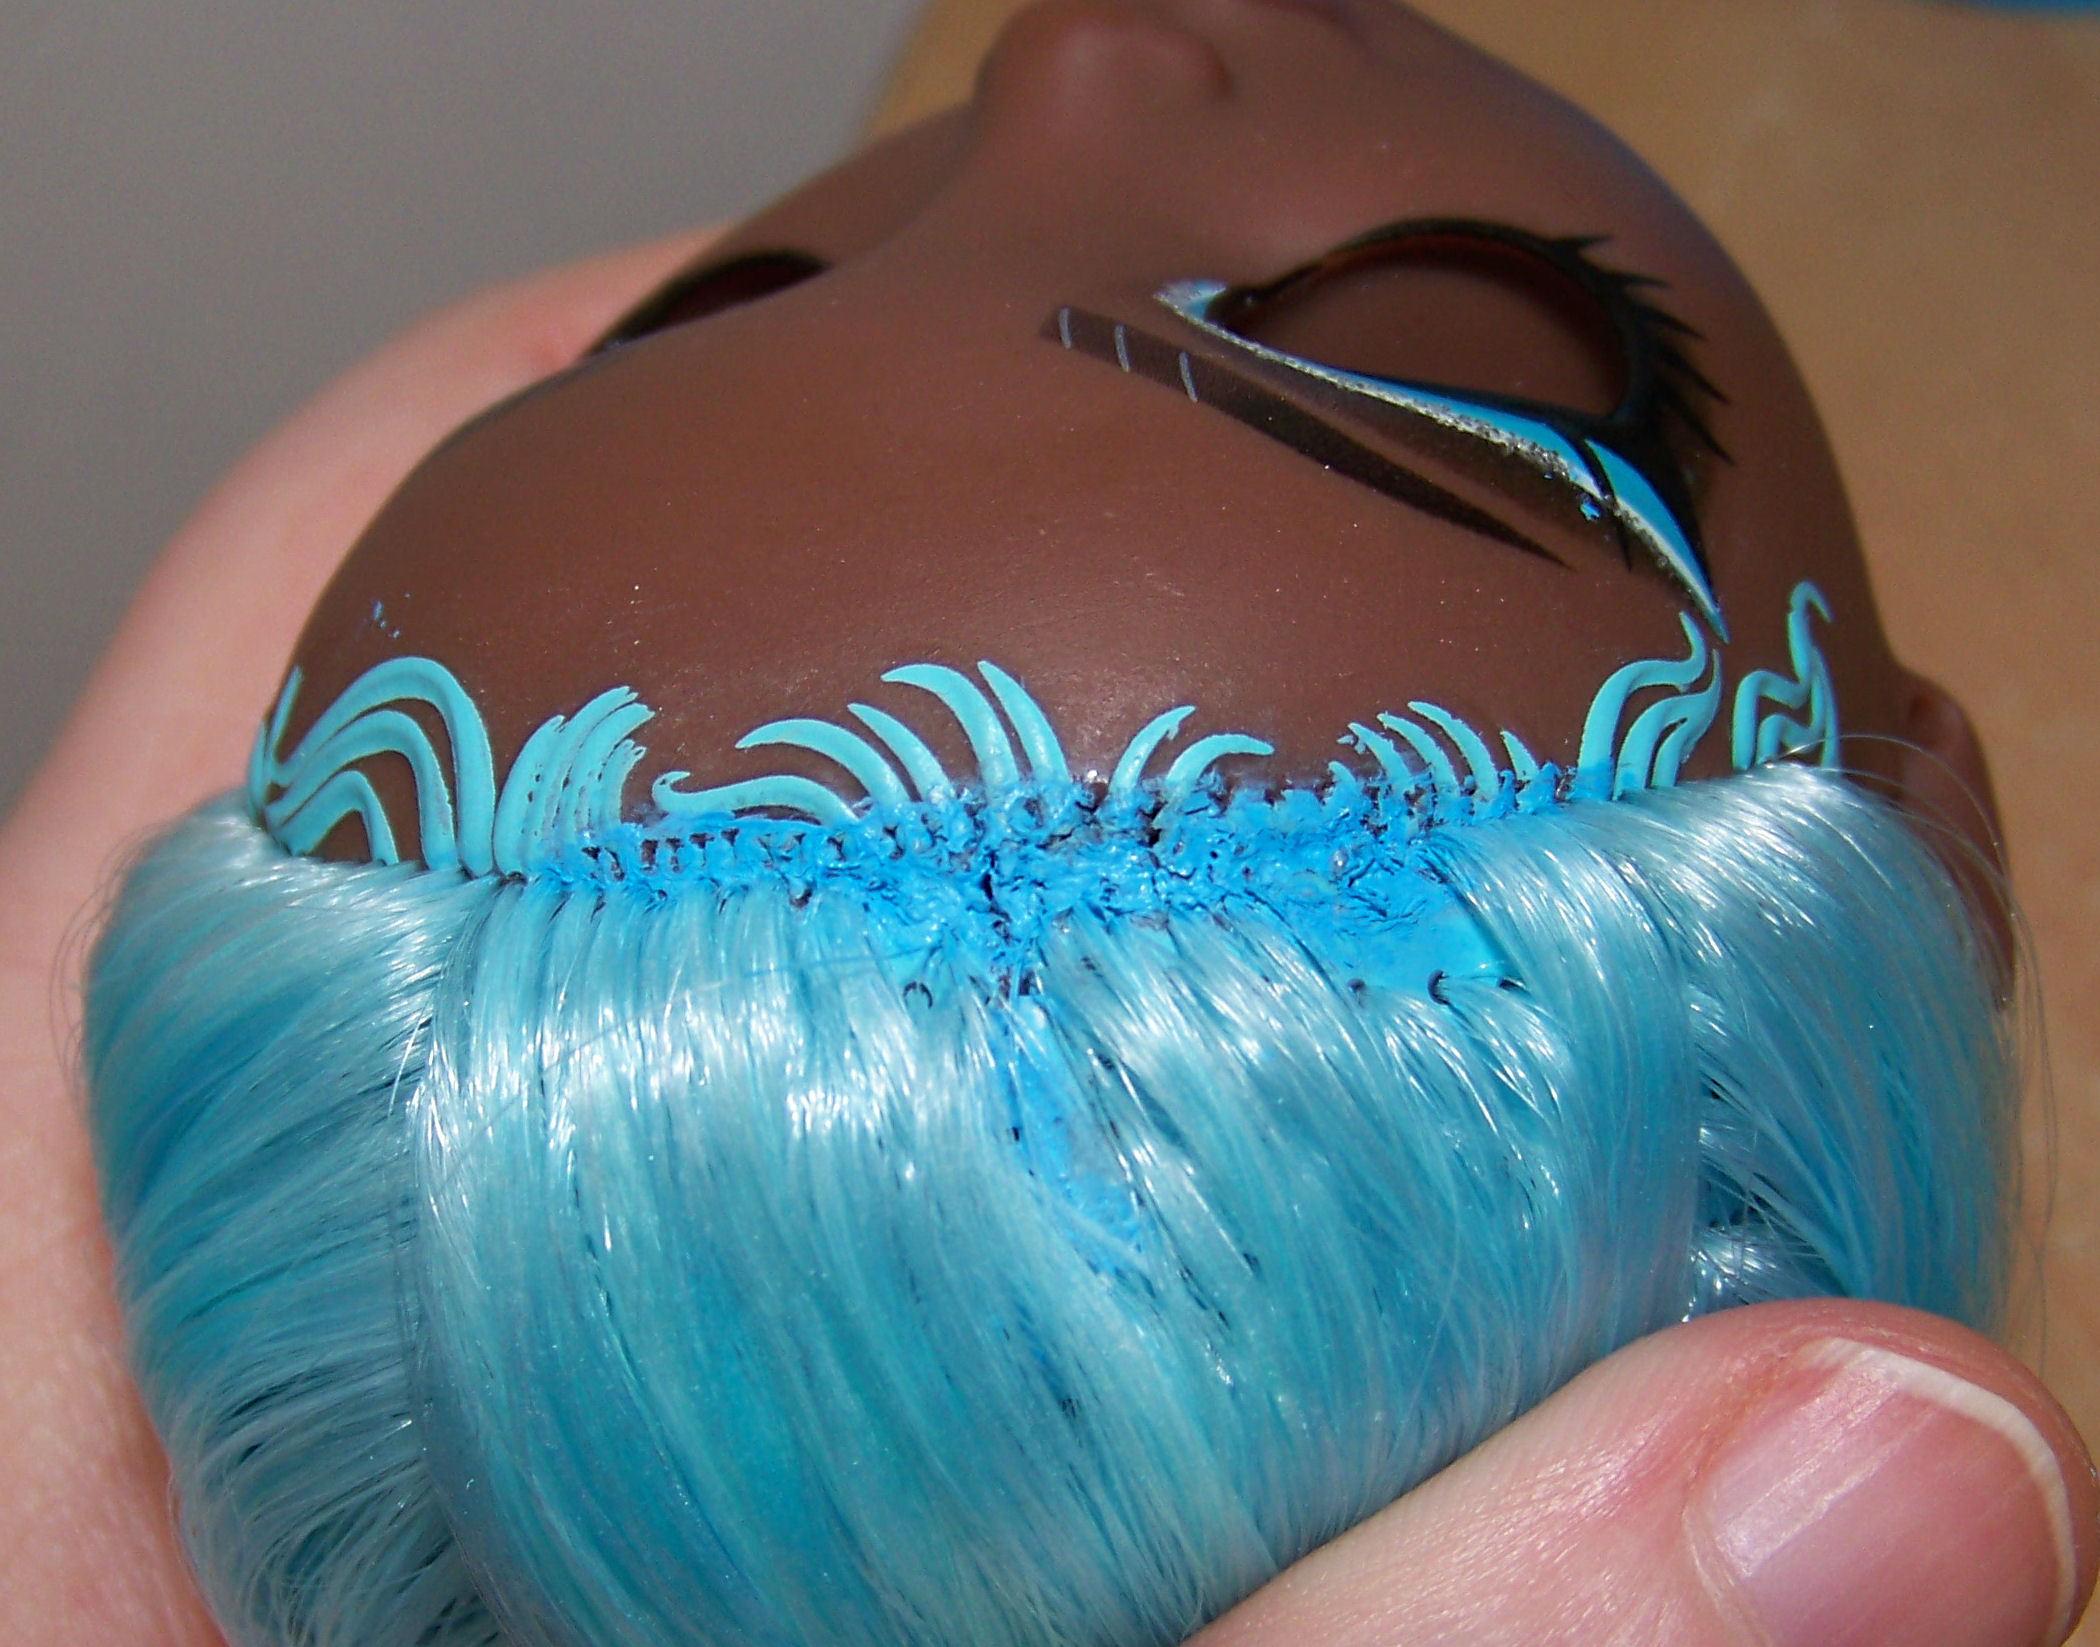
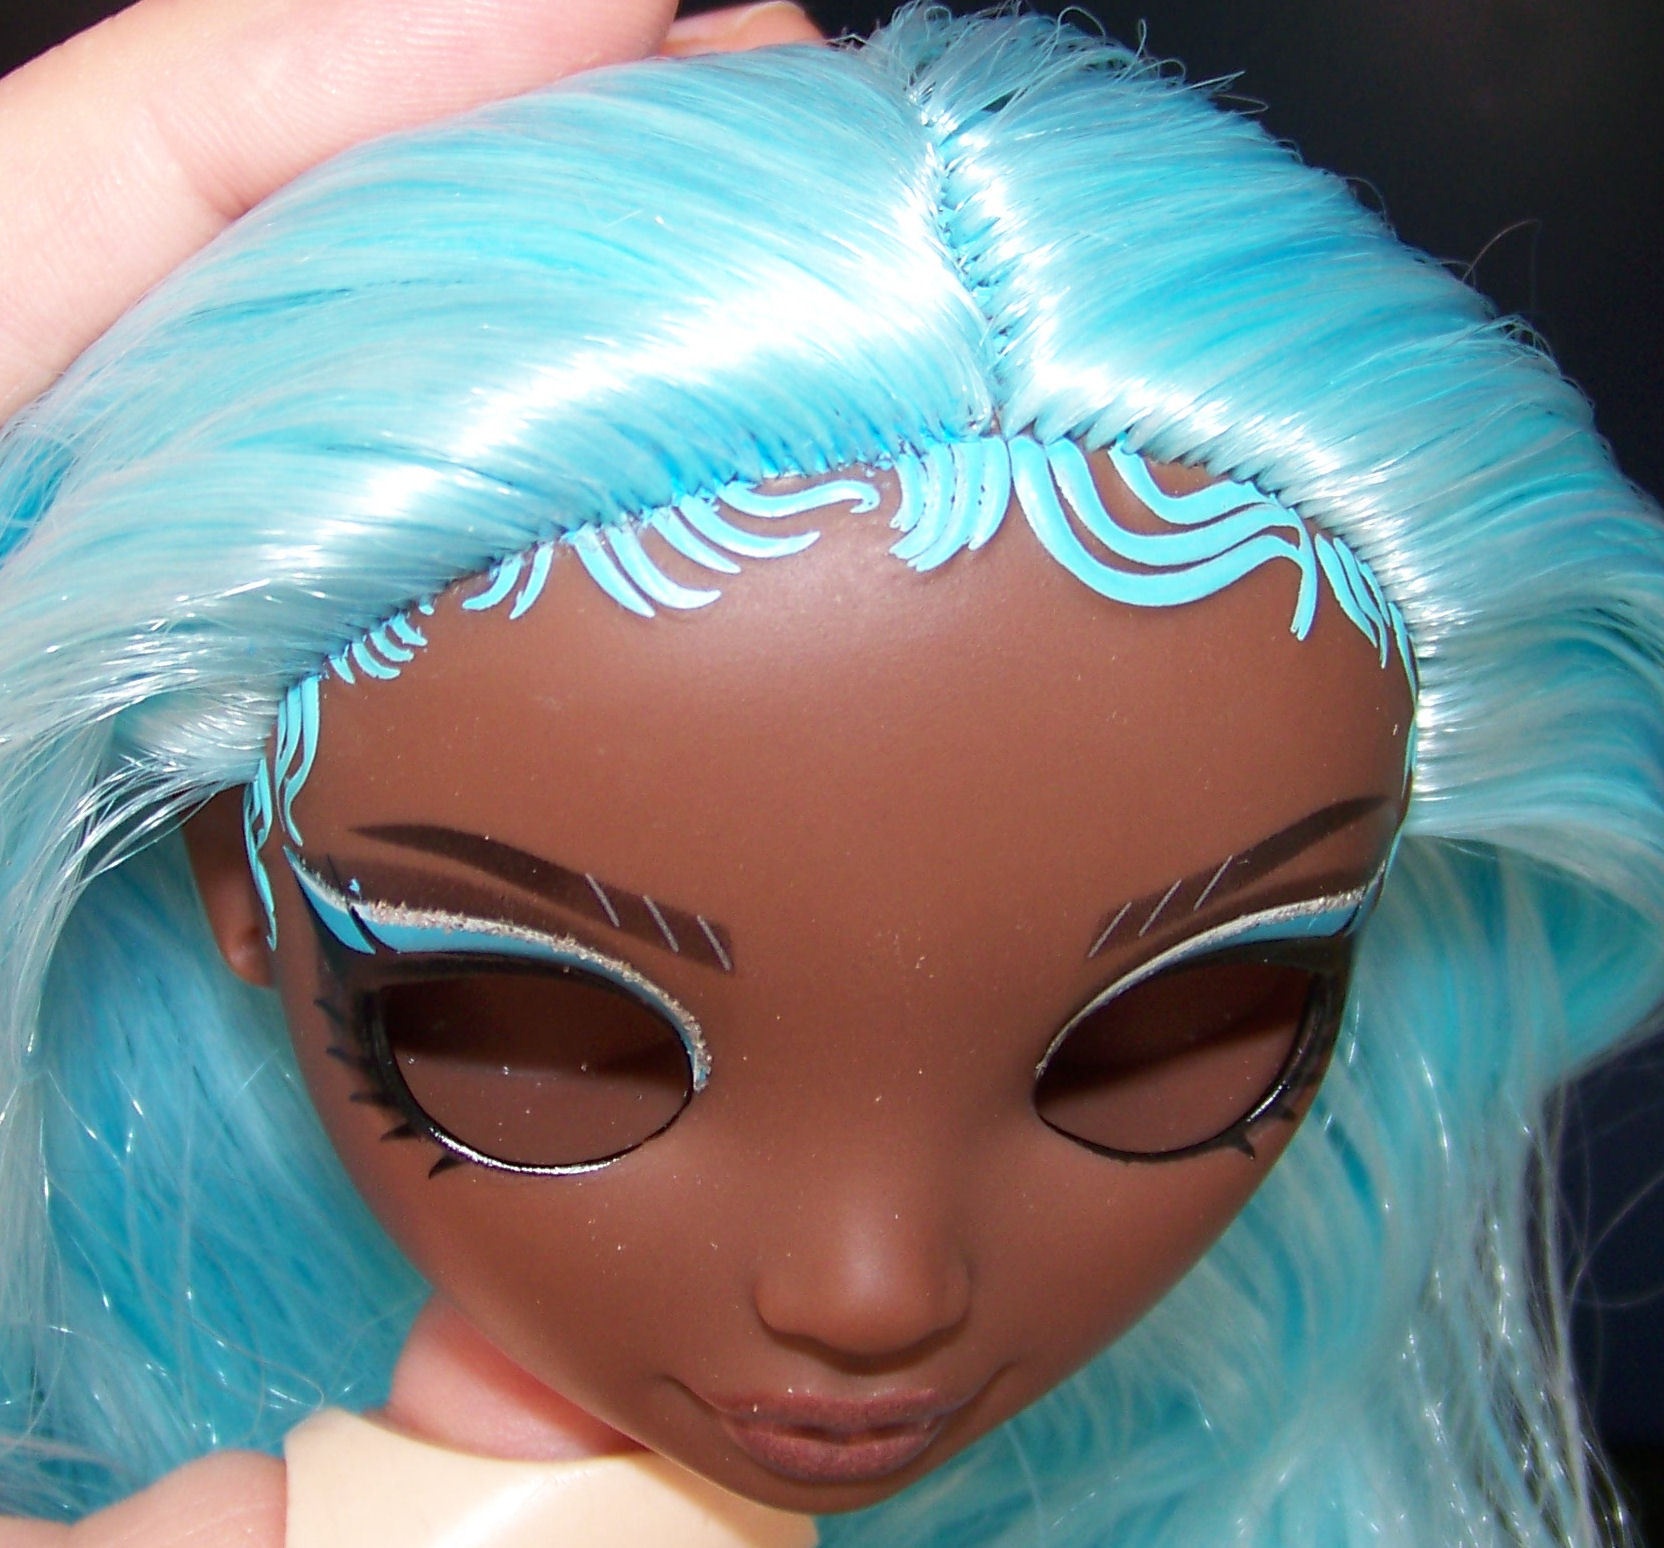
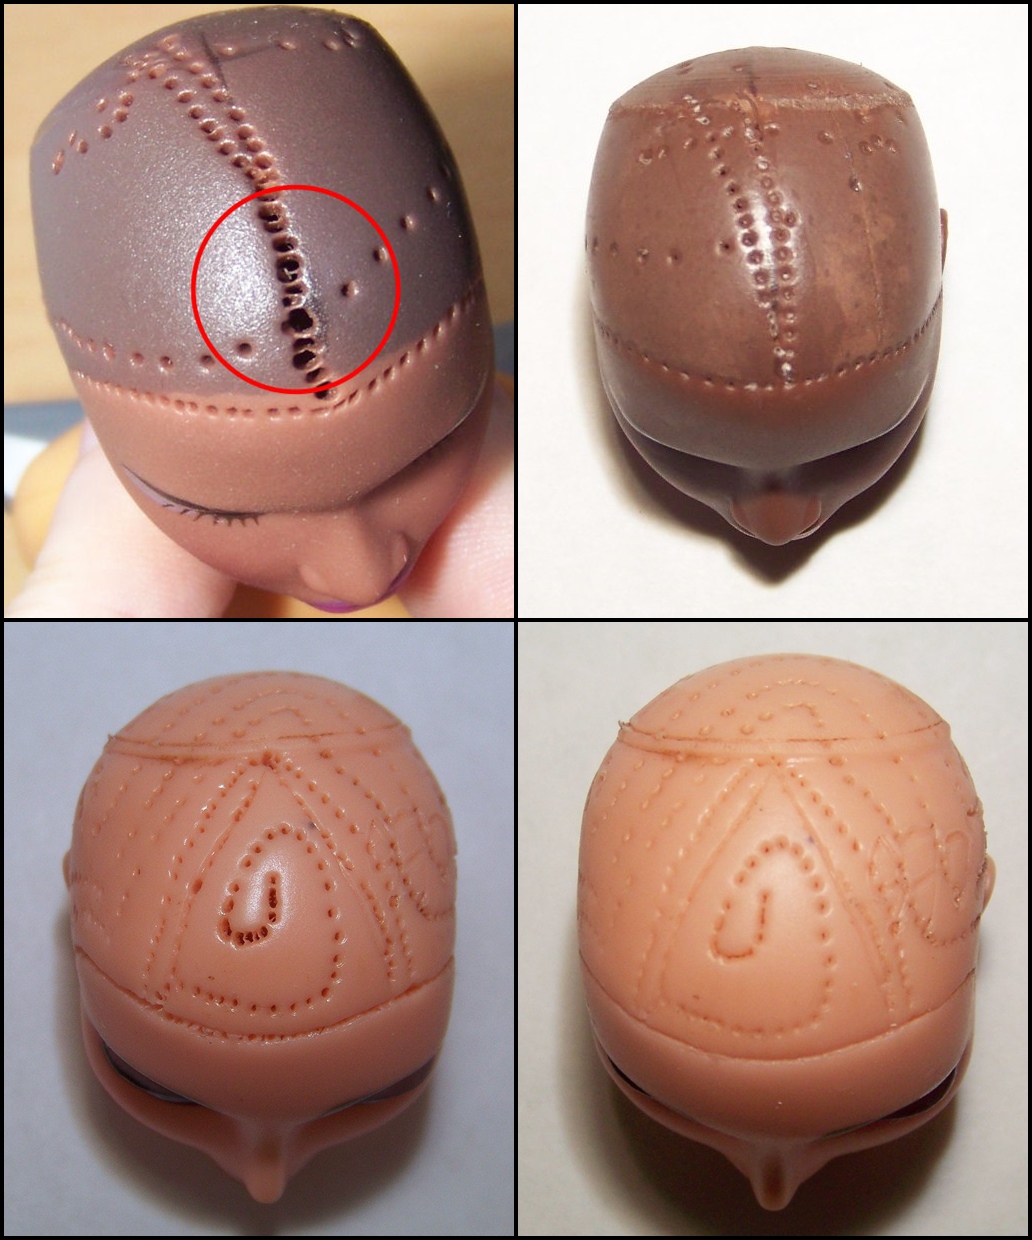
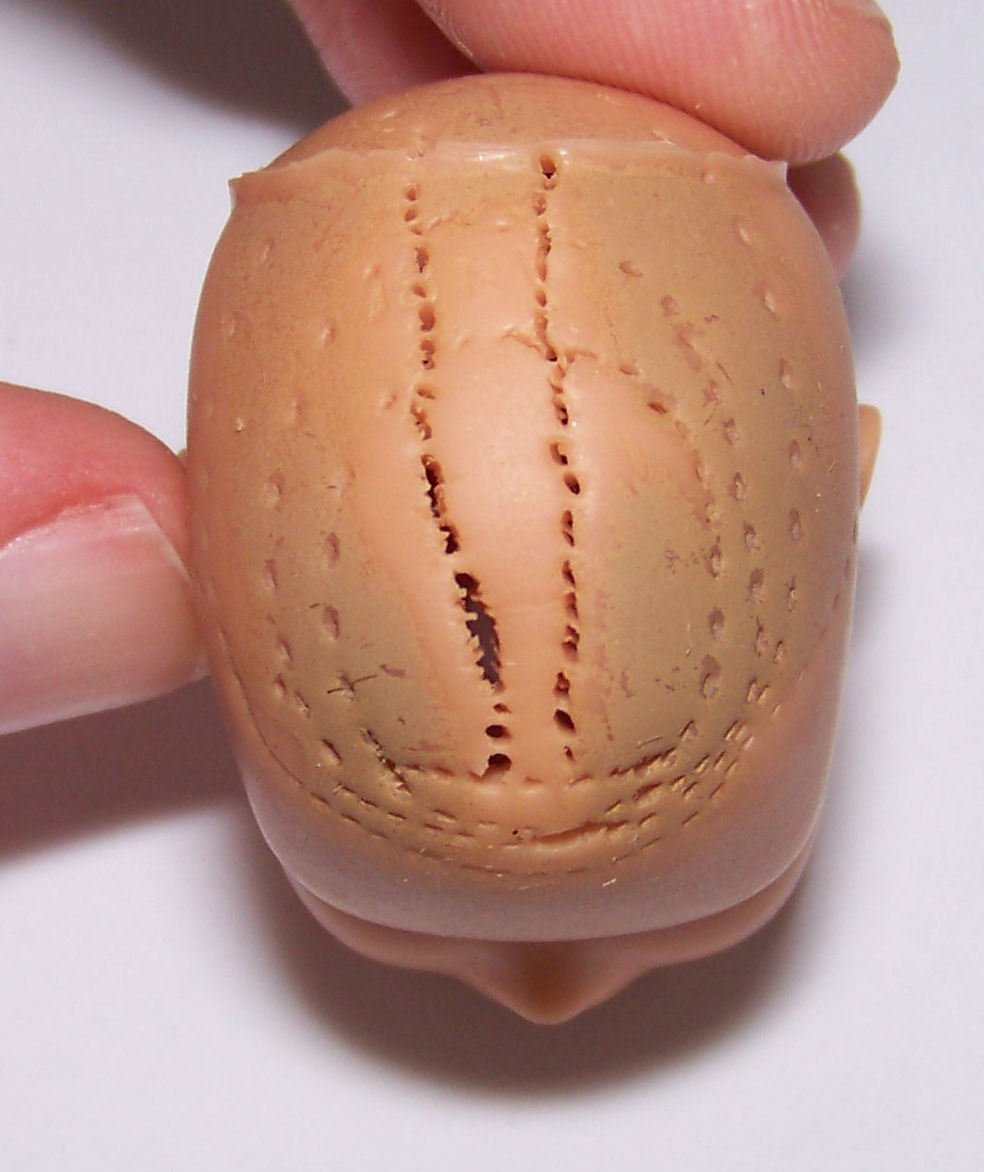
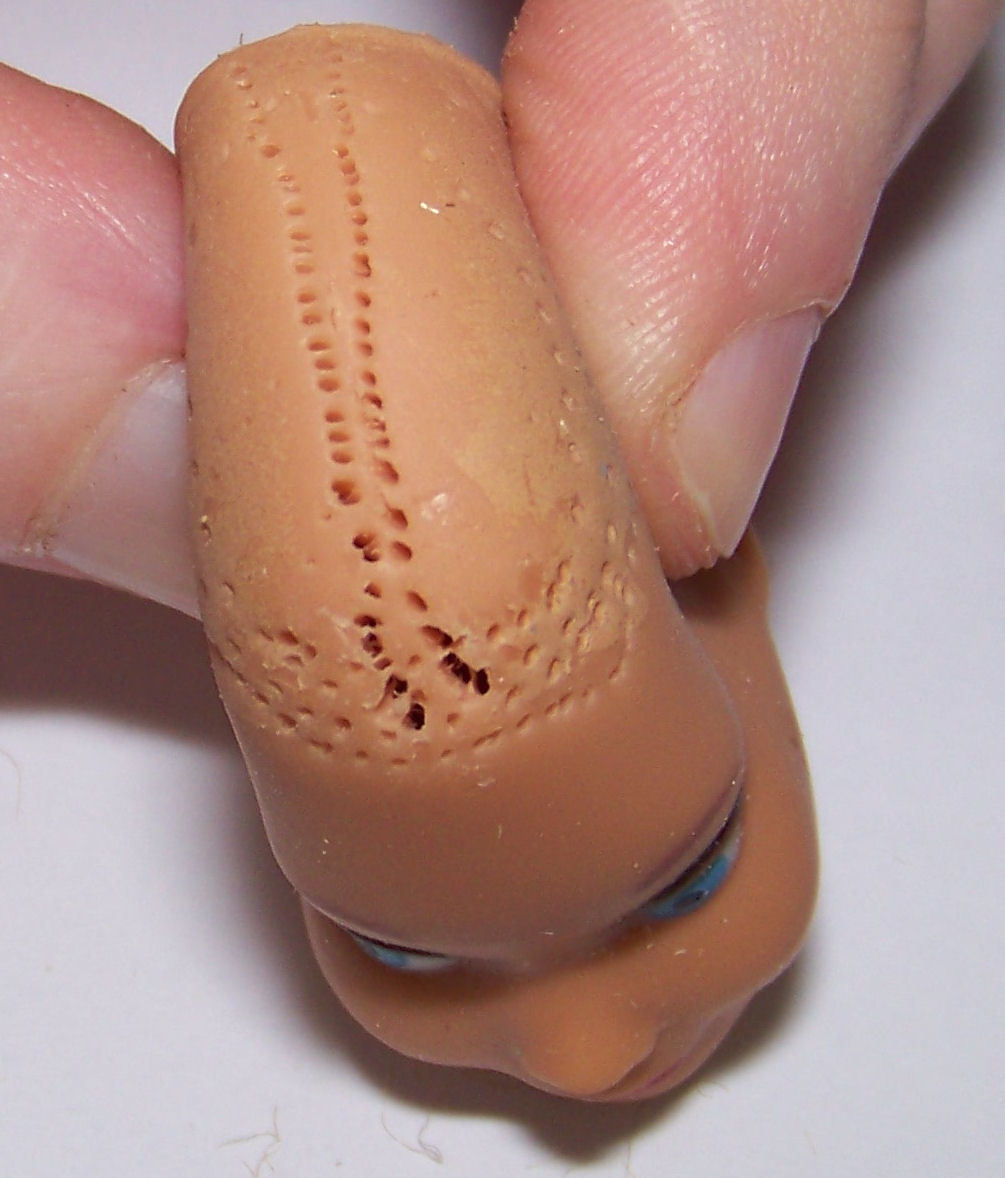
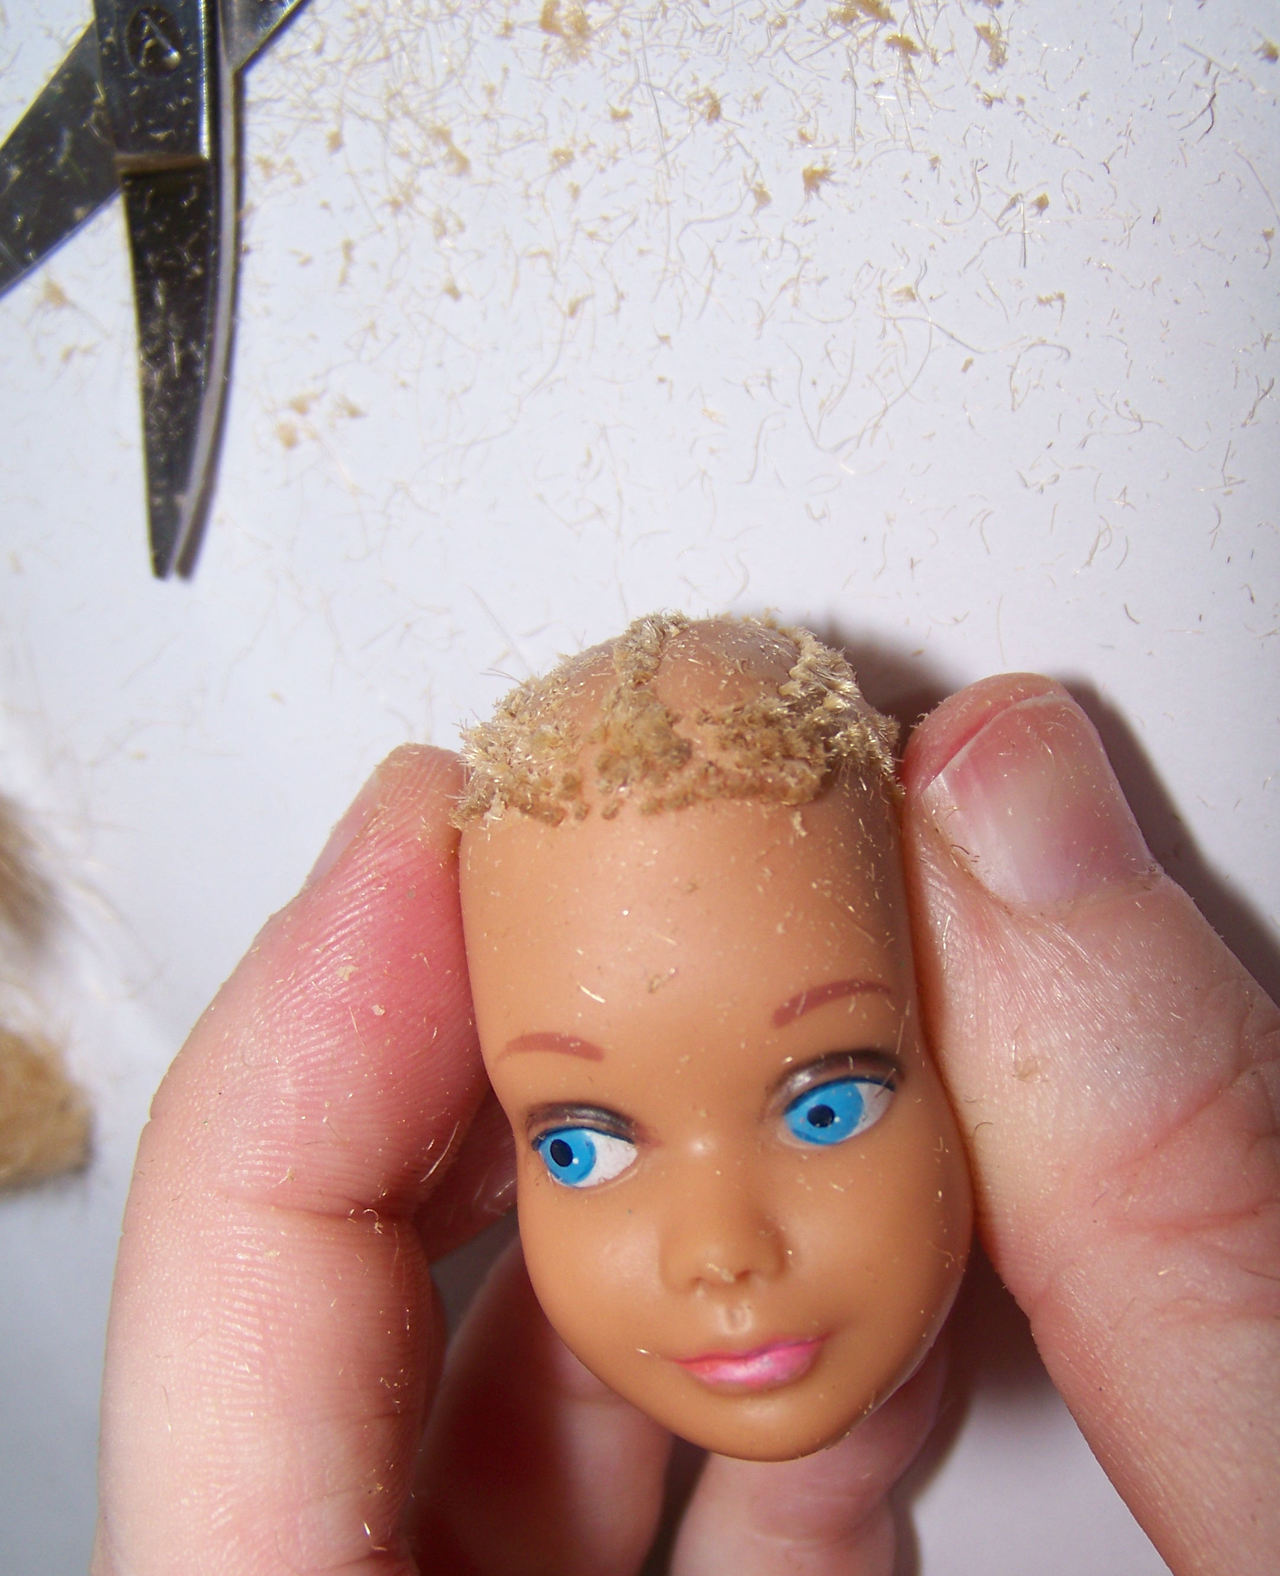
To expand on that: Be super careful when removing the original hair to not tug too hard
on the holes (cutting super close to the head then gently scraping from
the inside while the head is warm seems to work best) Cover any risky looking areas superglue gel by
pressing the glue into the holes with a big needle and scraping off the
excess (24h drying time) Make sure to point the needle so that its not sideways to the hole When splits happen, seperate all the hair away from the split, warm the head, fill with superglue, leave to dry then work around it. Often the
first line is the one to split so I have to redraw the hairline with a
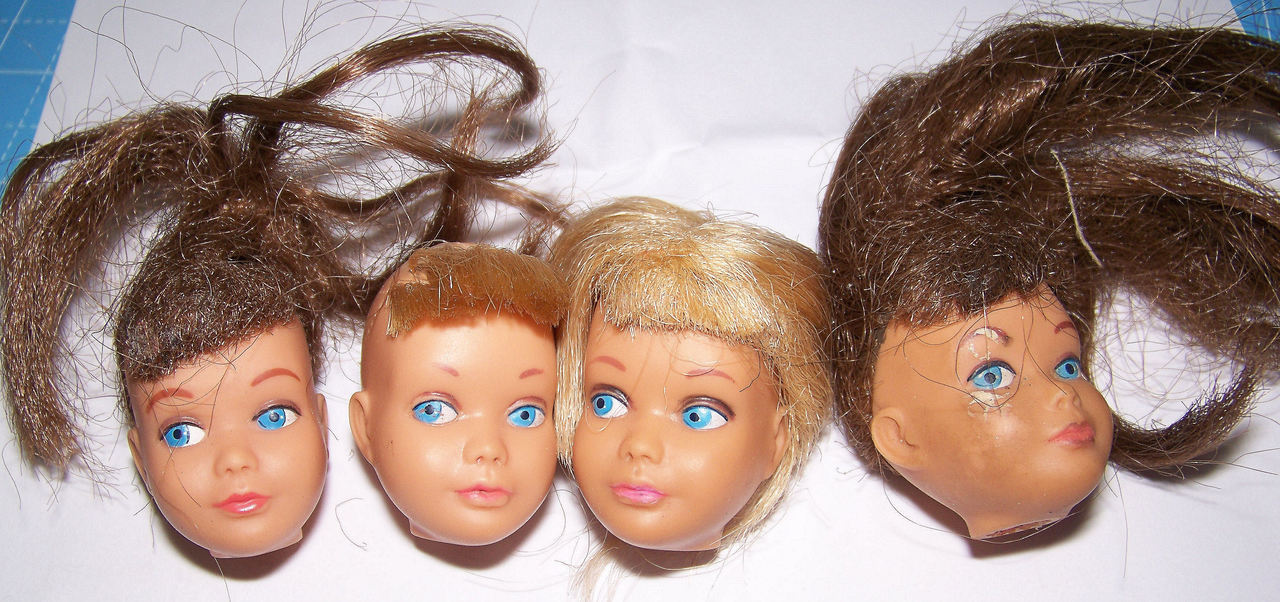
mechanical pencil then root in a new line of hair. Stuff foam into the head with hemostats or tweezers, remove the same way when done. Removing the hair from a vintage doll whos hair has felted/melted together and rerooting a swiss cheese head safely - back to menu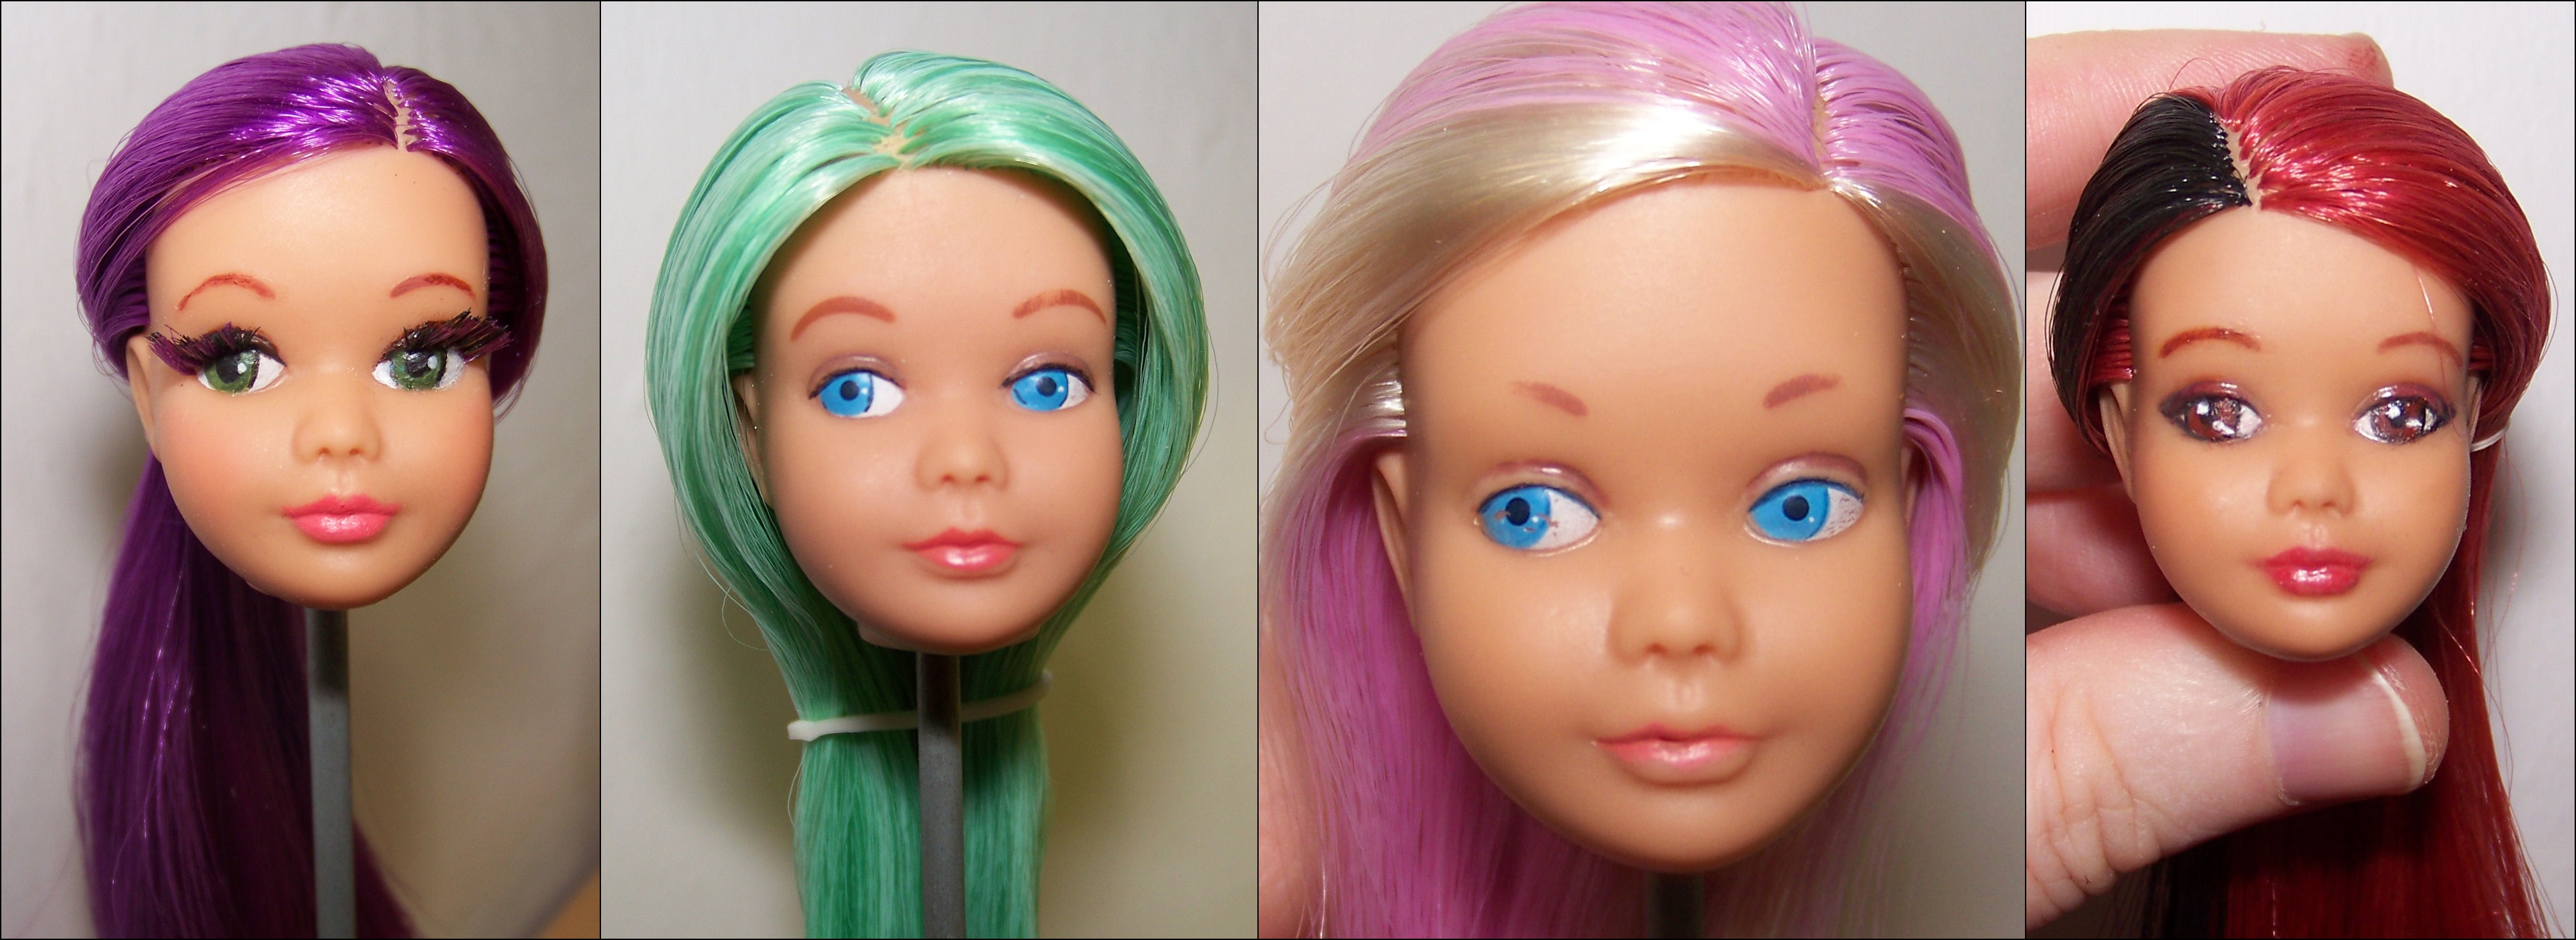
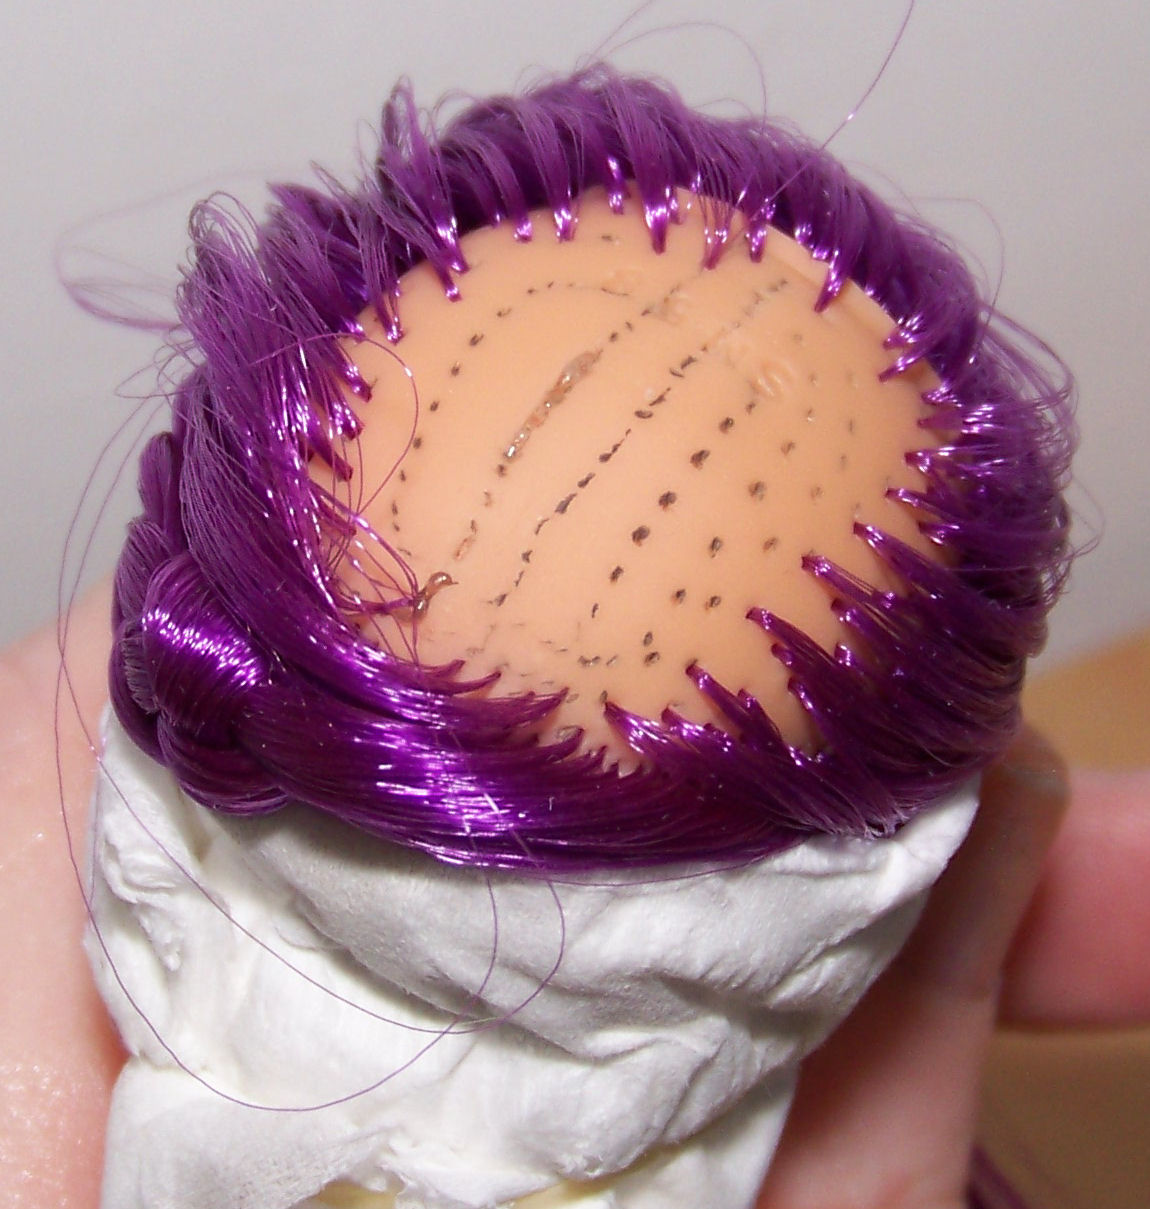
Notes on misc doll fragilities - back to menu
Gaps - back to menu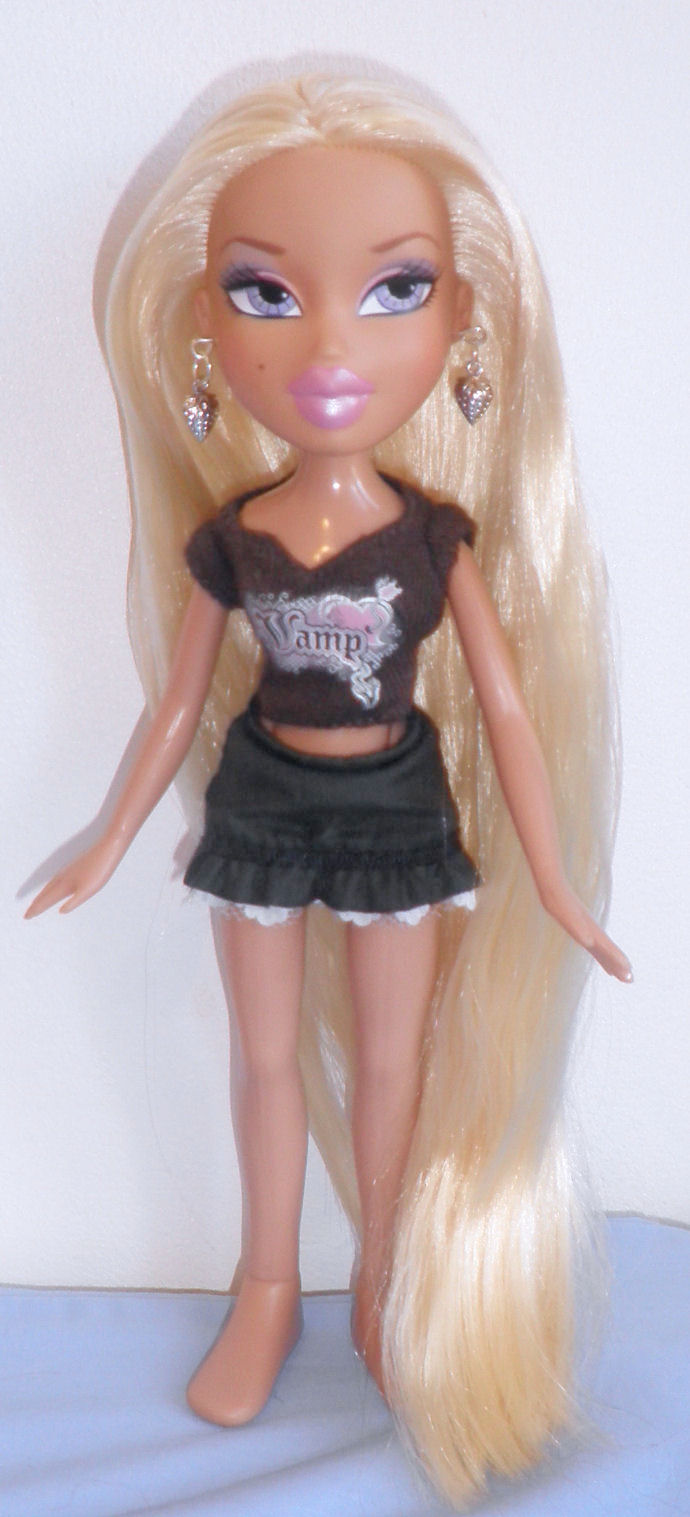
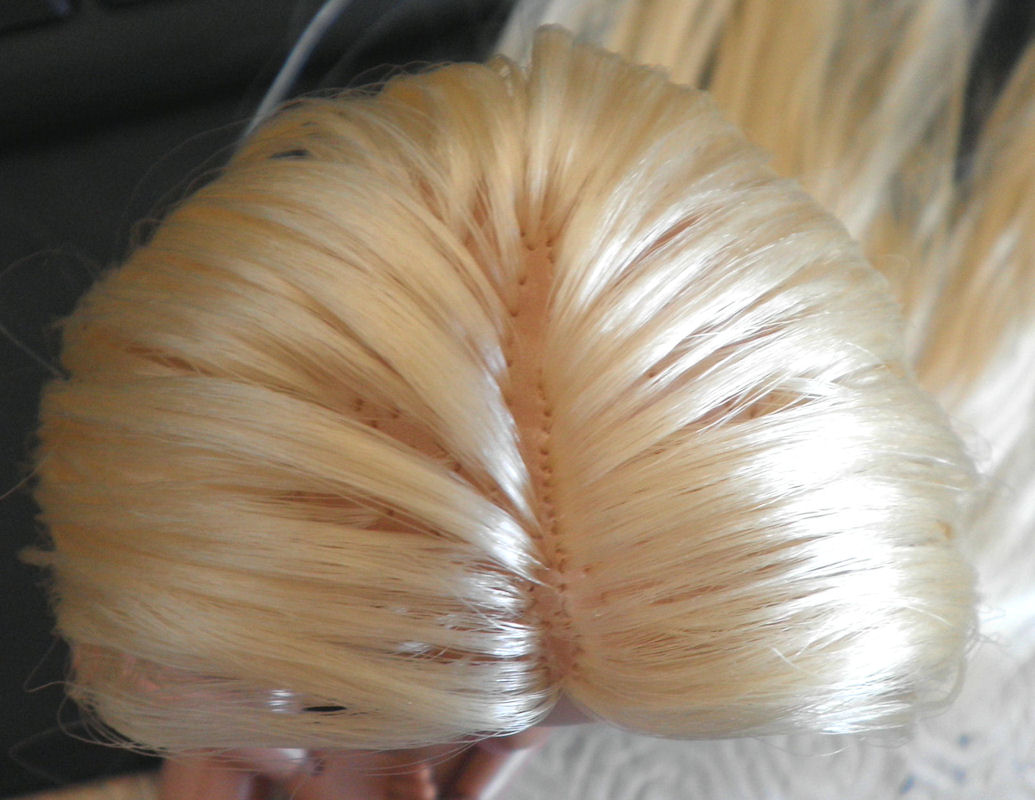
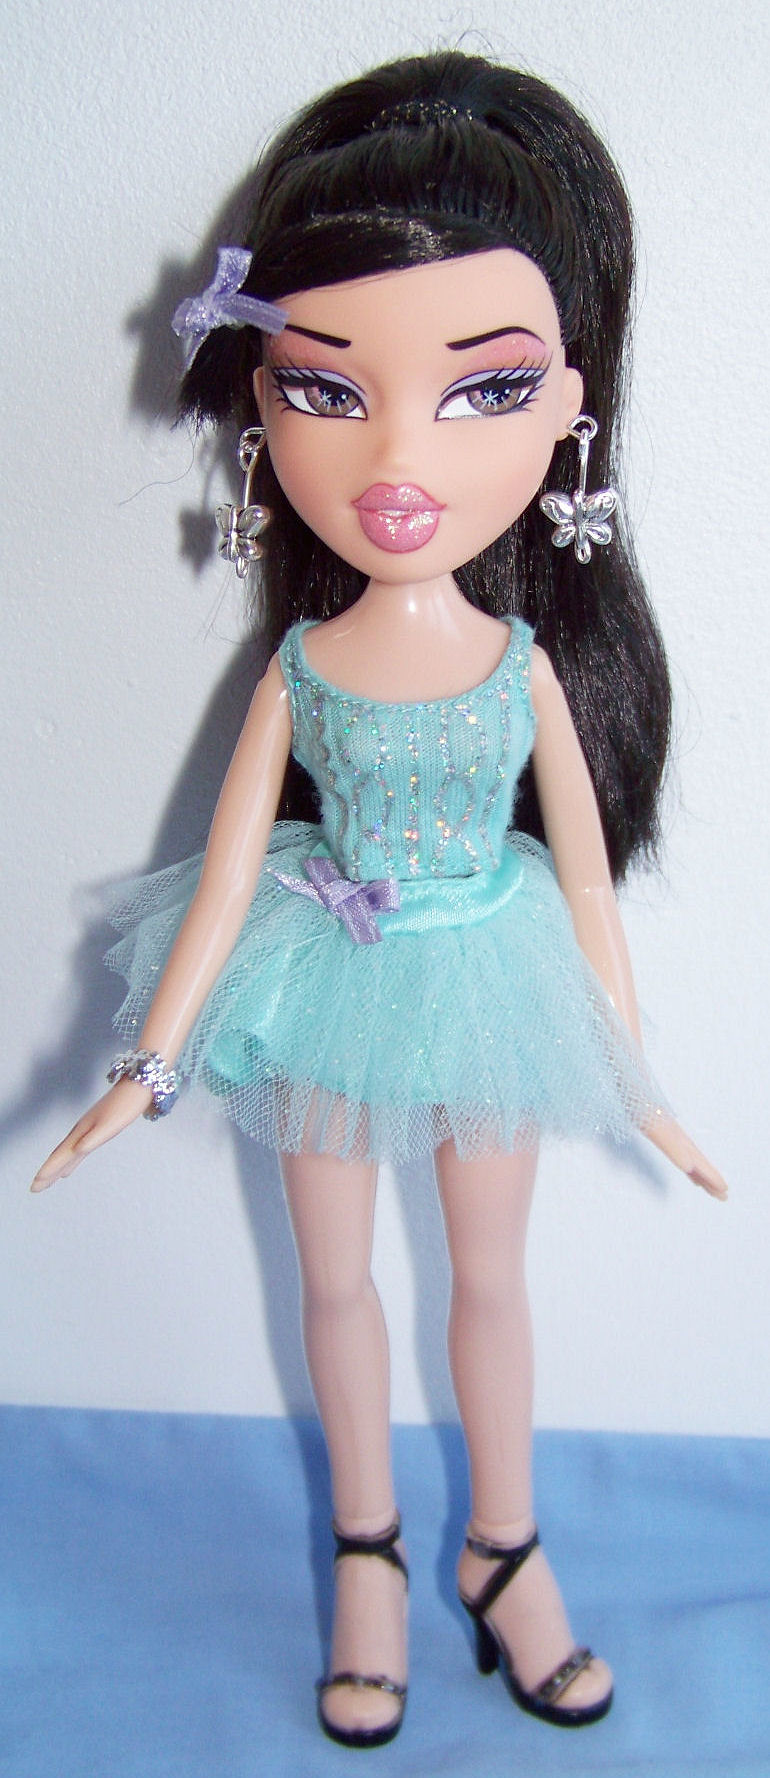
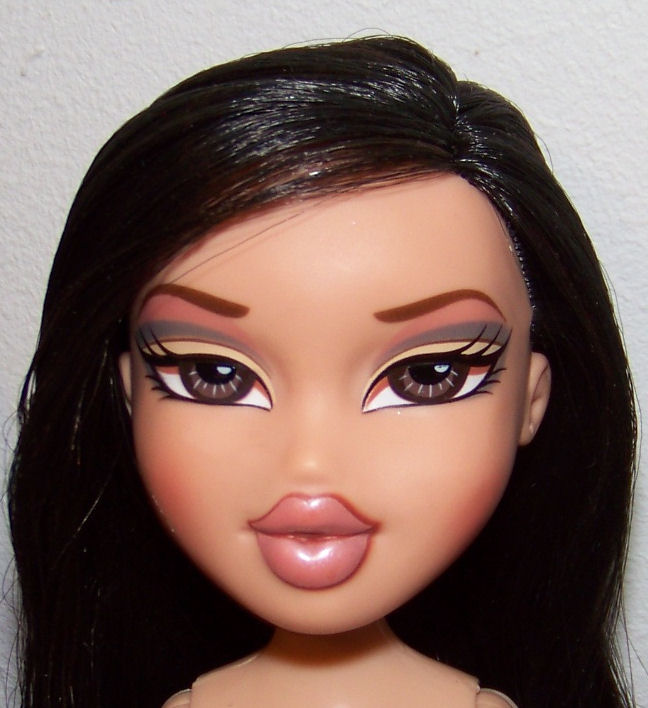 Often, rerooting by using just the factory plugs is not enough. The
doll may have been originally created with bigger hair, curls or a
specific hairstyle so the factory root pattern will match that. Another example is Formal Funk Jade, a doll designed to have a tight pony tail hairdo. When her hair is down, she has no parting so her hair looks thin when loose: I gave her a side parting and filled out her hair a little with approx 50 plugs of hair. How much doll hair should I buy? - back to menu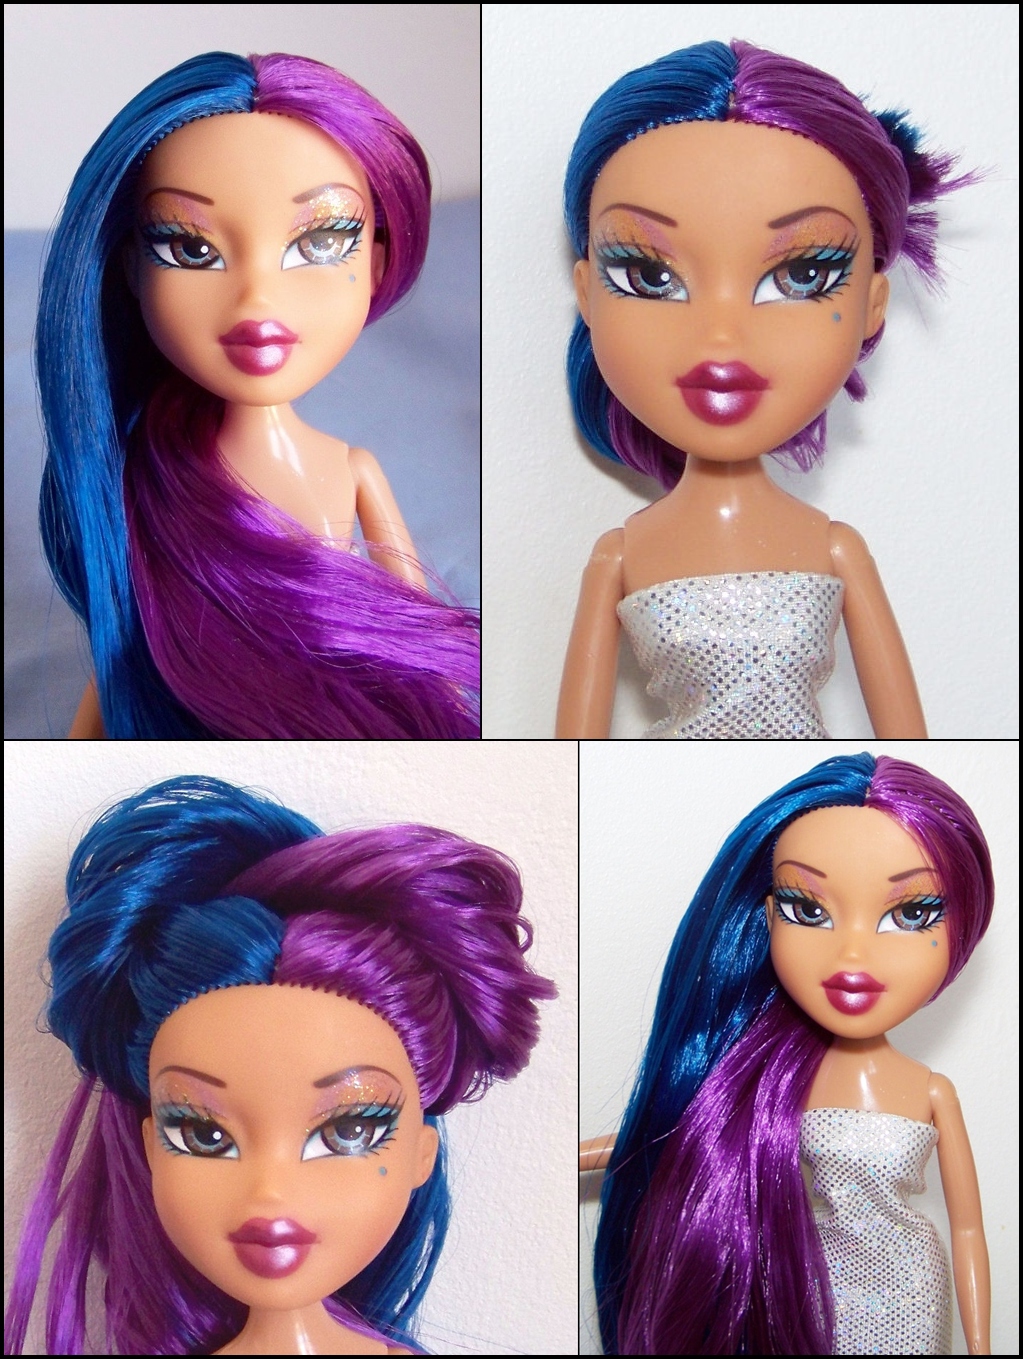
To calculate the size and number of hanks / skeins to buy : It takes 3 + 1 half (about 40g), cut in half, to cover a 5/6? head with very long hair. 1 hank of saran is about 90cm and 12g therefore: A hank can be cut in 3 = length on the doll 14cm max from roots to ends. 2 hanks per reroot. A hank can be cut in 2 = length on the doll 20 22cm. 4 hanks per reroot. 1 Skein of Mylittlecustoms saran is 46cm and 12g, it contains as much hair as a hank but it is shorter. 4 skeins for a reroot = length on the doll 23 cm. 1 XL Skein of Mylittlecustoms saran is 76cm and 40g, it contains approx. 3 and 1/3 hanks/skeins of fiber. 1 whole reroot (Cut in 2) = length on the doll 19cm. 1 Large Hank of Retrodolls saran is 90cm and 50g (contains just over 4 hanks) 1 XL Hank of Retrodolls saran is 90cm and 100g (contains 8 hanks) Barbie collector size: 1.5 hanks cut in 3 = butt length. Barbie collector size: 3 hanks cut in 2 = ankle length 24cm Barbie playline: 2 hanks cut in 3, length on doll 14cm Disney Store playline Cinderella: 2 and 1/4 hanks of Nylon cut in half, length of 20cm. head sizes Playline and Superstar Barbie = 10cm = 3.93" aka 4 inch Collector Barbie is slightly smaller = 9.5cm = 3.75" Monster High/EAH/Bratz/Bratzillaz size: 13cm = 5.11" Myscene size : 11cm = 4.3"Rooted Eyelashes - back to menu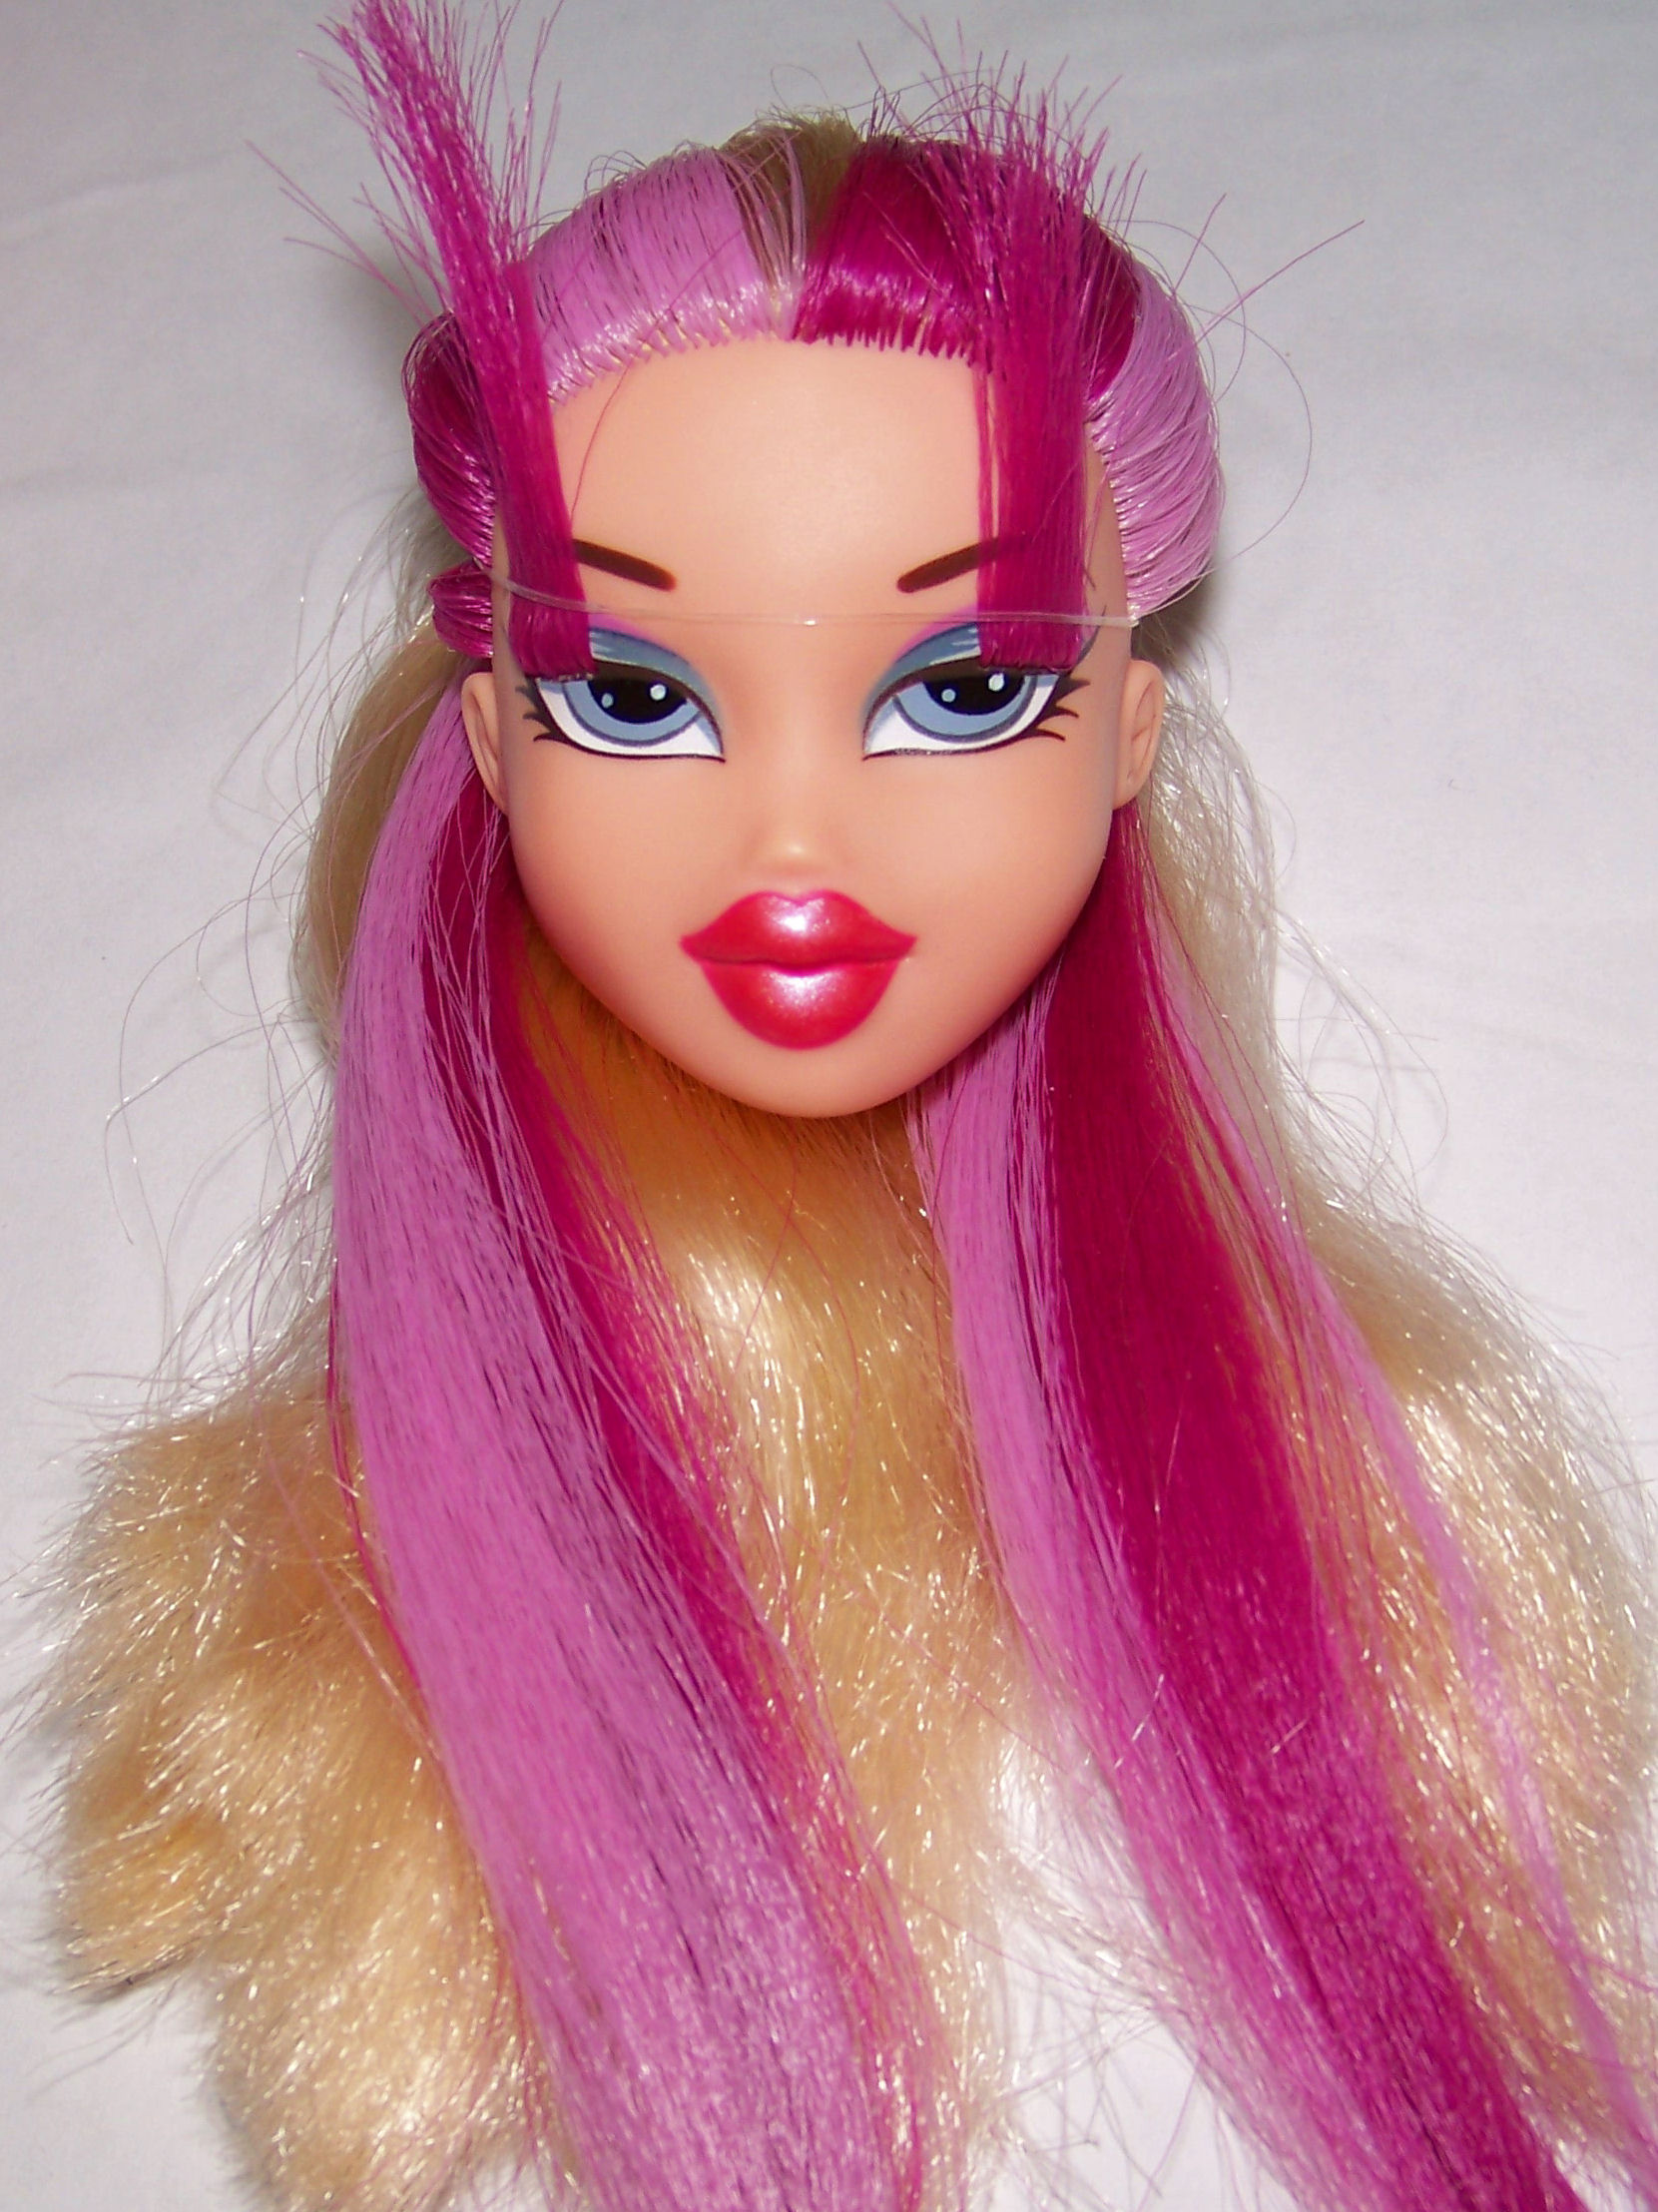
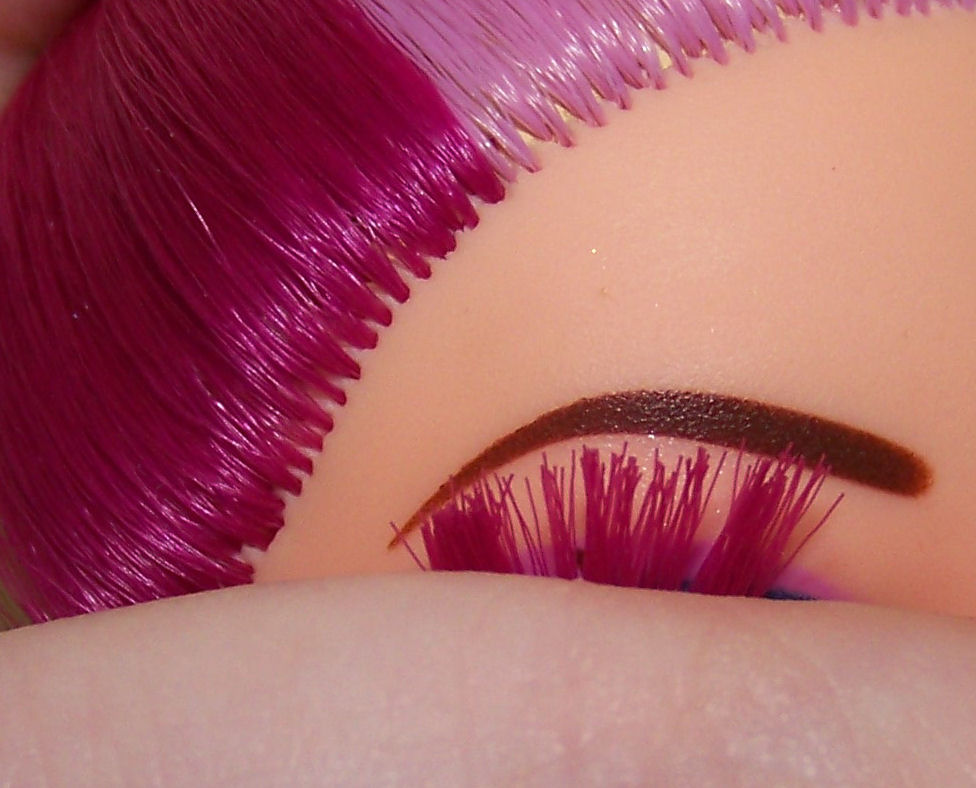
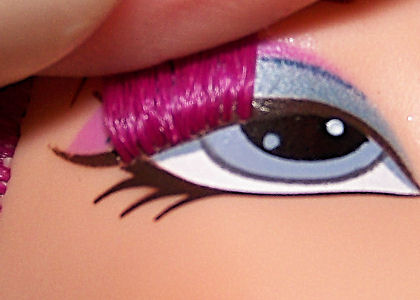
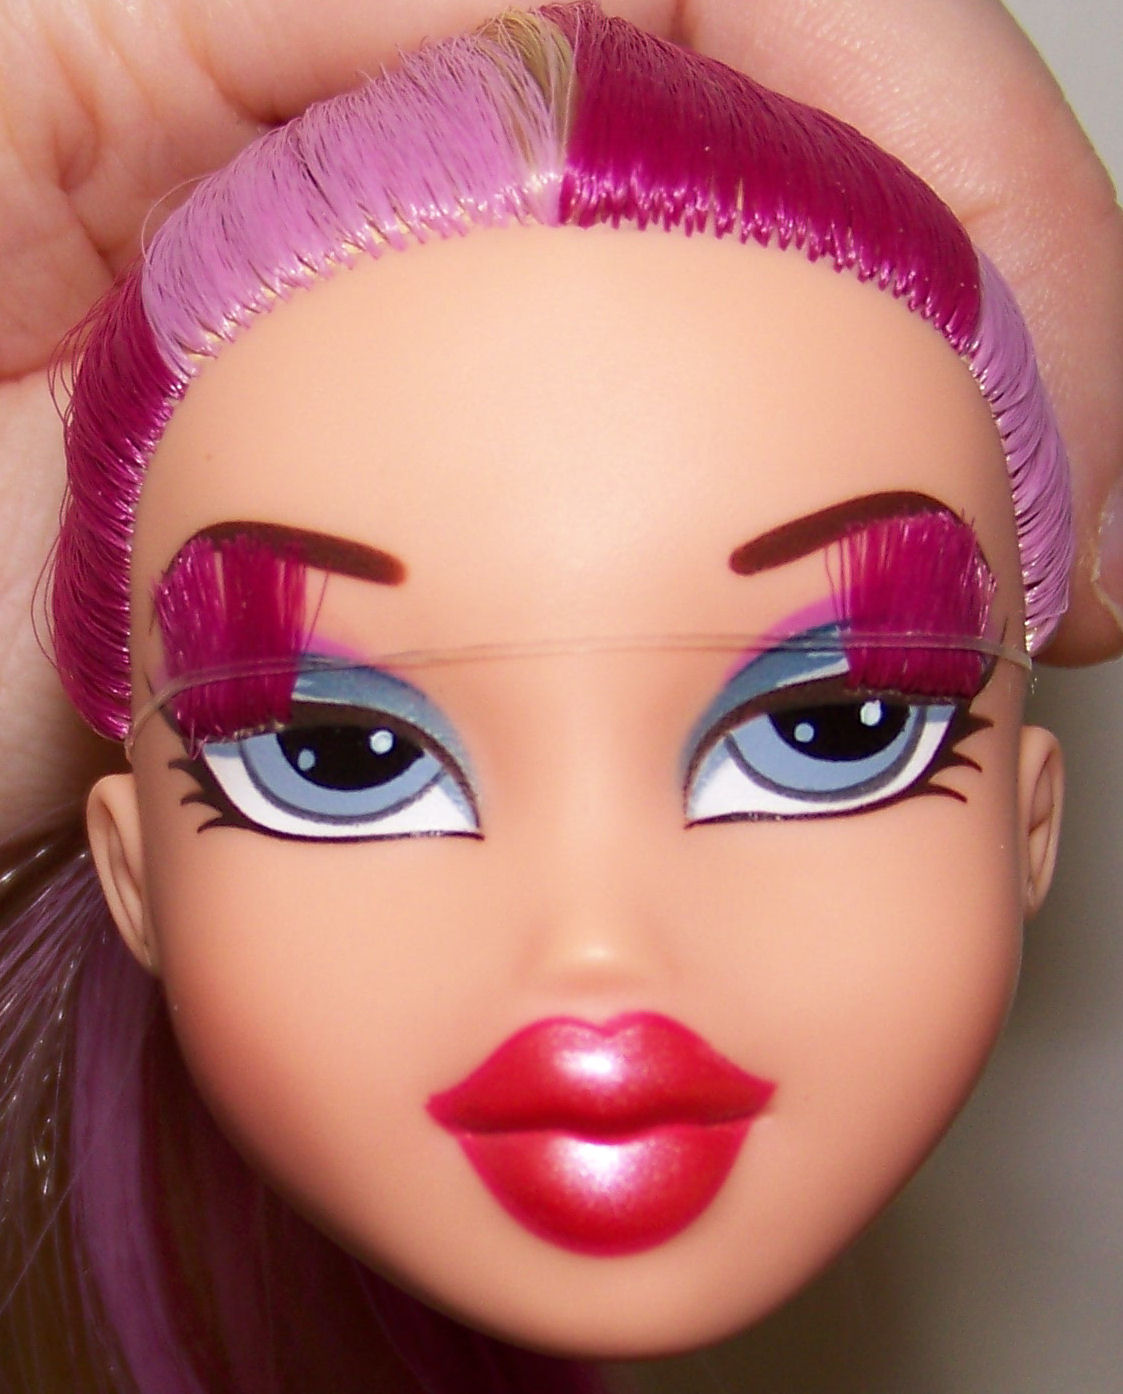
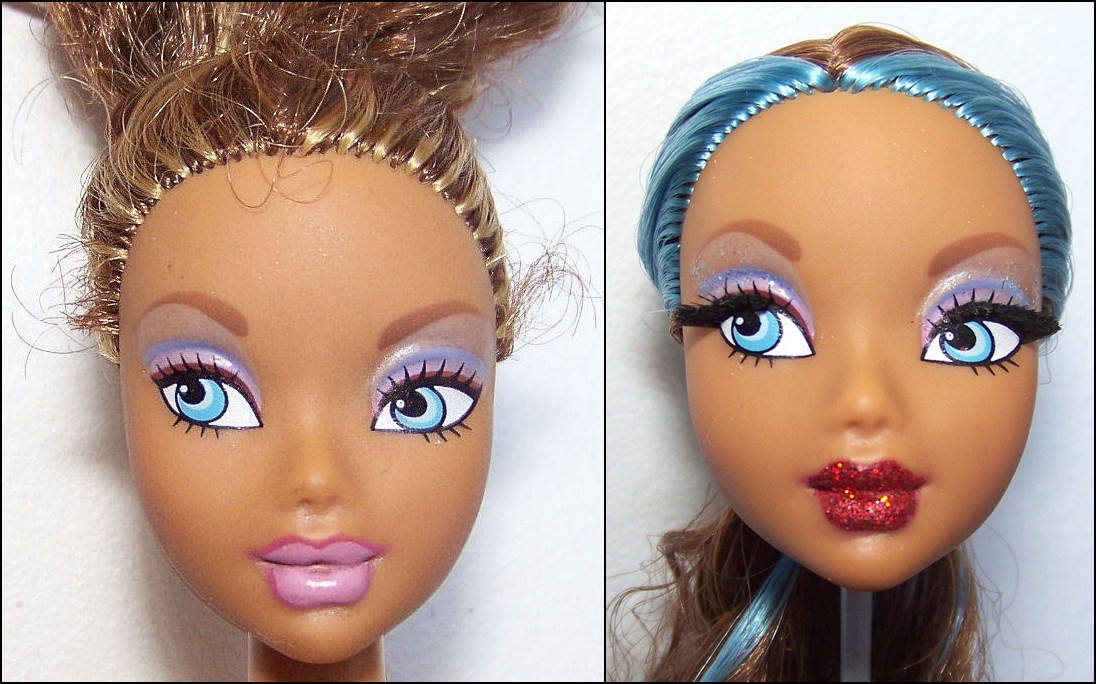
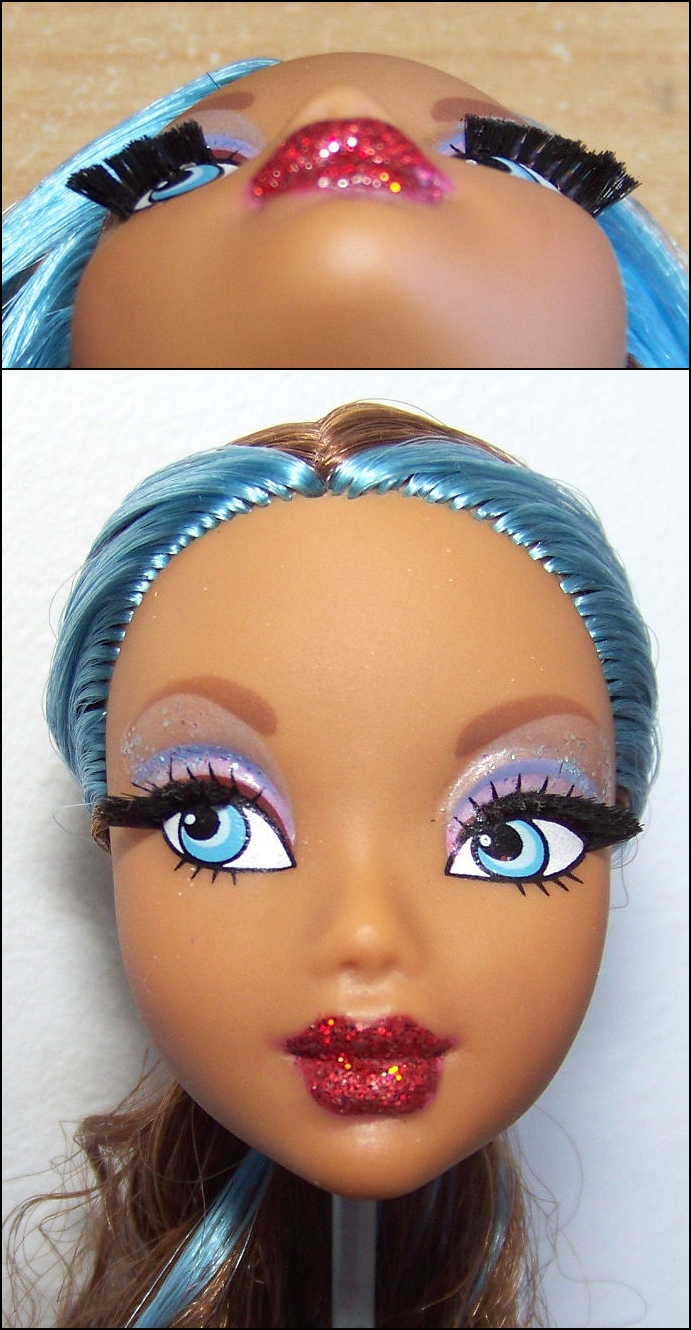
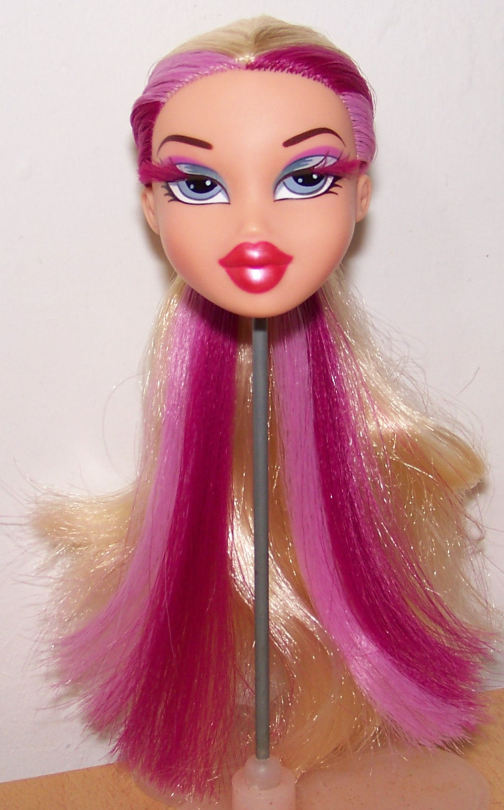
For a long lash dramatic look
I press against the
face and cut following the eyebrow.
For a cats eye press against the face and cut with a slight slant upwards towards the outer eye no longer than 3mm at the shortest part (so it will look like eyeliner not lashes at certain angles). I keep short scraps of black and brown for eyelashes and usually like to add one or two plugs of the hair colour at the outer edge for flair. hair piles - back to menubewbb asked: hey, im very new to rerooting, and whenever im working, its very hard for me to take hair out of the pile without creating a huge amount of unusable, frizzy hair. can you give me some advice ?Hi! I gently seperate the hair and use the twistie ties that comes with electronics to keep small piles. I pull the hair sideways not down the length of the hair as that can make it bunch up on itself and I put any odd lengths in a baggie to sort out later if I run out of hair. Then the pile Im working with always has a crocodile clip right next to it for anytime i need to move or pause the rerooting so it doesnt get knocked into a mess. Finally I use a little bit of coconut oil on the hair (that gets washed off once the reroot is finished) to avoid it sticking to itself. Basically prep time takes at least half hour: getting the hair in managed, tied down bundles with lots of clips at the ready to keep it from turning into a haystack =p Another thing to remember is that if you have different hair lengths: use the longer stuff at the top of the head. new hair line or split - back to menu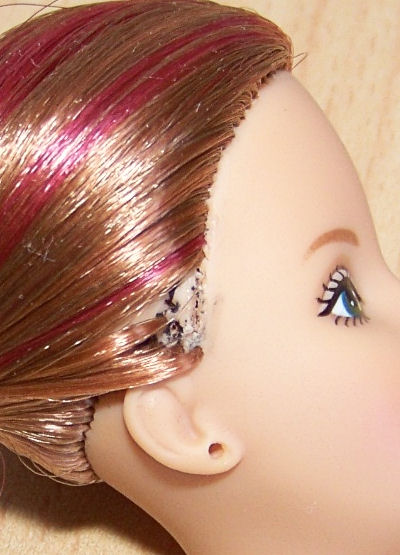
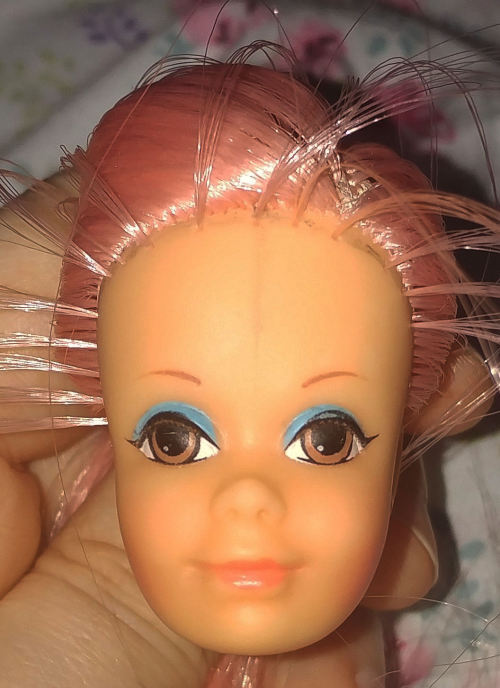 Pencil marks wipe off fast so I like to pin head reroot then fill in the blanks for redrawn hair lines and partings. streaks gradient - back to menu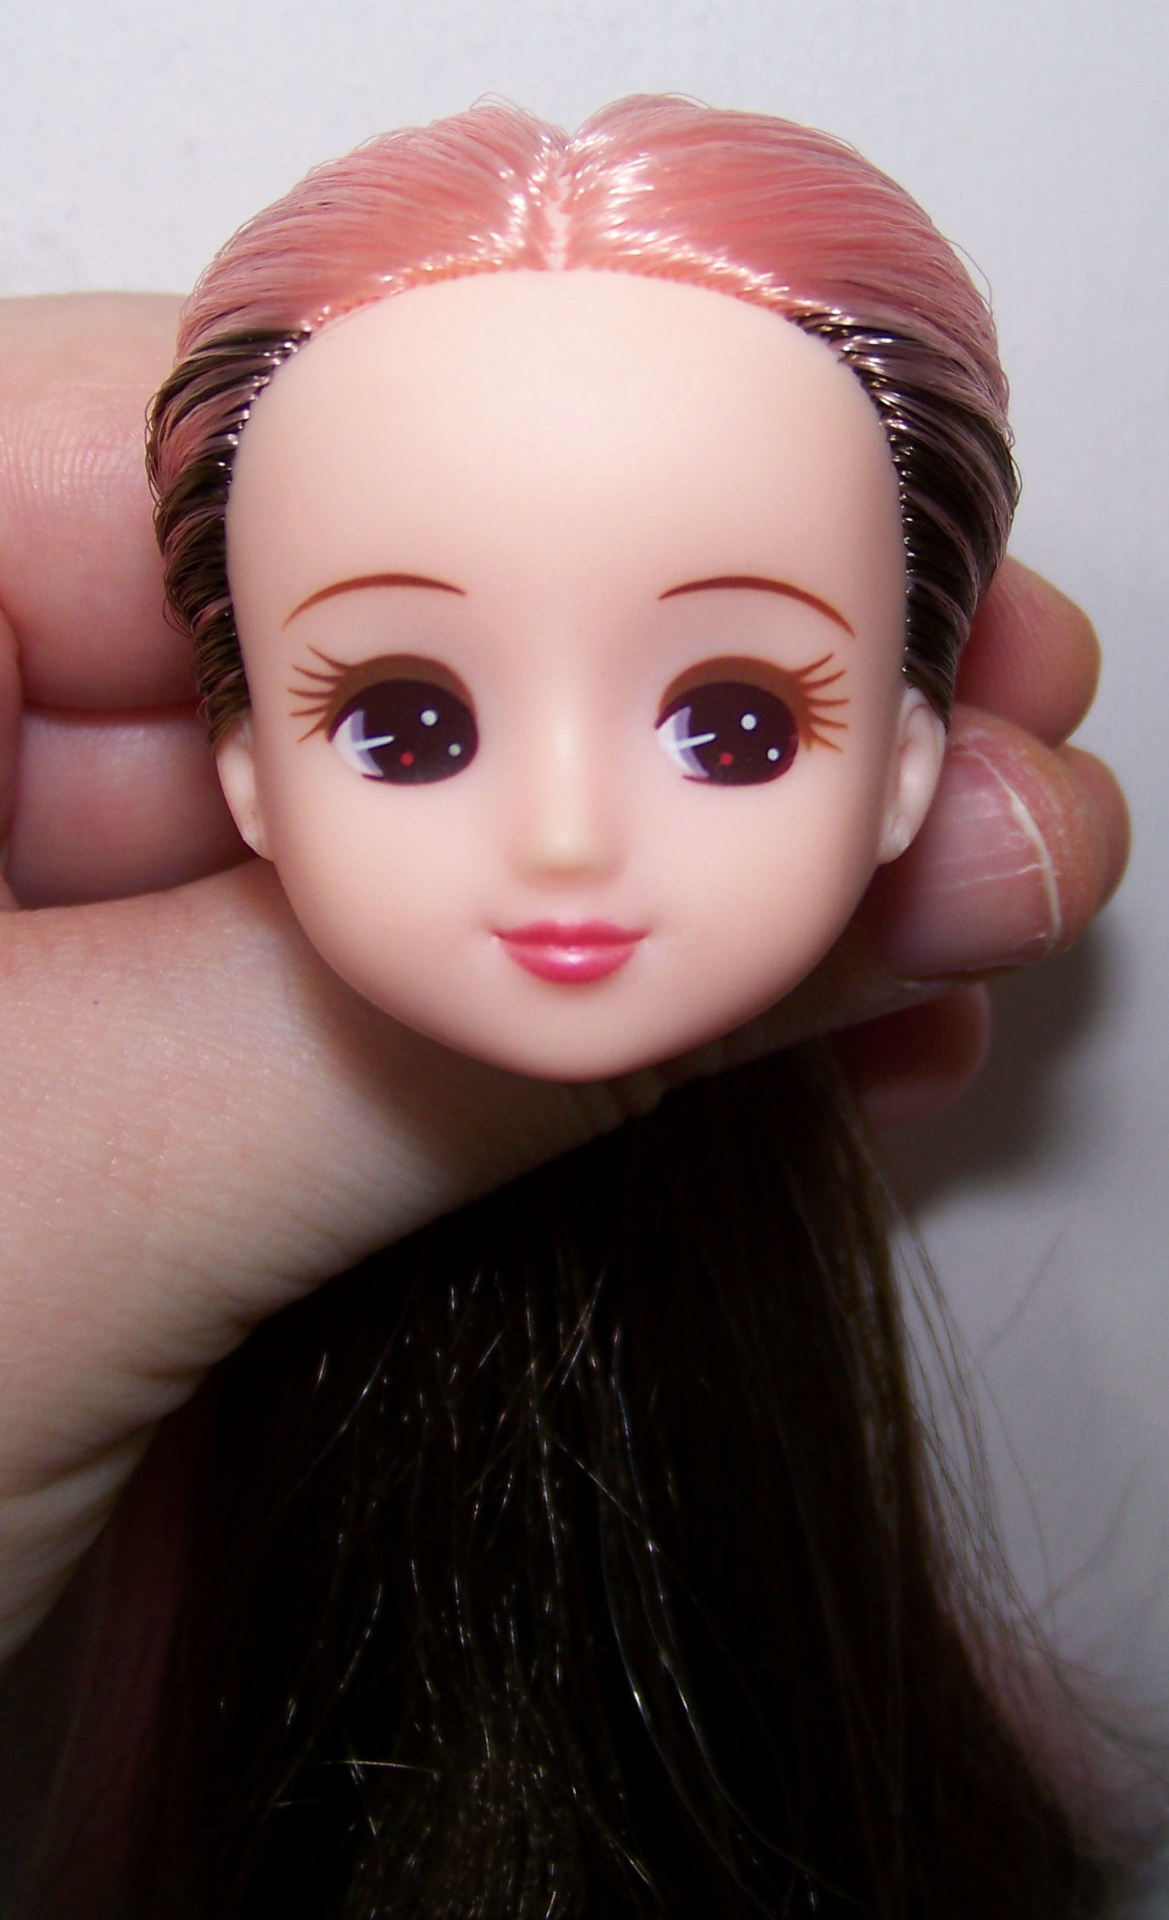 When the contrast between two colours is strong and you want to soften it you can add streaks and gradually space them out more to give a slight gradient effect. This works well for when youve done a colourful bangs/fringe replacement and you dont want it to look punk/goth but more integrated into the overall hairstyle. head painting - back to menu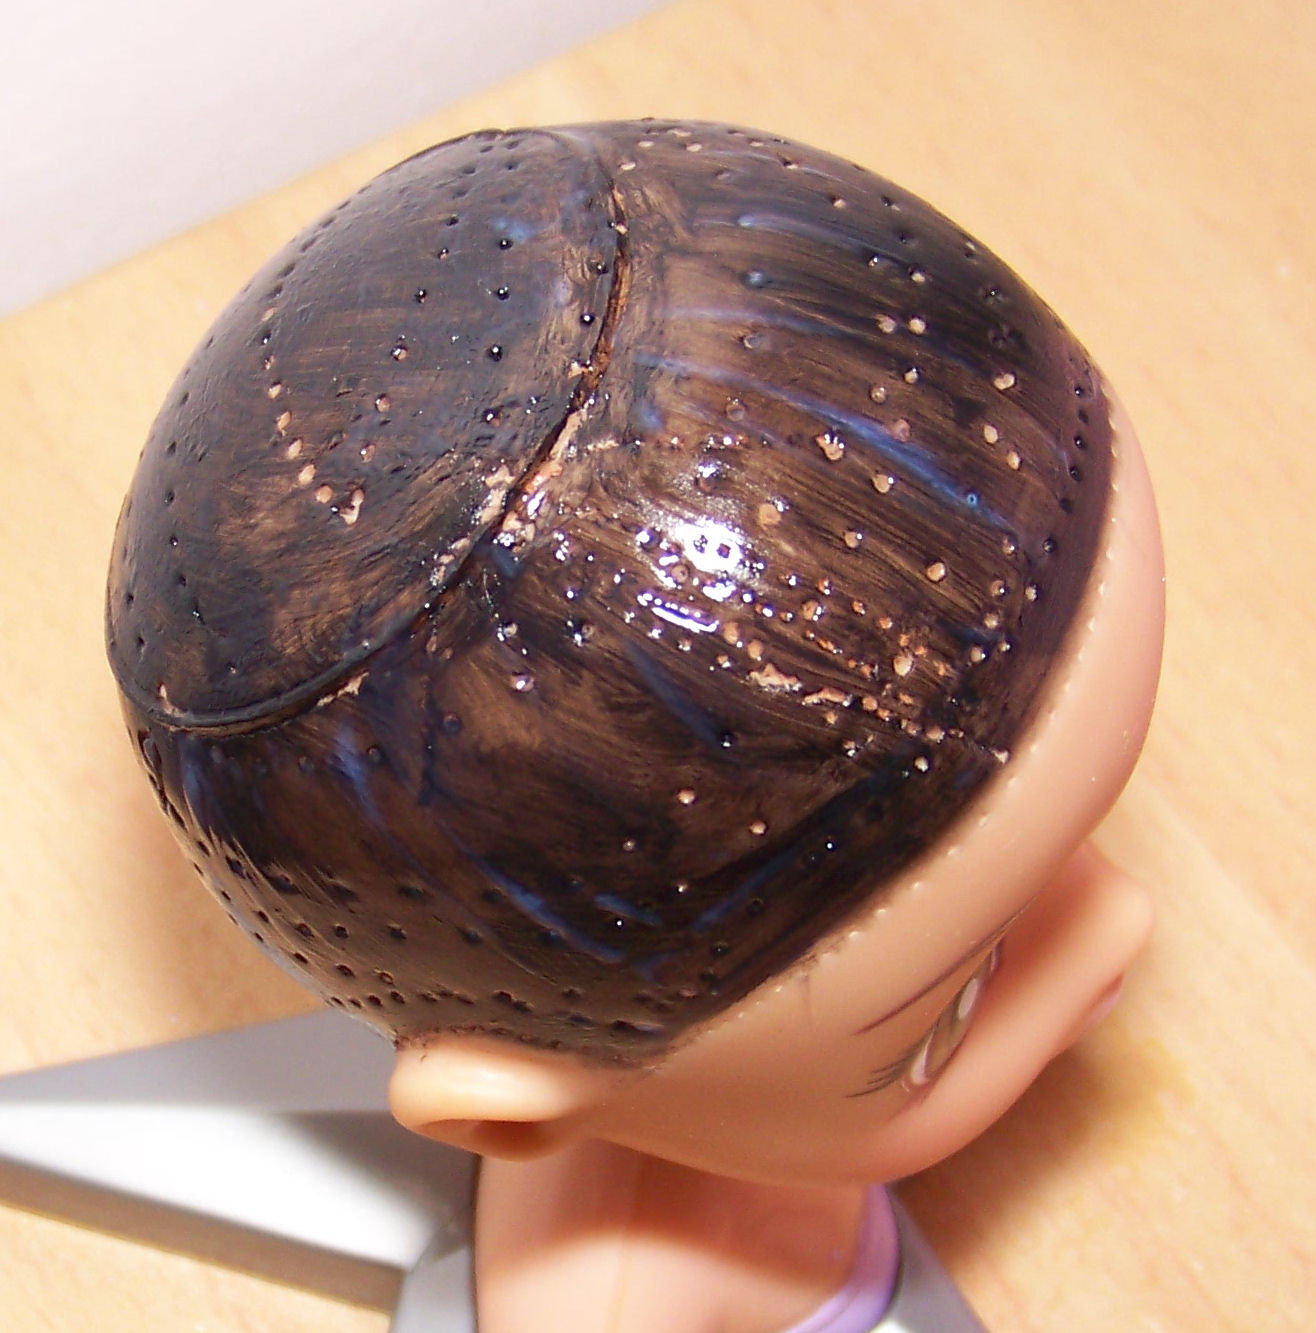
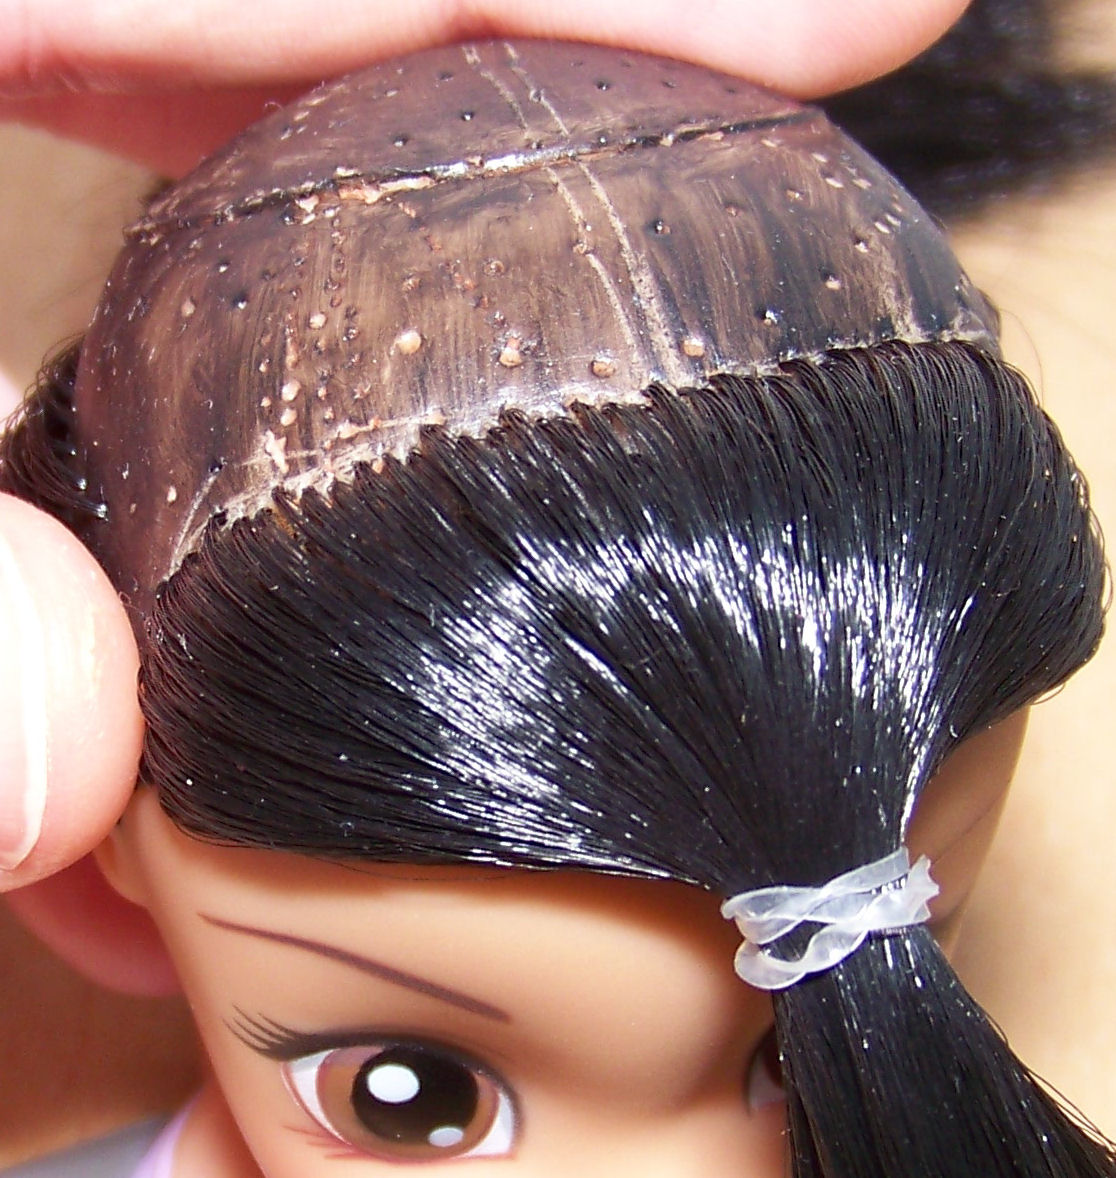 Apply acrylic paint and pull the brush in one direction only to keep part of the plugs flesh toned (ie visible), then apply undiluted acrylic matte sealant (anything else gets tacky). Leave to dry for two hours. Scratch in the markings for the partings with a needle (middle and fringe/back of hair). As you can see, these got adjusted as the head came together. bangs - back to menuRounded heavy bangs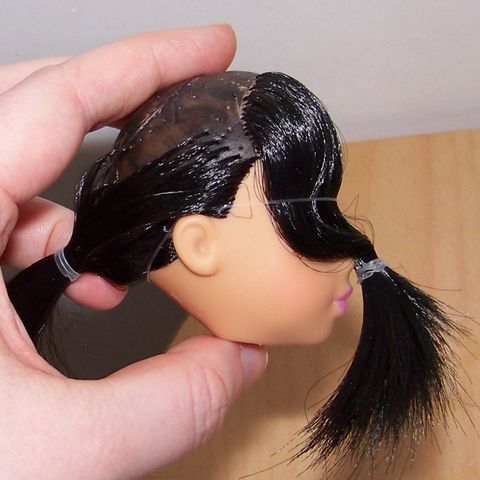
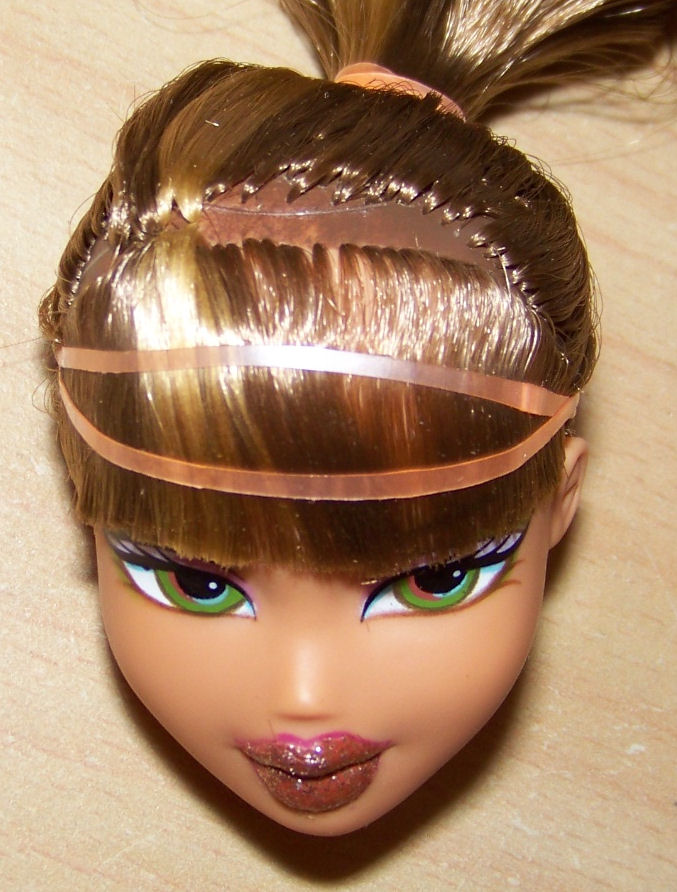
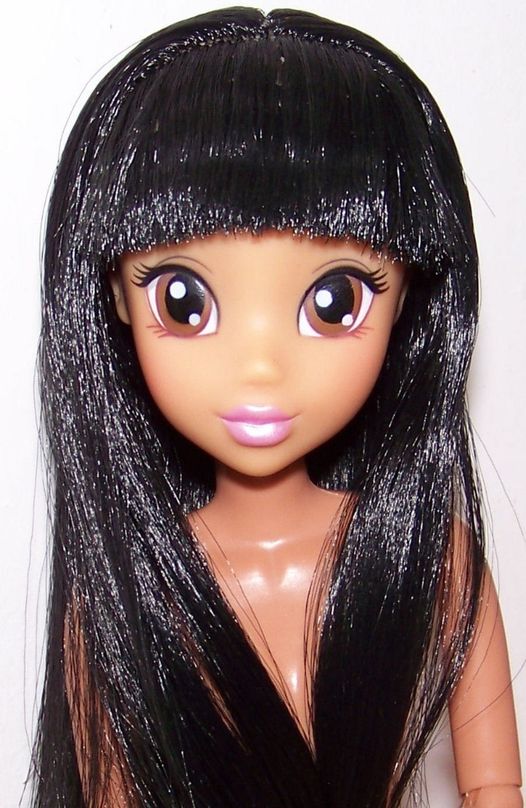 A large curved shaped fringe area - Here its 1.50cm long and extends to the edges of her eyebrows. Flat bangs: 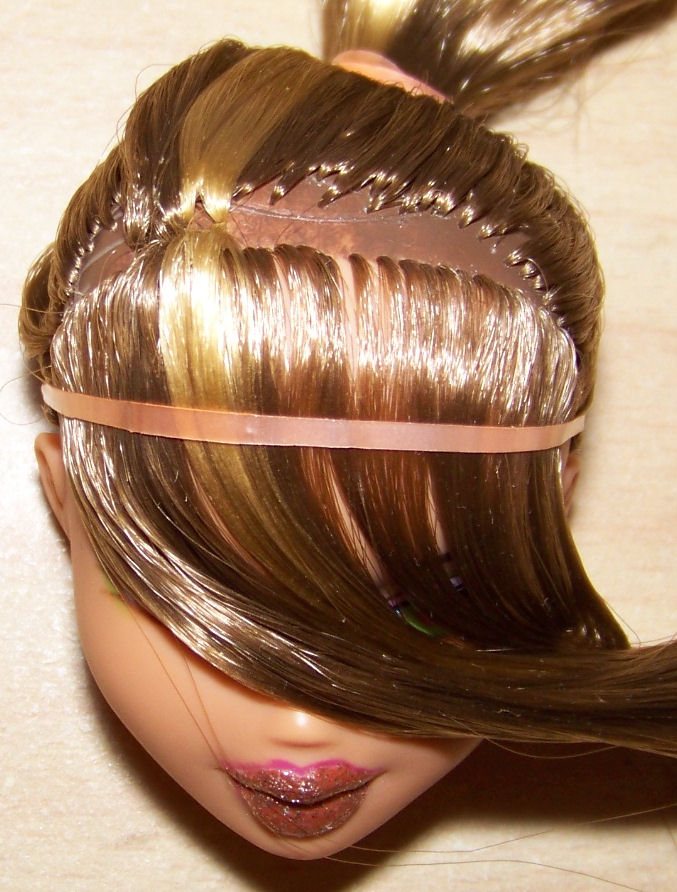
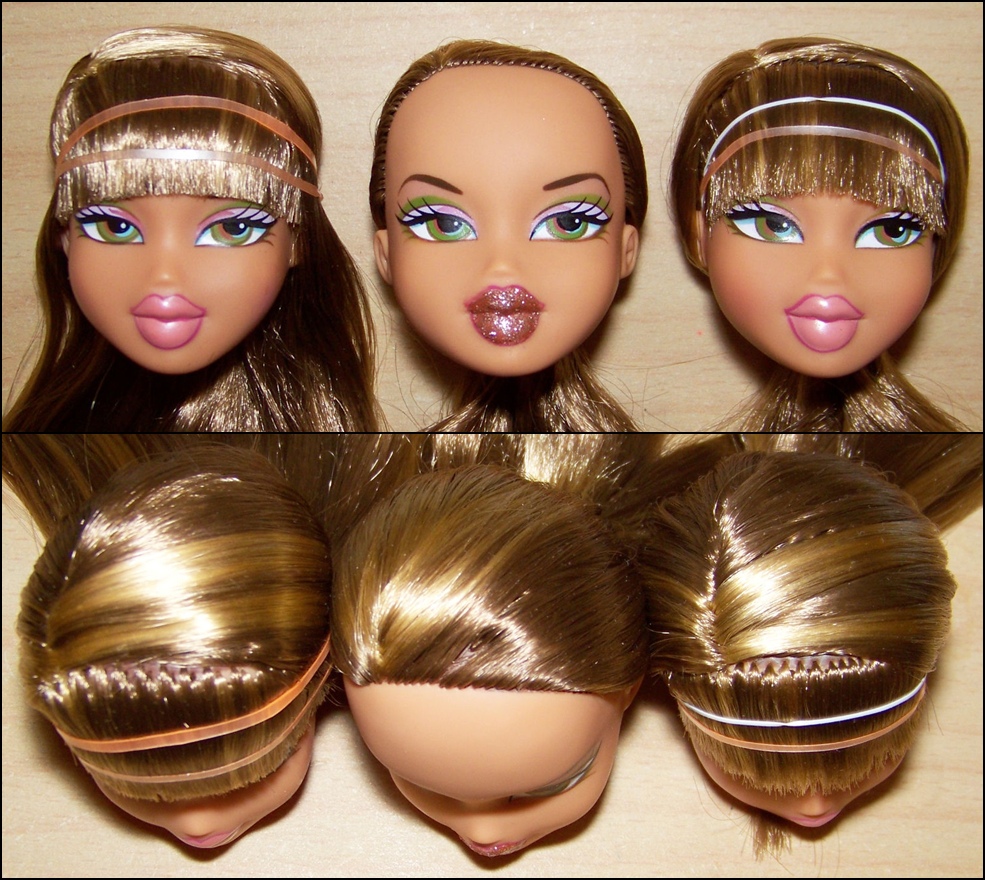
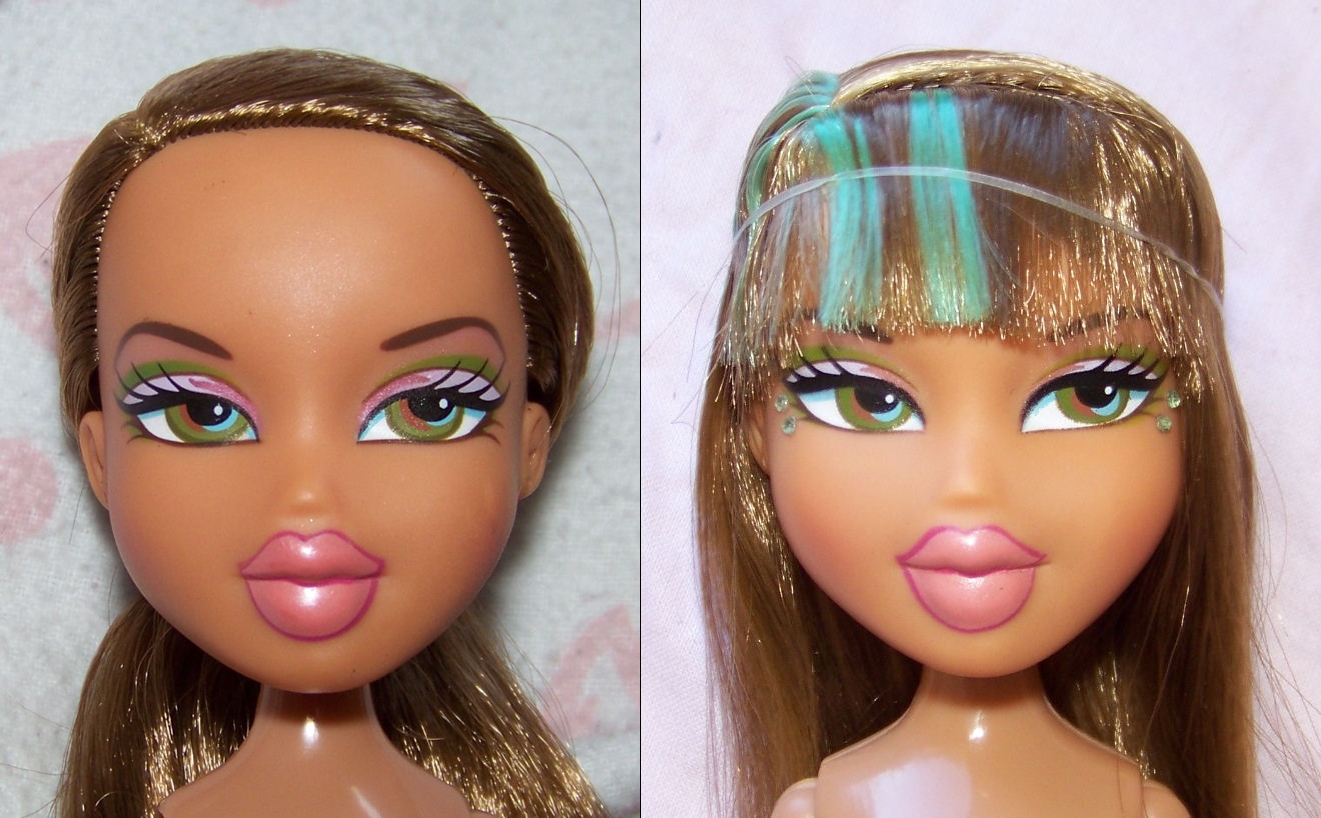
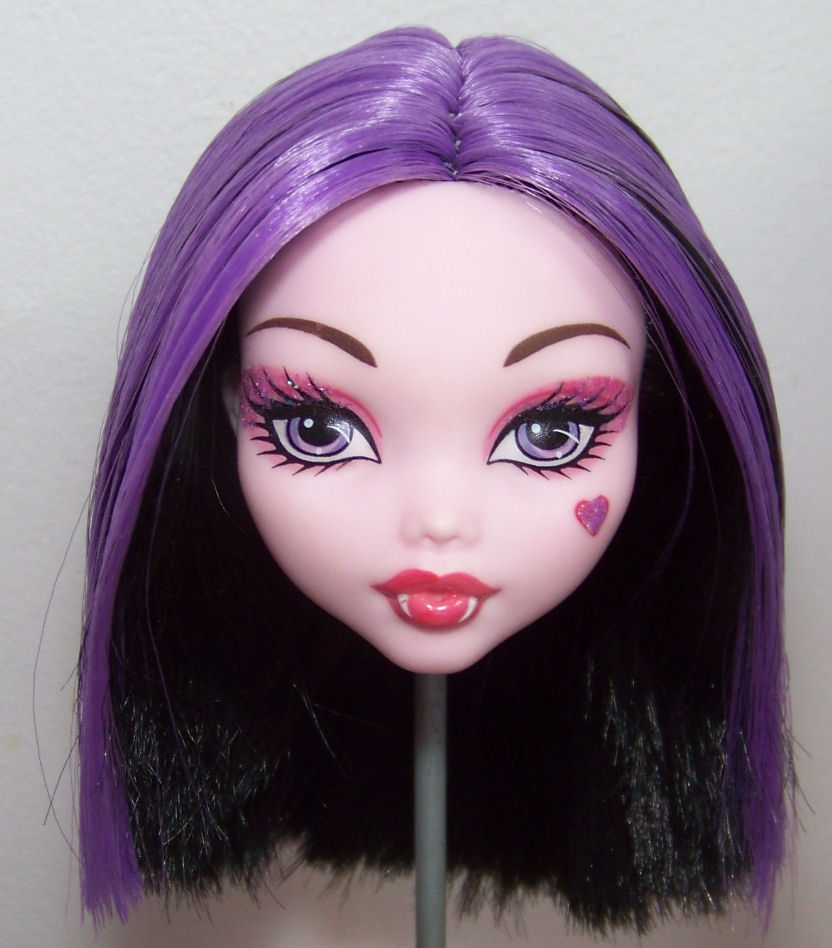
Triangle shaped bangs (as seen on Draculaura) 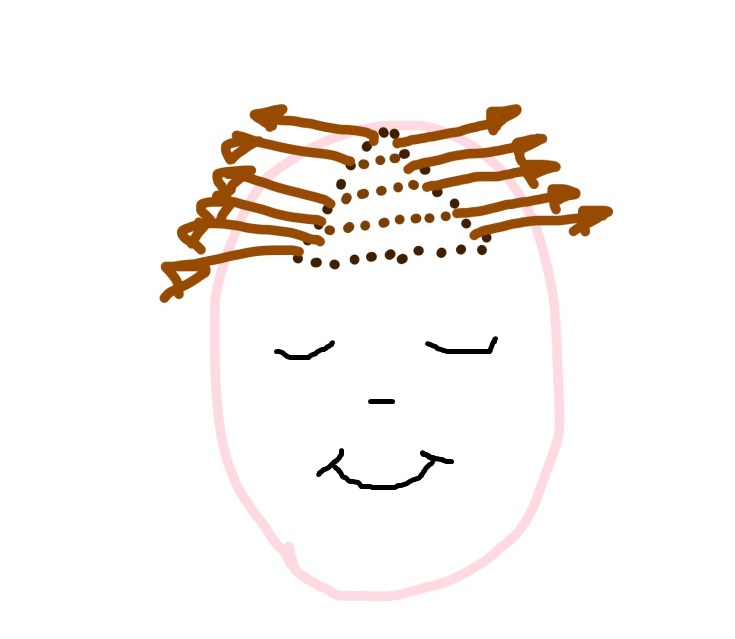
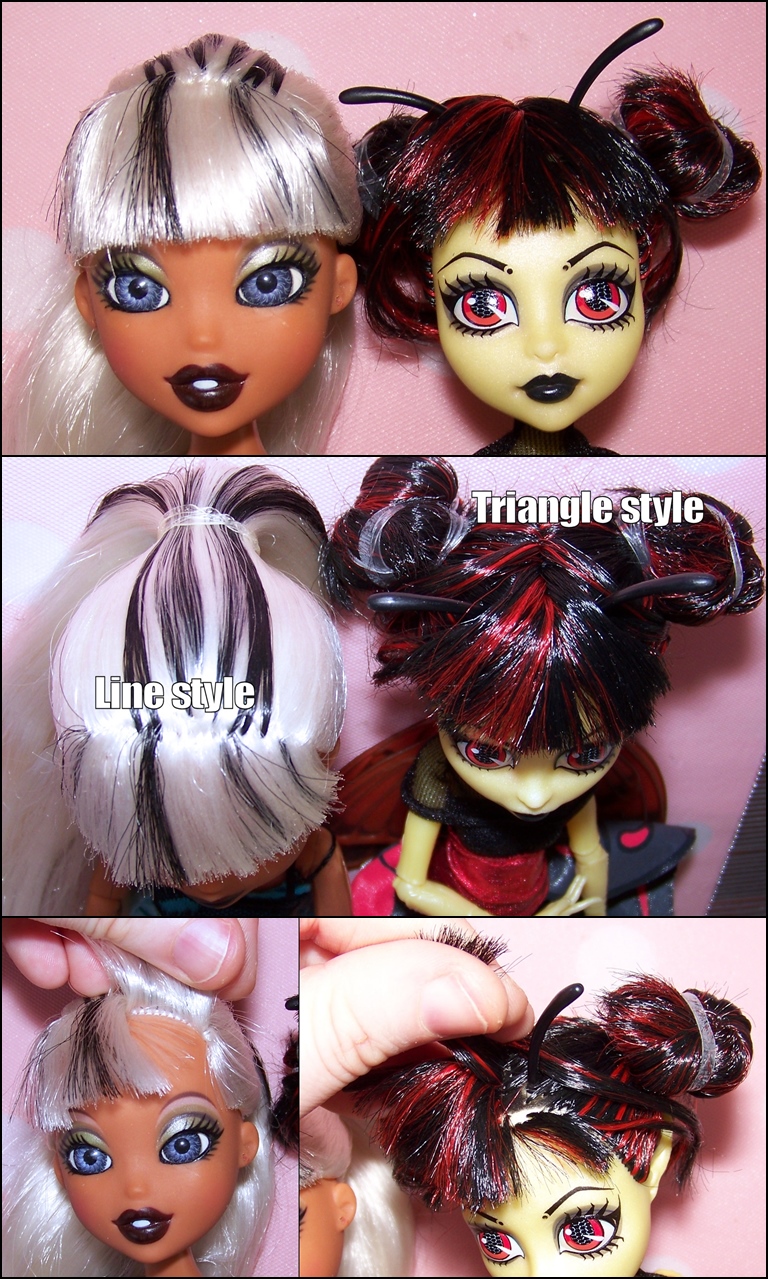 Sealing Bangs 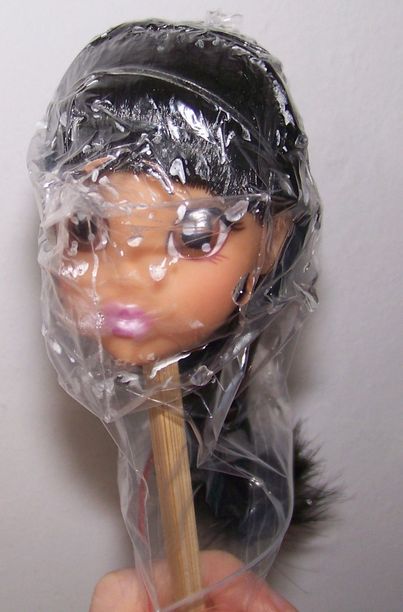 To seal the shape of the hair without damaging the water soluble acrylic paint/sealant: you tie up the hair just right, pop the head in a baggie, put a chopstick in the head to push down because or else itll float and put it in boiling water, the elastics will snap but the bag sort of sticks to the shape of the head so it keeps the shape. hairtypes - back to menuFor a reroot, you can use special doll hair, human extensions, wool, thread...For your OOAK dolls what you need to decide is if they are going to be display dolls or play dolls. If they are for display only, you can use just about any craft materials and glue in your house to decorate your doll and it'll look fine so long as you don't get her wet or brush the hair too often.Hair fibers?
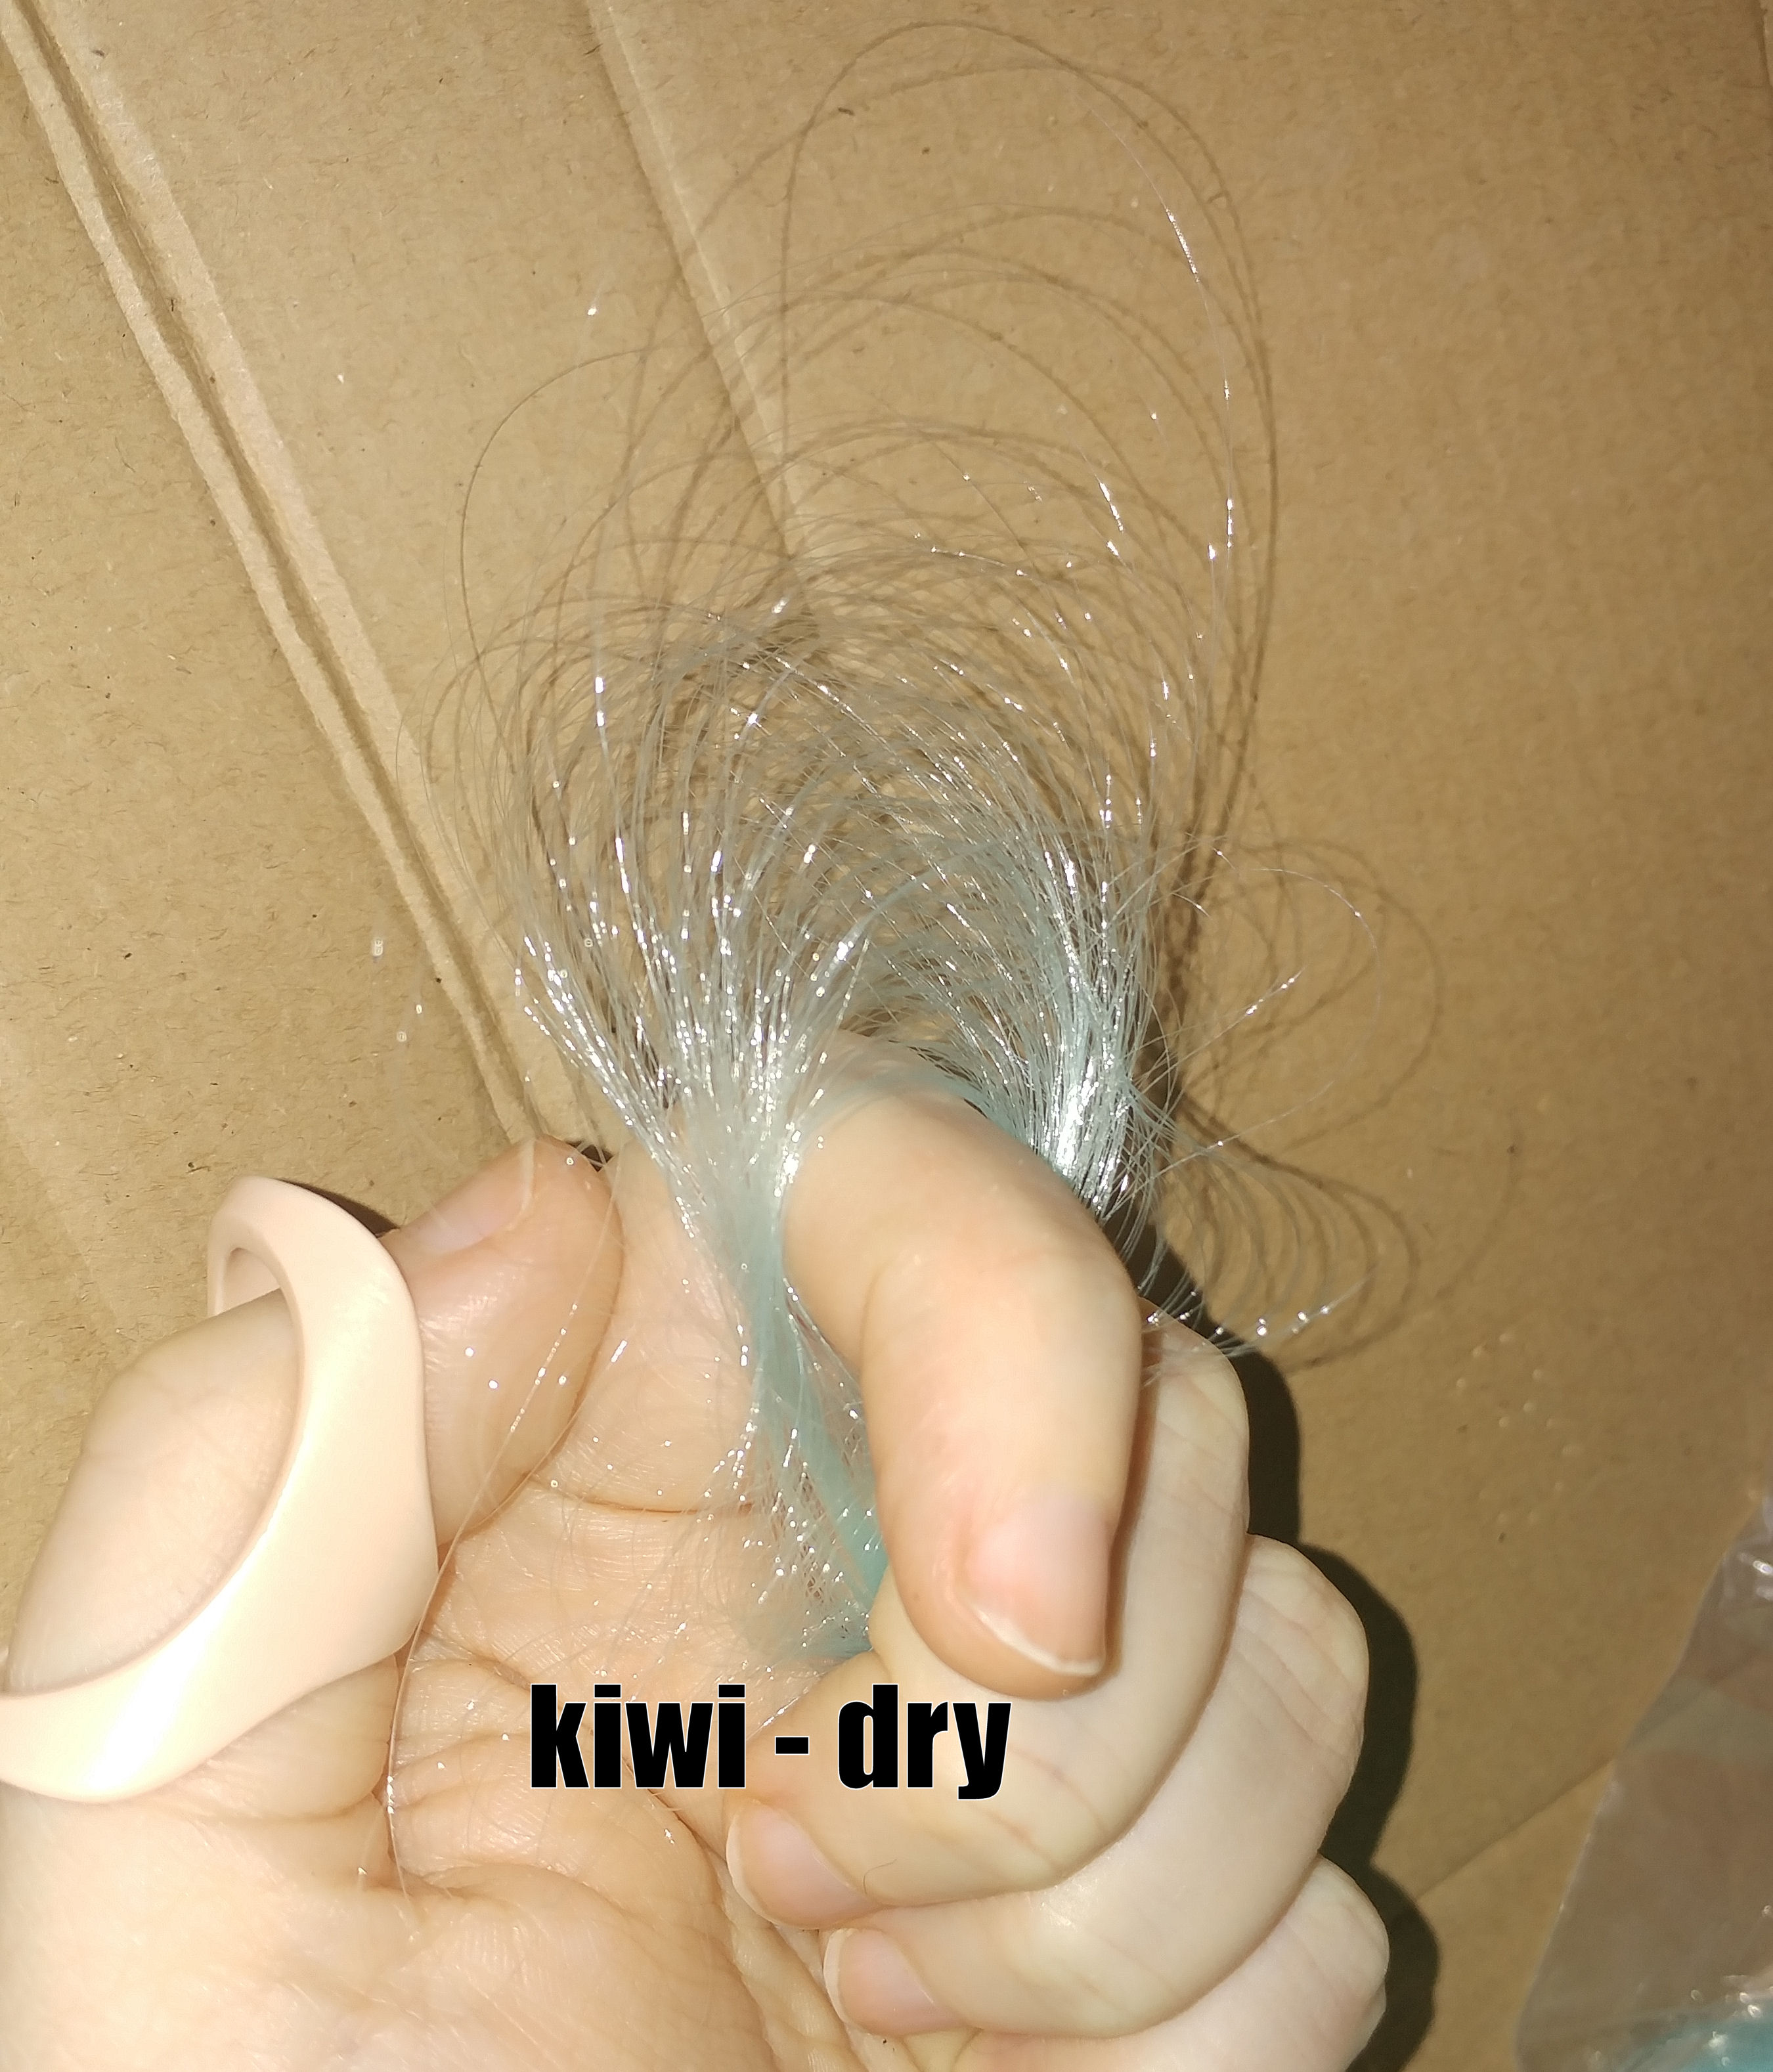
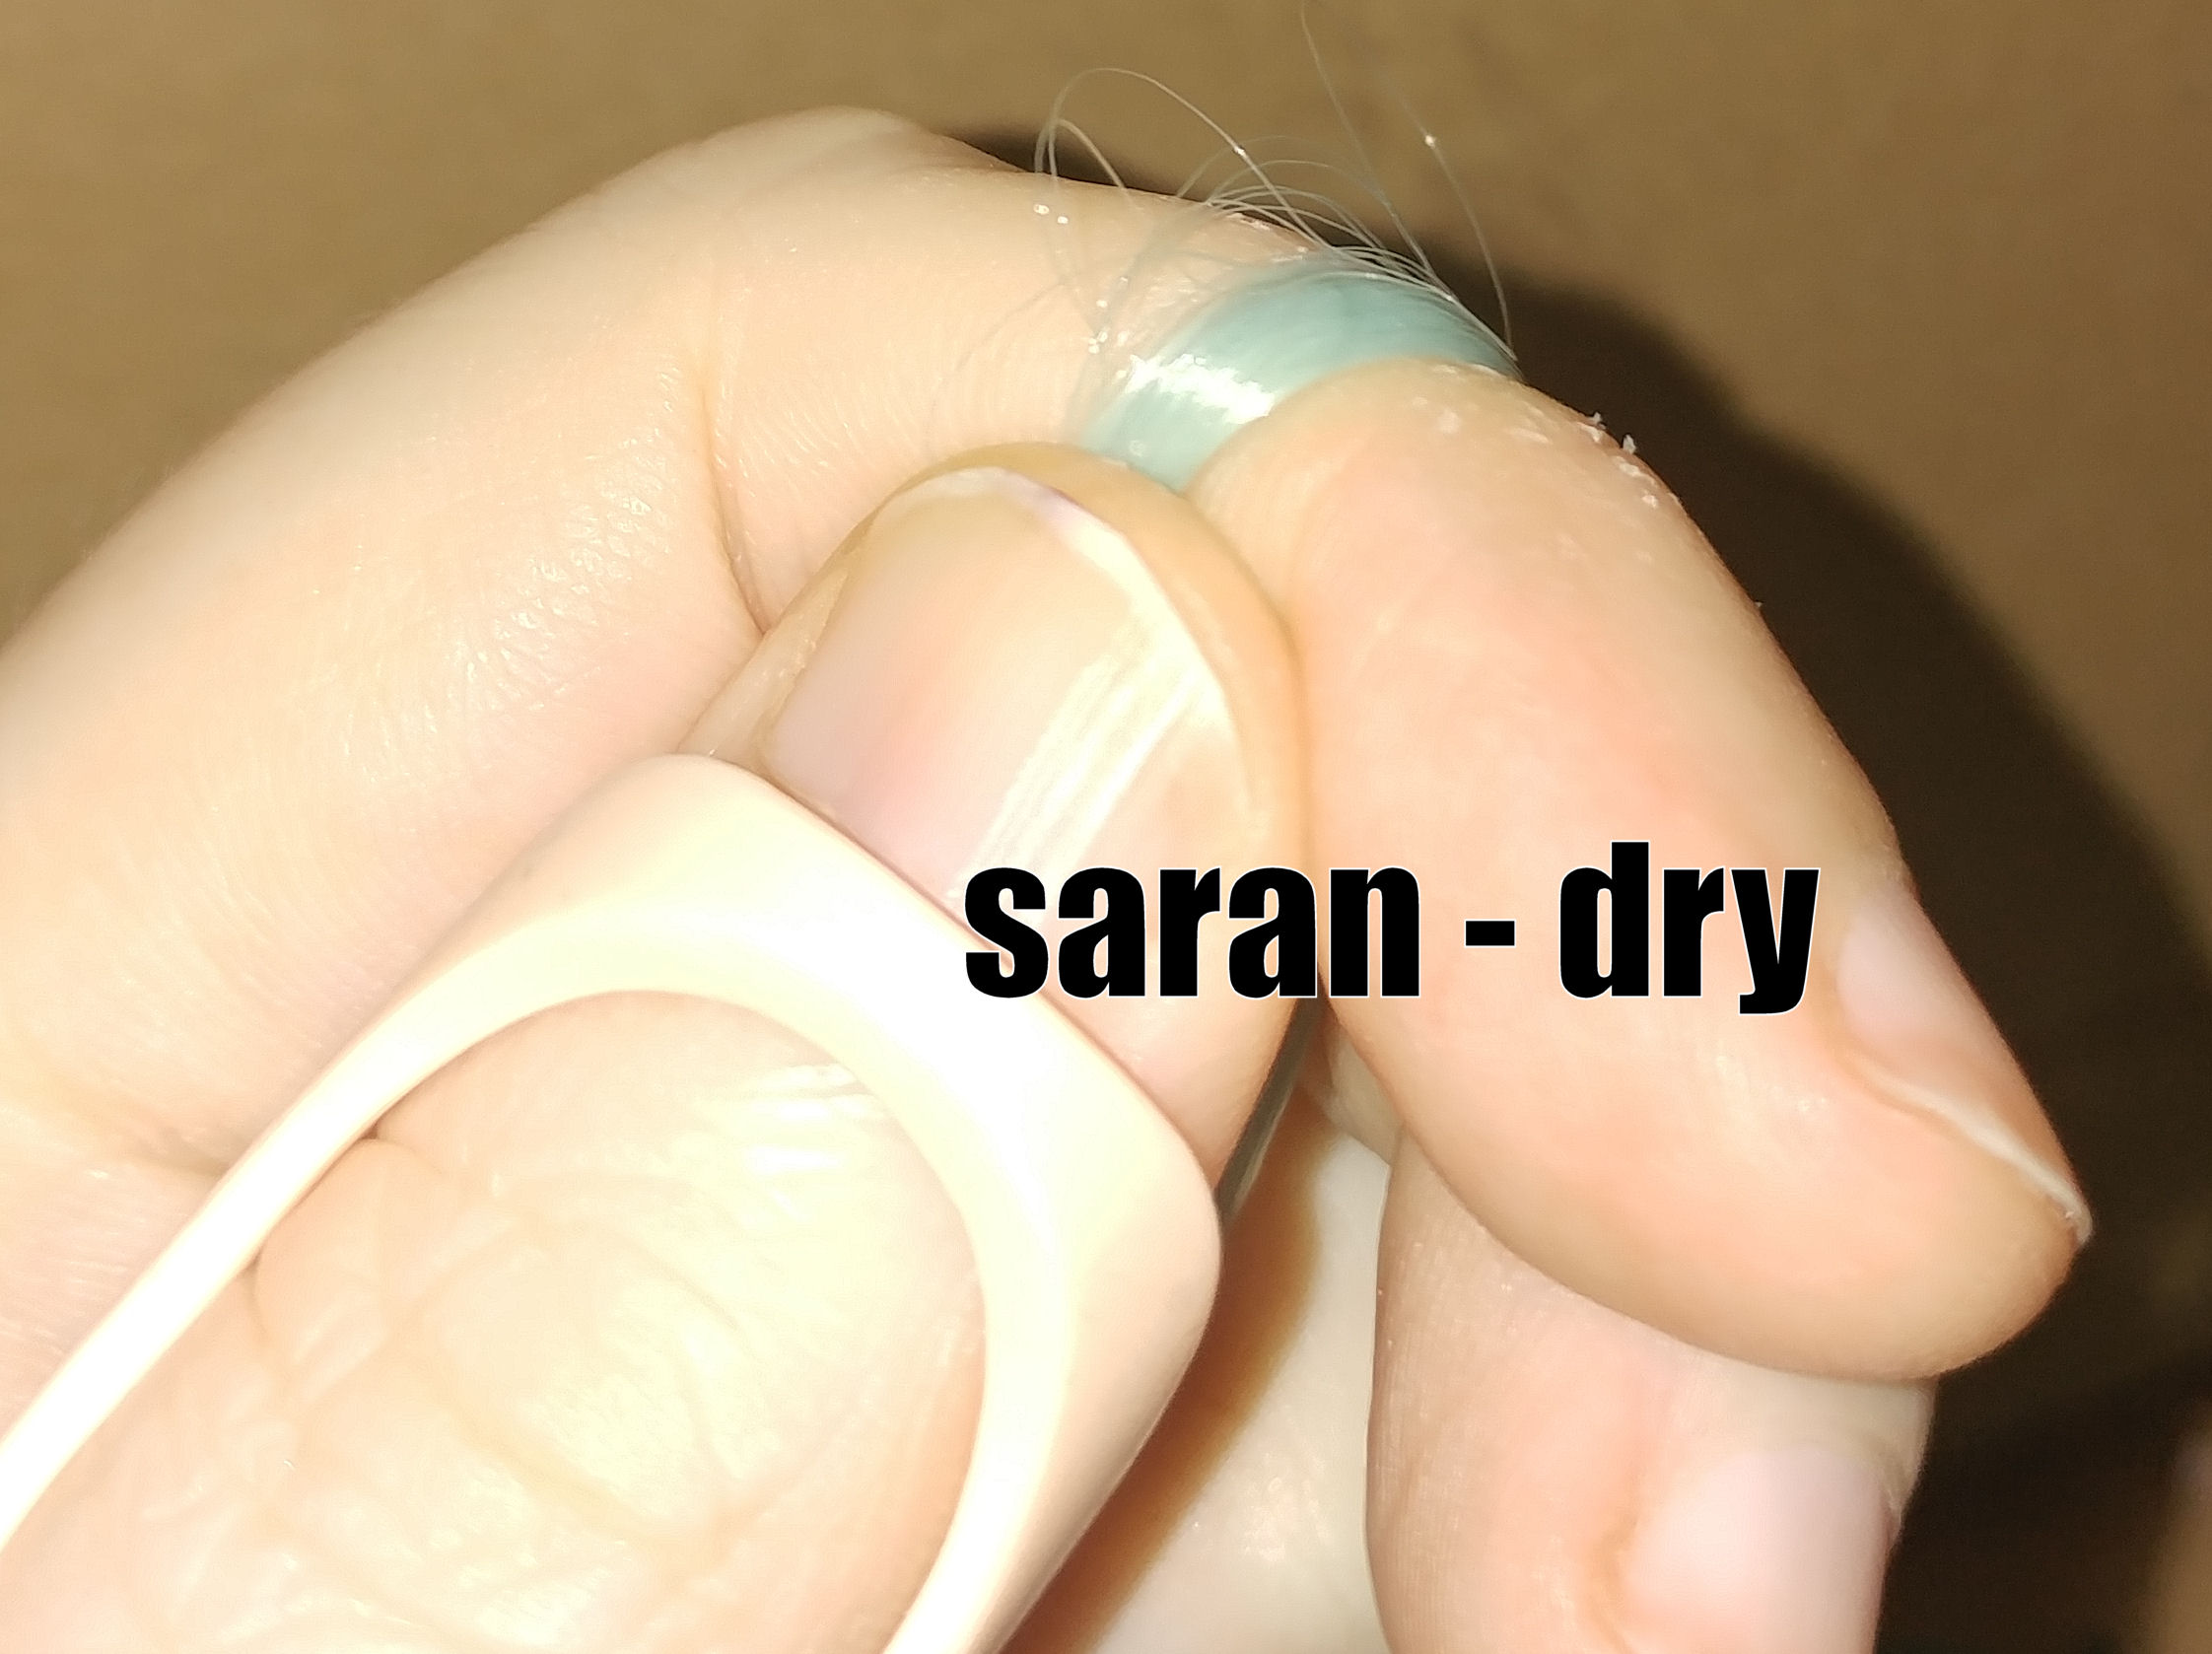
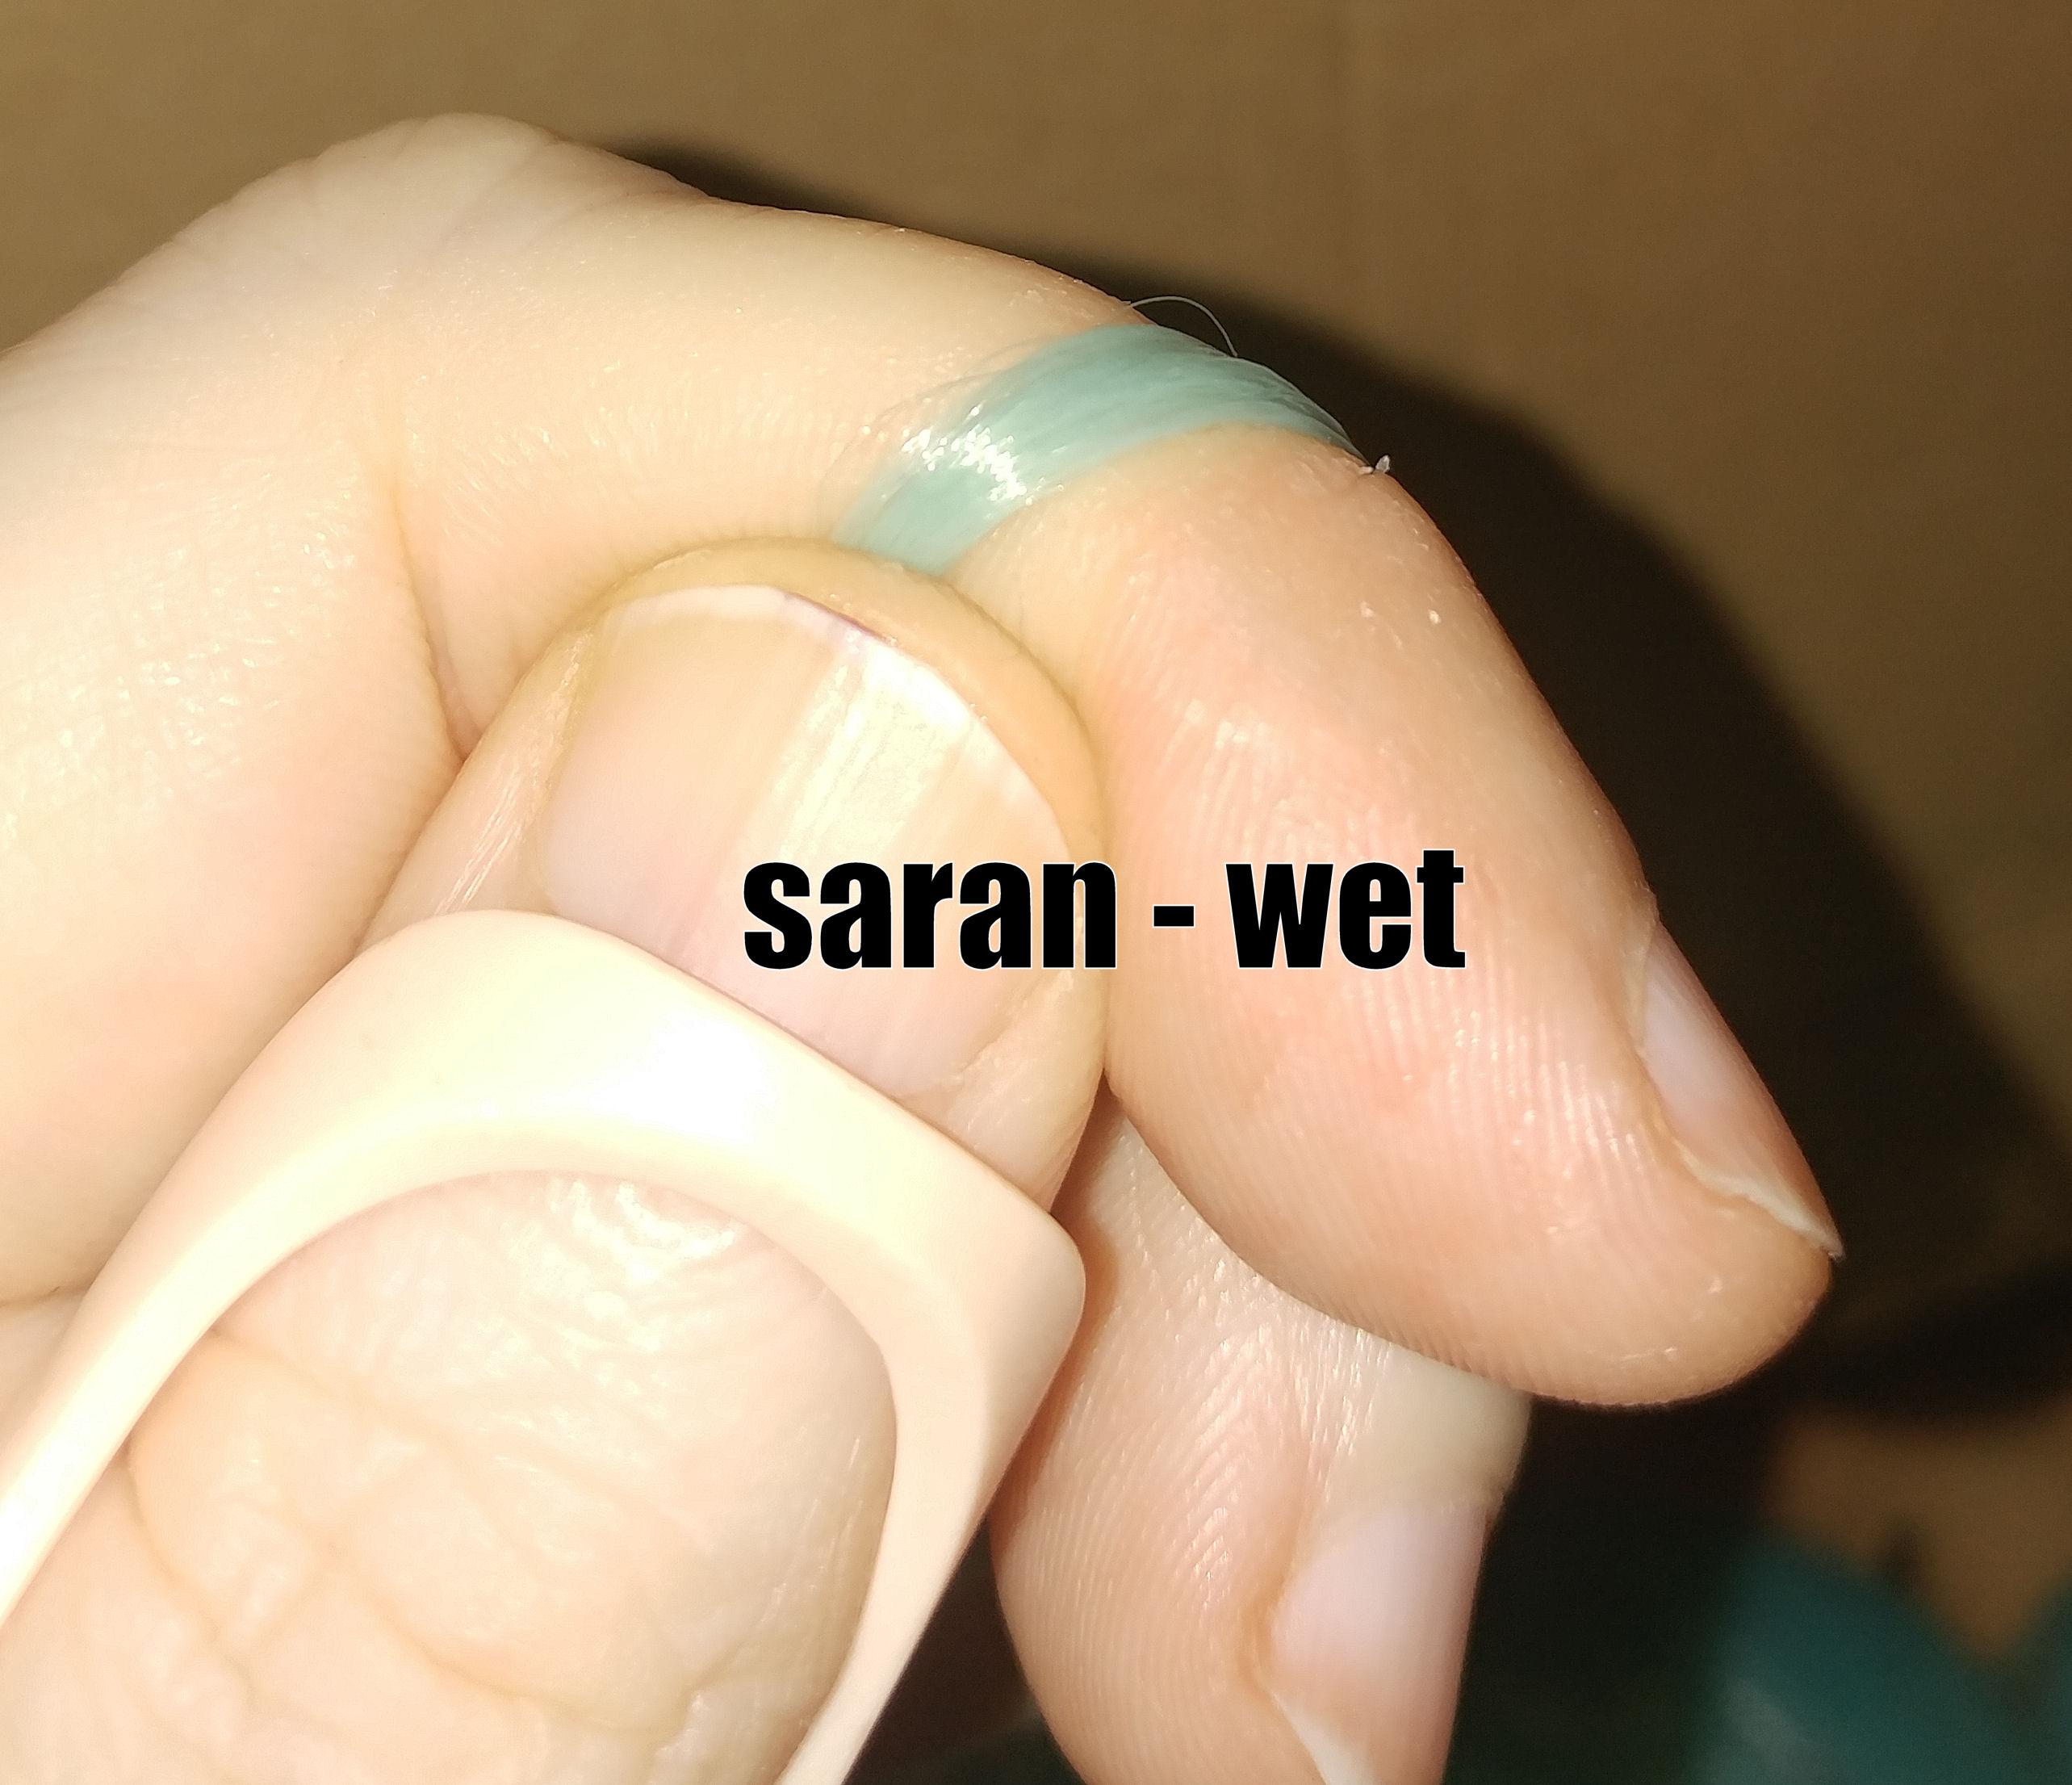
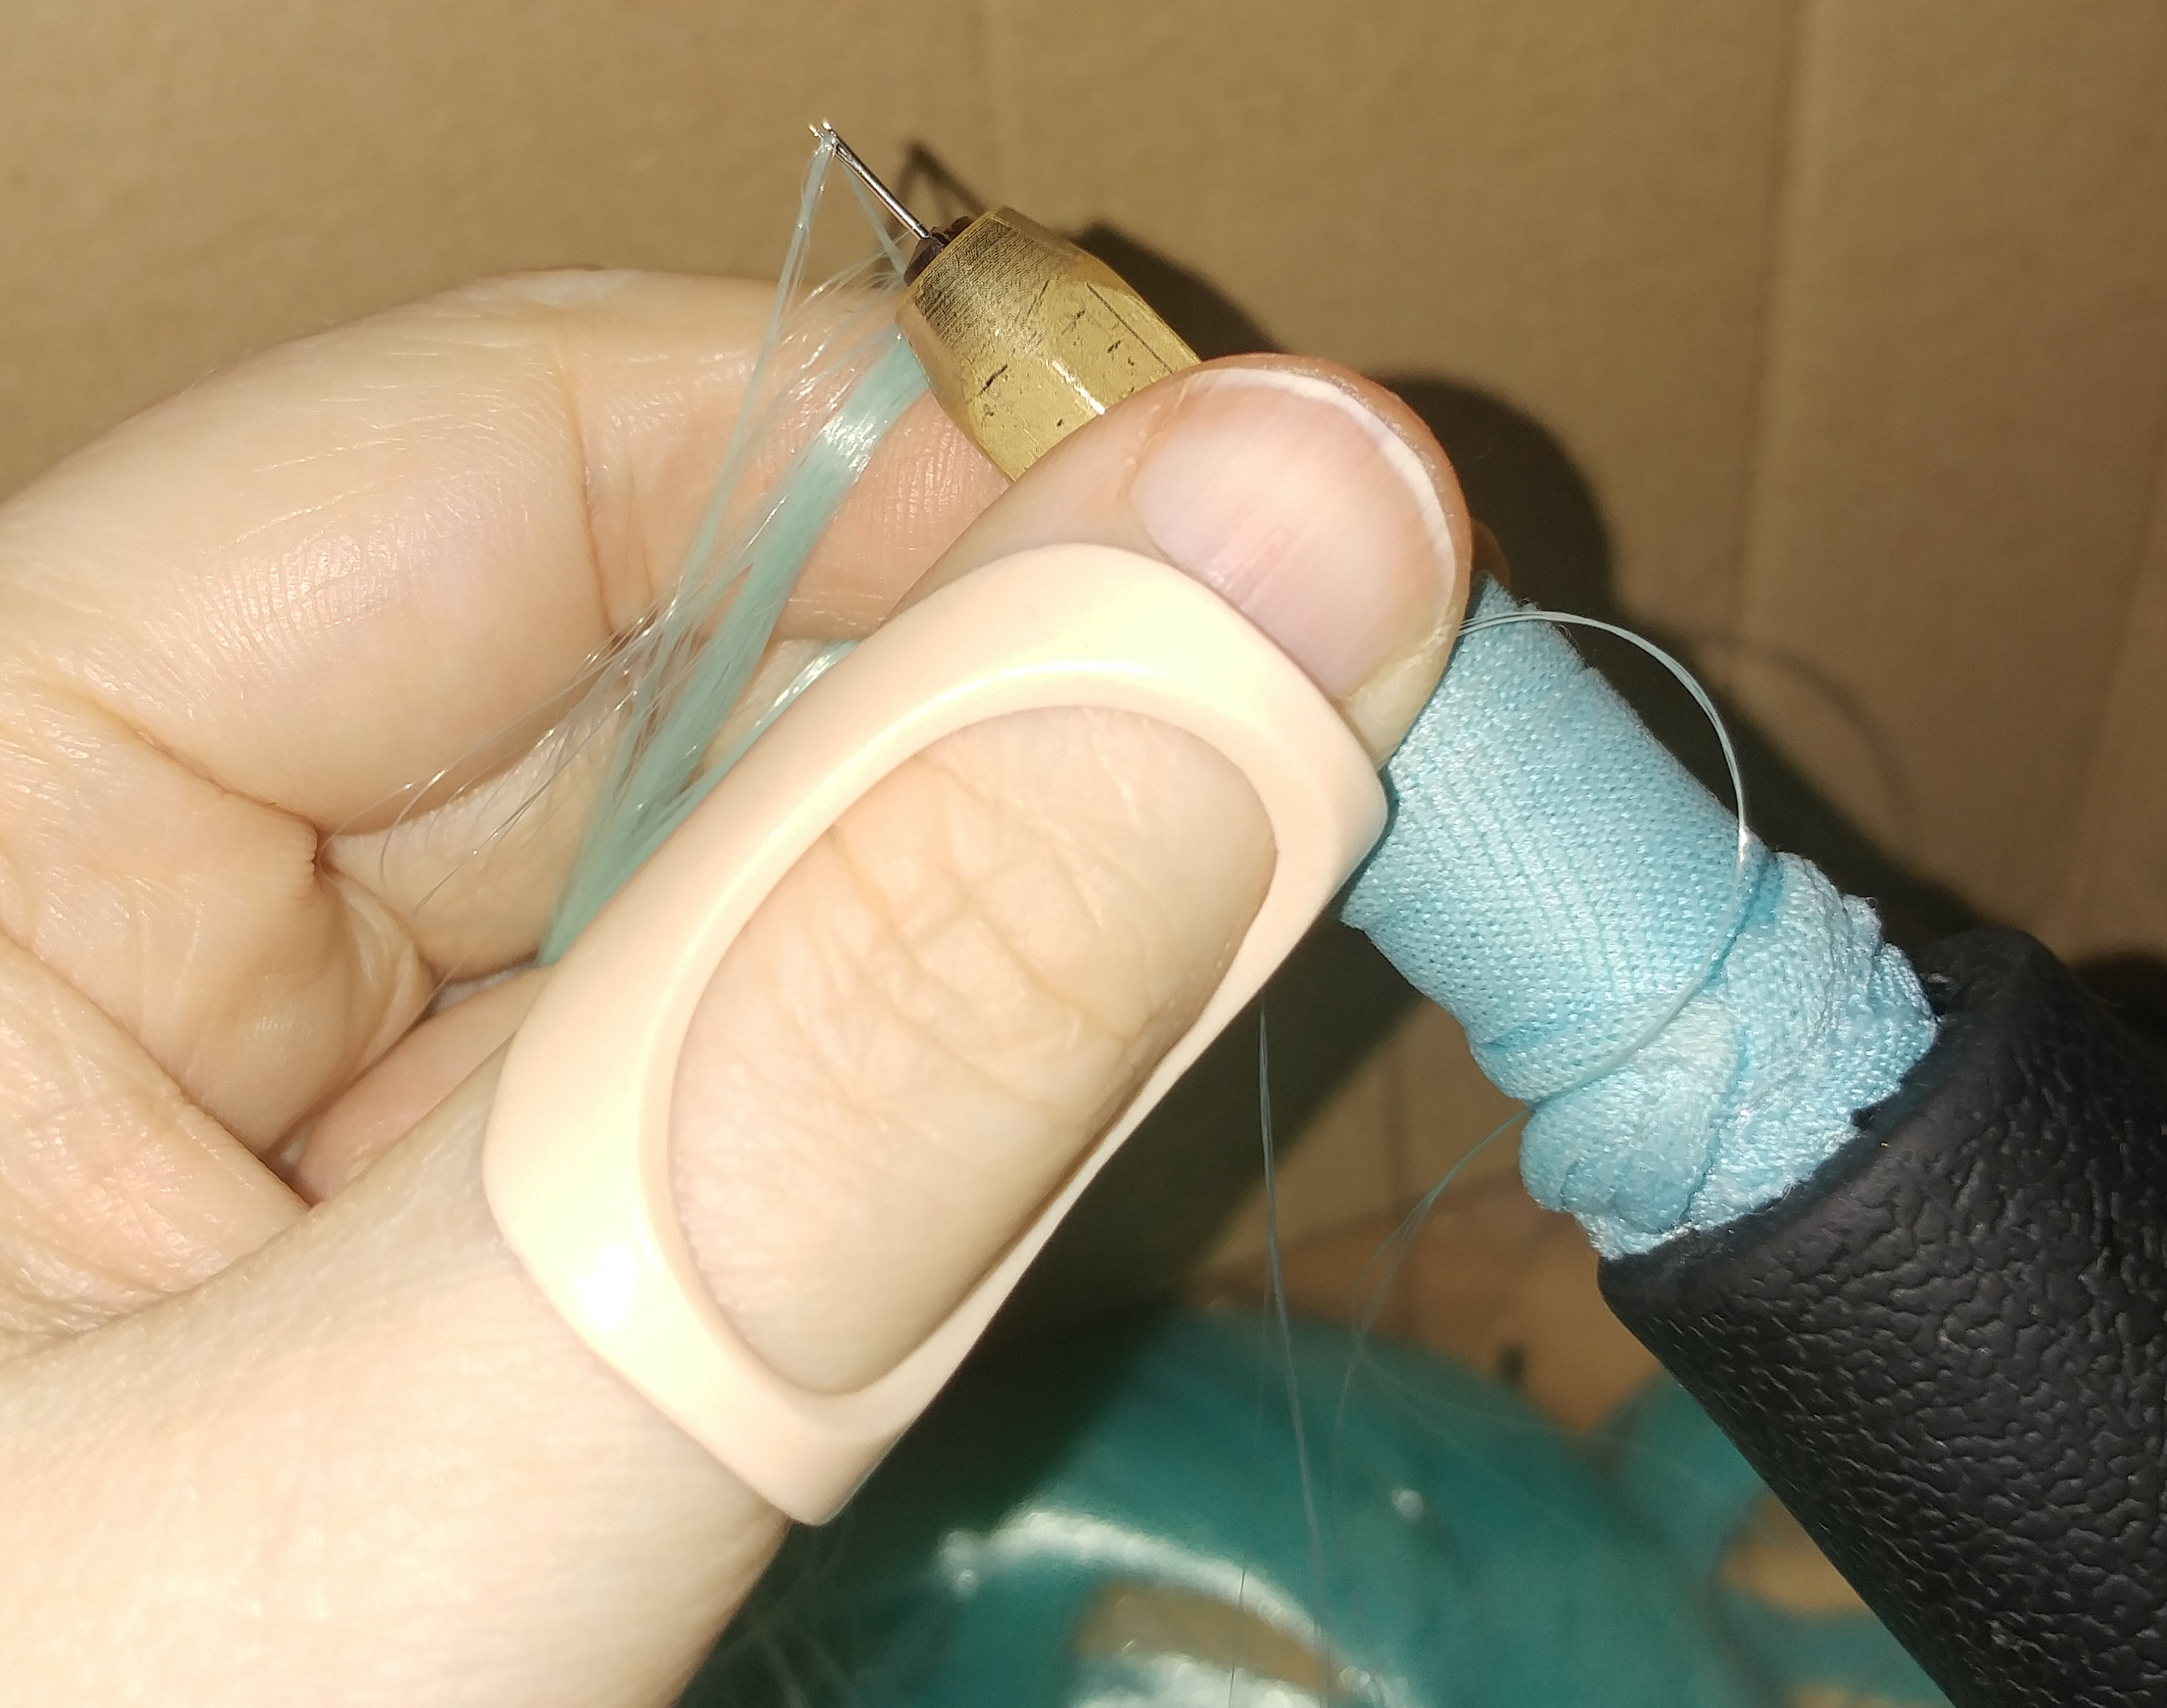 Heres what it looks like to pluck 3 plugs from the hair clump far edge with kiwi, saran and saran with a drop of water on the area on the finger (oil also works). As you can see unless you pre-prepare all your plugs kiwis not fun as it sticks to itself. if you wet or oil the kiwi, it doesnt change a thing. Why does "nylon" come in such different qualities? The name refers to the chemical process as much as anything; what matters is the thickness and the level of stiffness which varies from dry straw to buttery softness Glossary Denier = thickness of the fiber Kanekalon vs doll grade kanekalon. one is used for hair braids and cheap wigs, the other is a super fine, super soft if a little brittle doll fibre Manufacturers Kiwi by Qiyue https://www.instagram.com/qiyuefrank/ https://www.instagram.com/dollhair2021_karen/ DG/Donggang filament make HQ nylon, GitD and polyethylene https://www.instagram.com/dollhairfiber/ http://donggangfilaments.com/en/product.asp Asahi Kasei Saran https://www.asahi-kasei.co.jp/sarannet/en/dollhair.html colour matches and misc guides https://colorsponies.webs.com/g3hairmatches.htm g3 pony hair matches http://mlparena.com/index.php/topic,385815.0.html guide to all doll hair types http://www.nonaptime.com/2015/02/calculating-the-amount-of-hair-needed-for-a-reroot/ how much hair per reroot (cache!) http://www.nonaptime.com/2013/08/doll-reroot-and-resources-part-2/ types, methods, (cache!) http://www.nonaptime.com/2016/03/doll-hair-affair/ patterns (cache!) http://dollycare.blogspot.com/2010/11/guideline-reroot-patterns.html patterns Hair retailers and what they sell - back to menuhttp://restoredoll.com saran, nylon under premium nylon https://mylittlecustom.com/ saran, nylon, kiwi, pilot https://shimmerlocks.com/ saran, nylon https://dollhairemporium.co.uk saran, nylon, kiwi (under nylon), dgkk, kk, Glow in the dark colours by donggang: YG001-009 (https://www.instagram.com/dhemporium/) https://retro-dolls-us.myshopify.com/ same, Dense nylon as monofiber https://thedollplanet.com/ Dense nylon as TDP nylon, nylon (add note about domain squatting) https://www.ebay.com/str/dollmoreshop saran, Dense nylon as "heat resistant" https://www.dolltress.com/ kiwi, kiwi metallics (https://www.instagram.com/dolltress/) https://www.etsy.com/au/shop/CustomDollHairAU saran, nylon, kiwi (as synatra?) https://www.ebay.com/str/grasshopper-shoppe?_trksid=p2047675.l2563 https://www.thefloatingisle.de/de_DE/puppenhaar/ https://www.thedollyverse.com/ dollyhair potential new ownership, bad practices in the past
Buying dense nylon from aliexpress https://www.aliexpress.com/item/32996234089.html https://www.aliexpress.com/item/32841087067.html black is dark green, white is silver, neon green is emerald, pale blue is silvery mint dark blue requires color fasting with vinegar https://www.aliexpress.com/item/32839950560.html same https://www.aliexpress.com/item/4000510928255.html this is also 80cm long https://www.aliexpress.com/item/1005003154181984.html Buying kiwi from aliexpress: (add more links, swatch and note about iceberg) https://www.aliexpress.com/item/32994972254.html nylon: top quality! How I reroot very hard heads (harder than Integrity Toys) - back to menu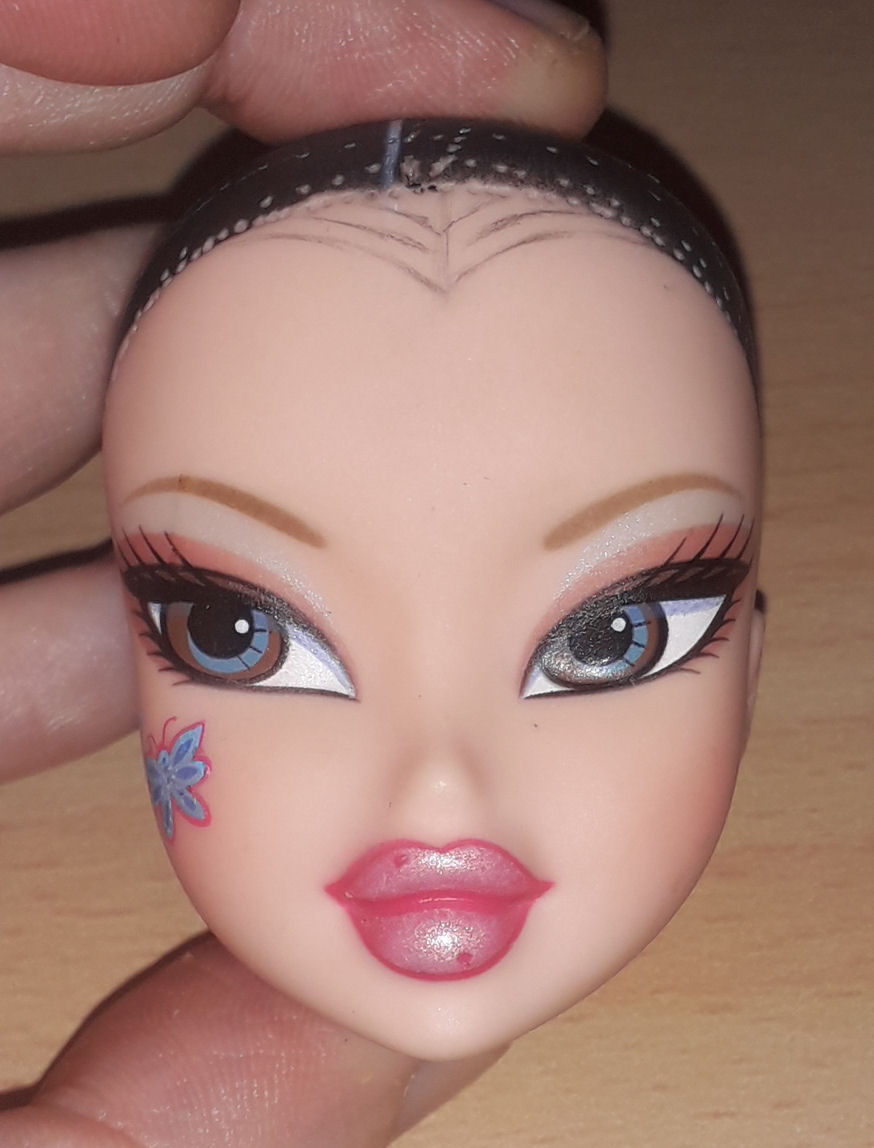
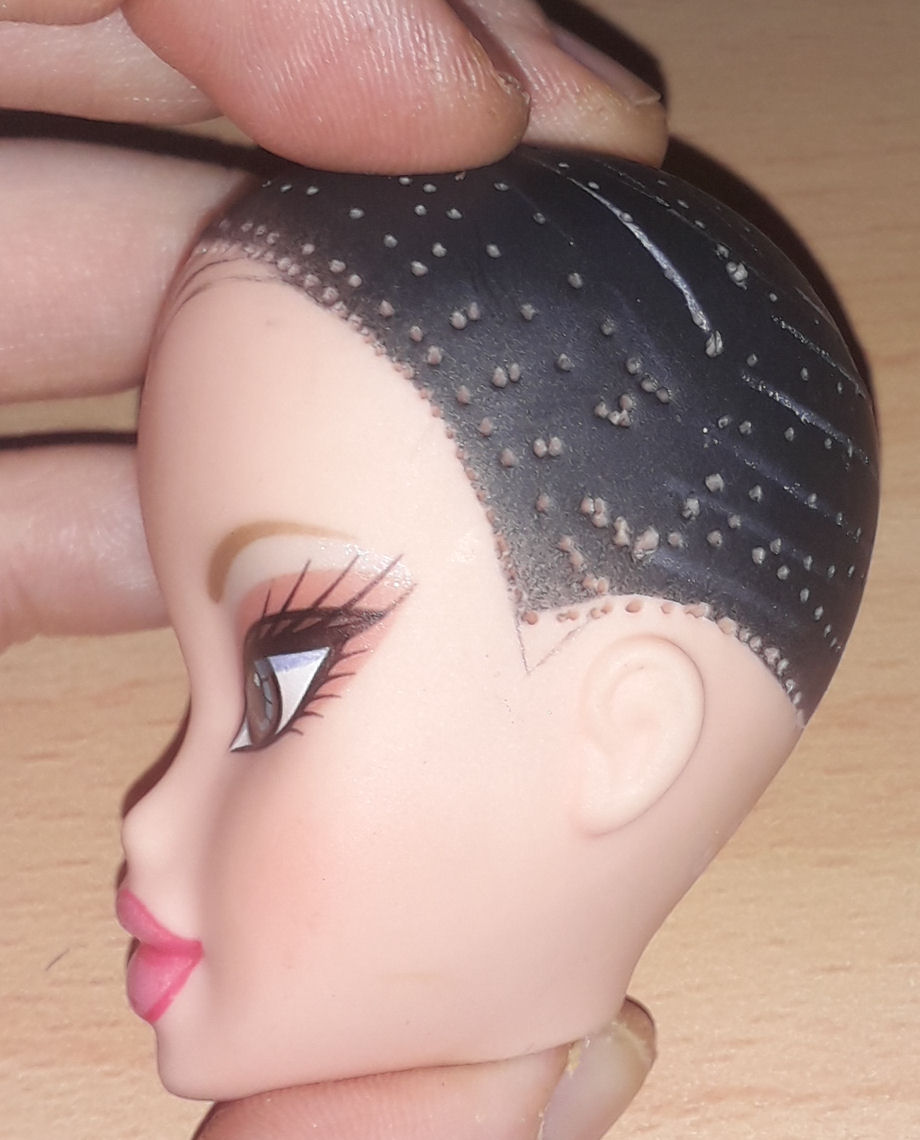
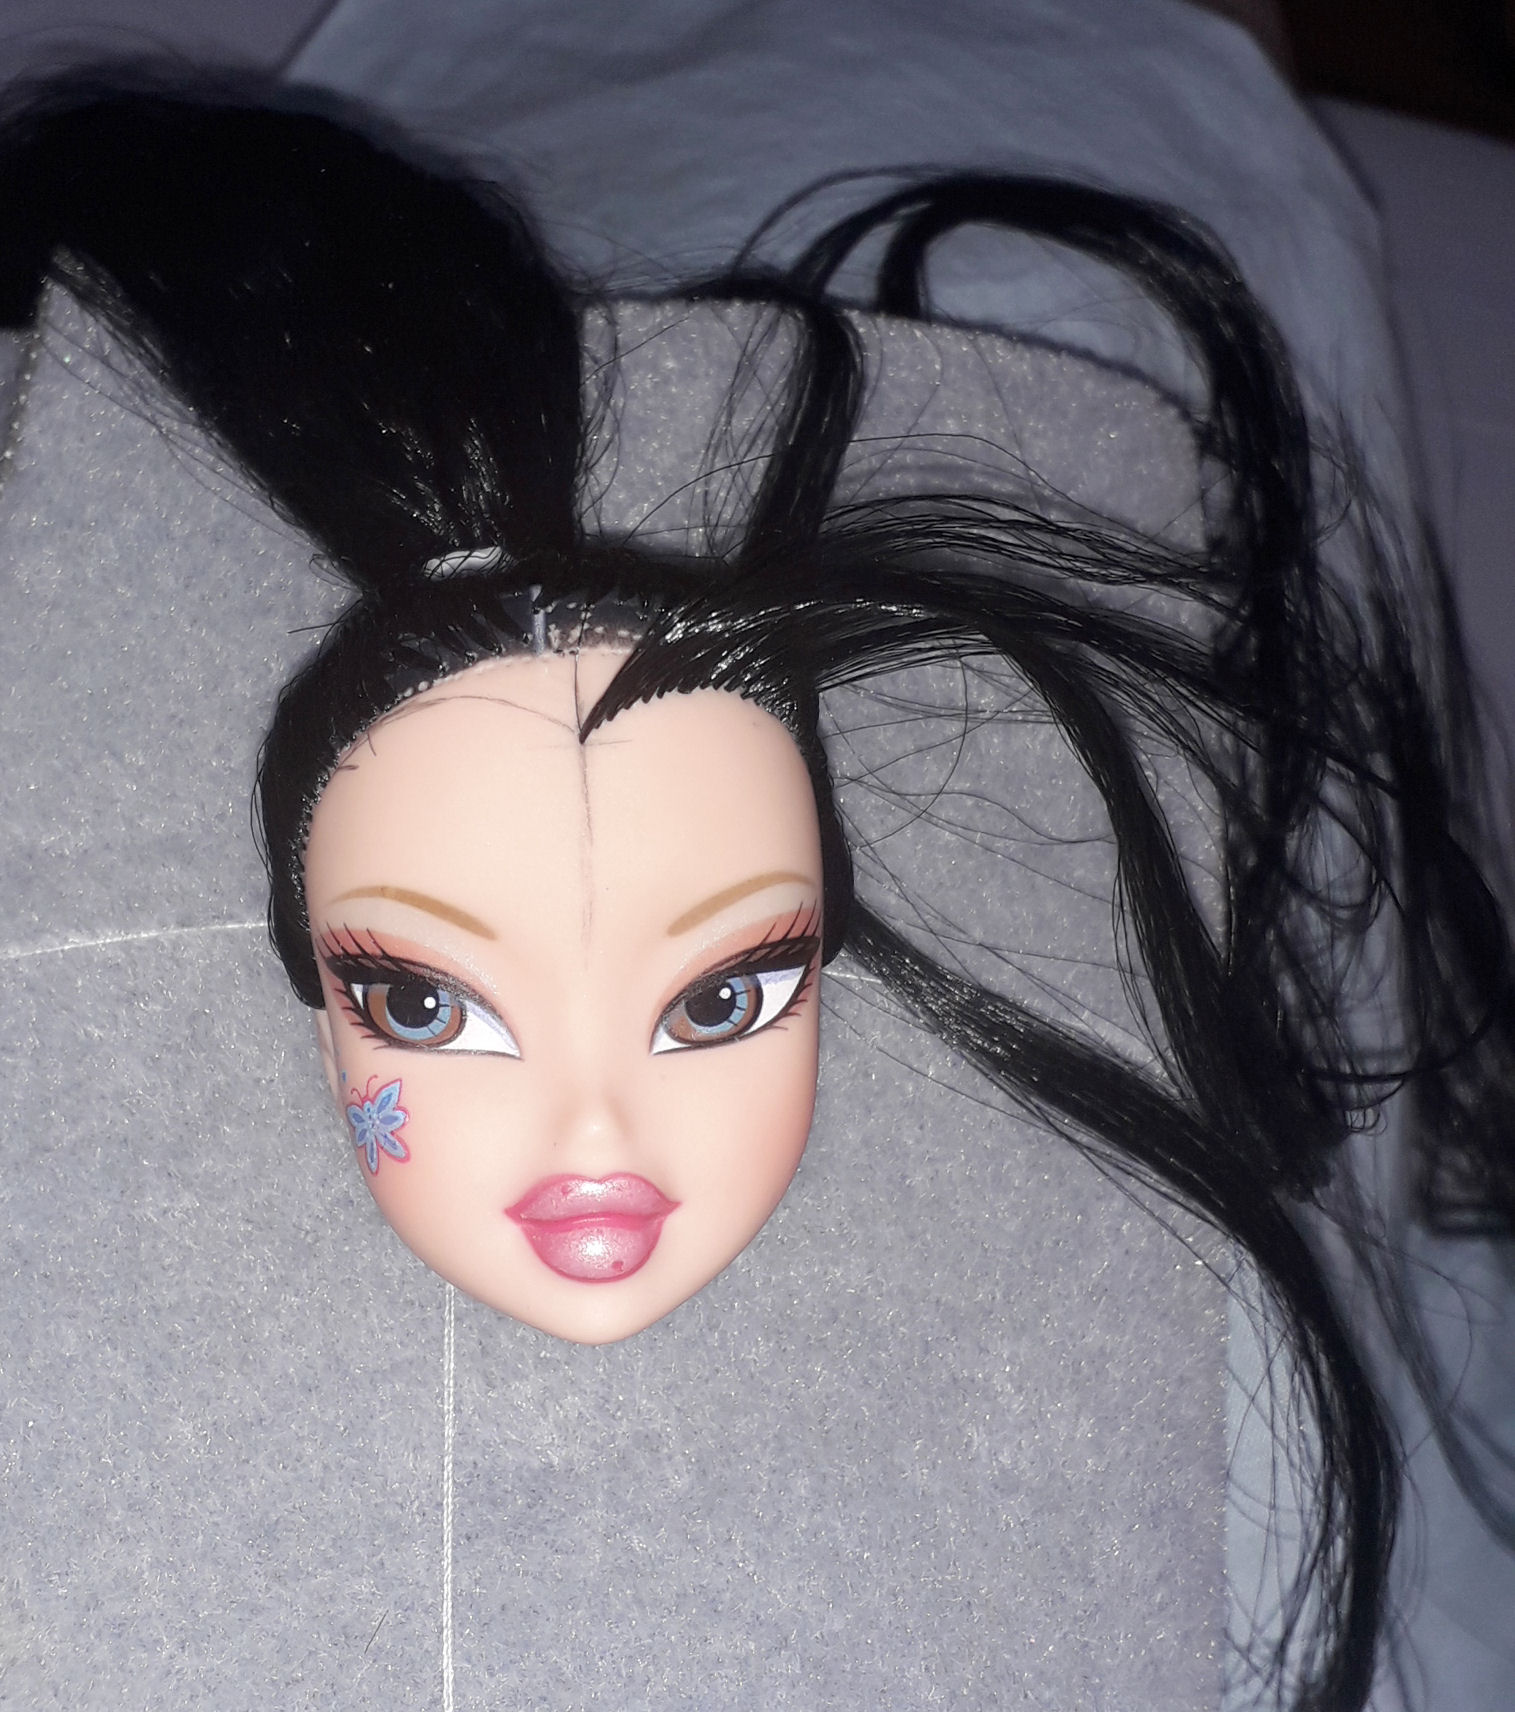
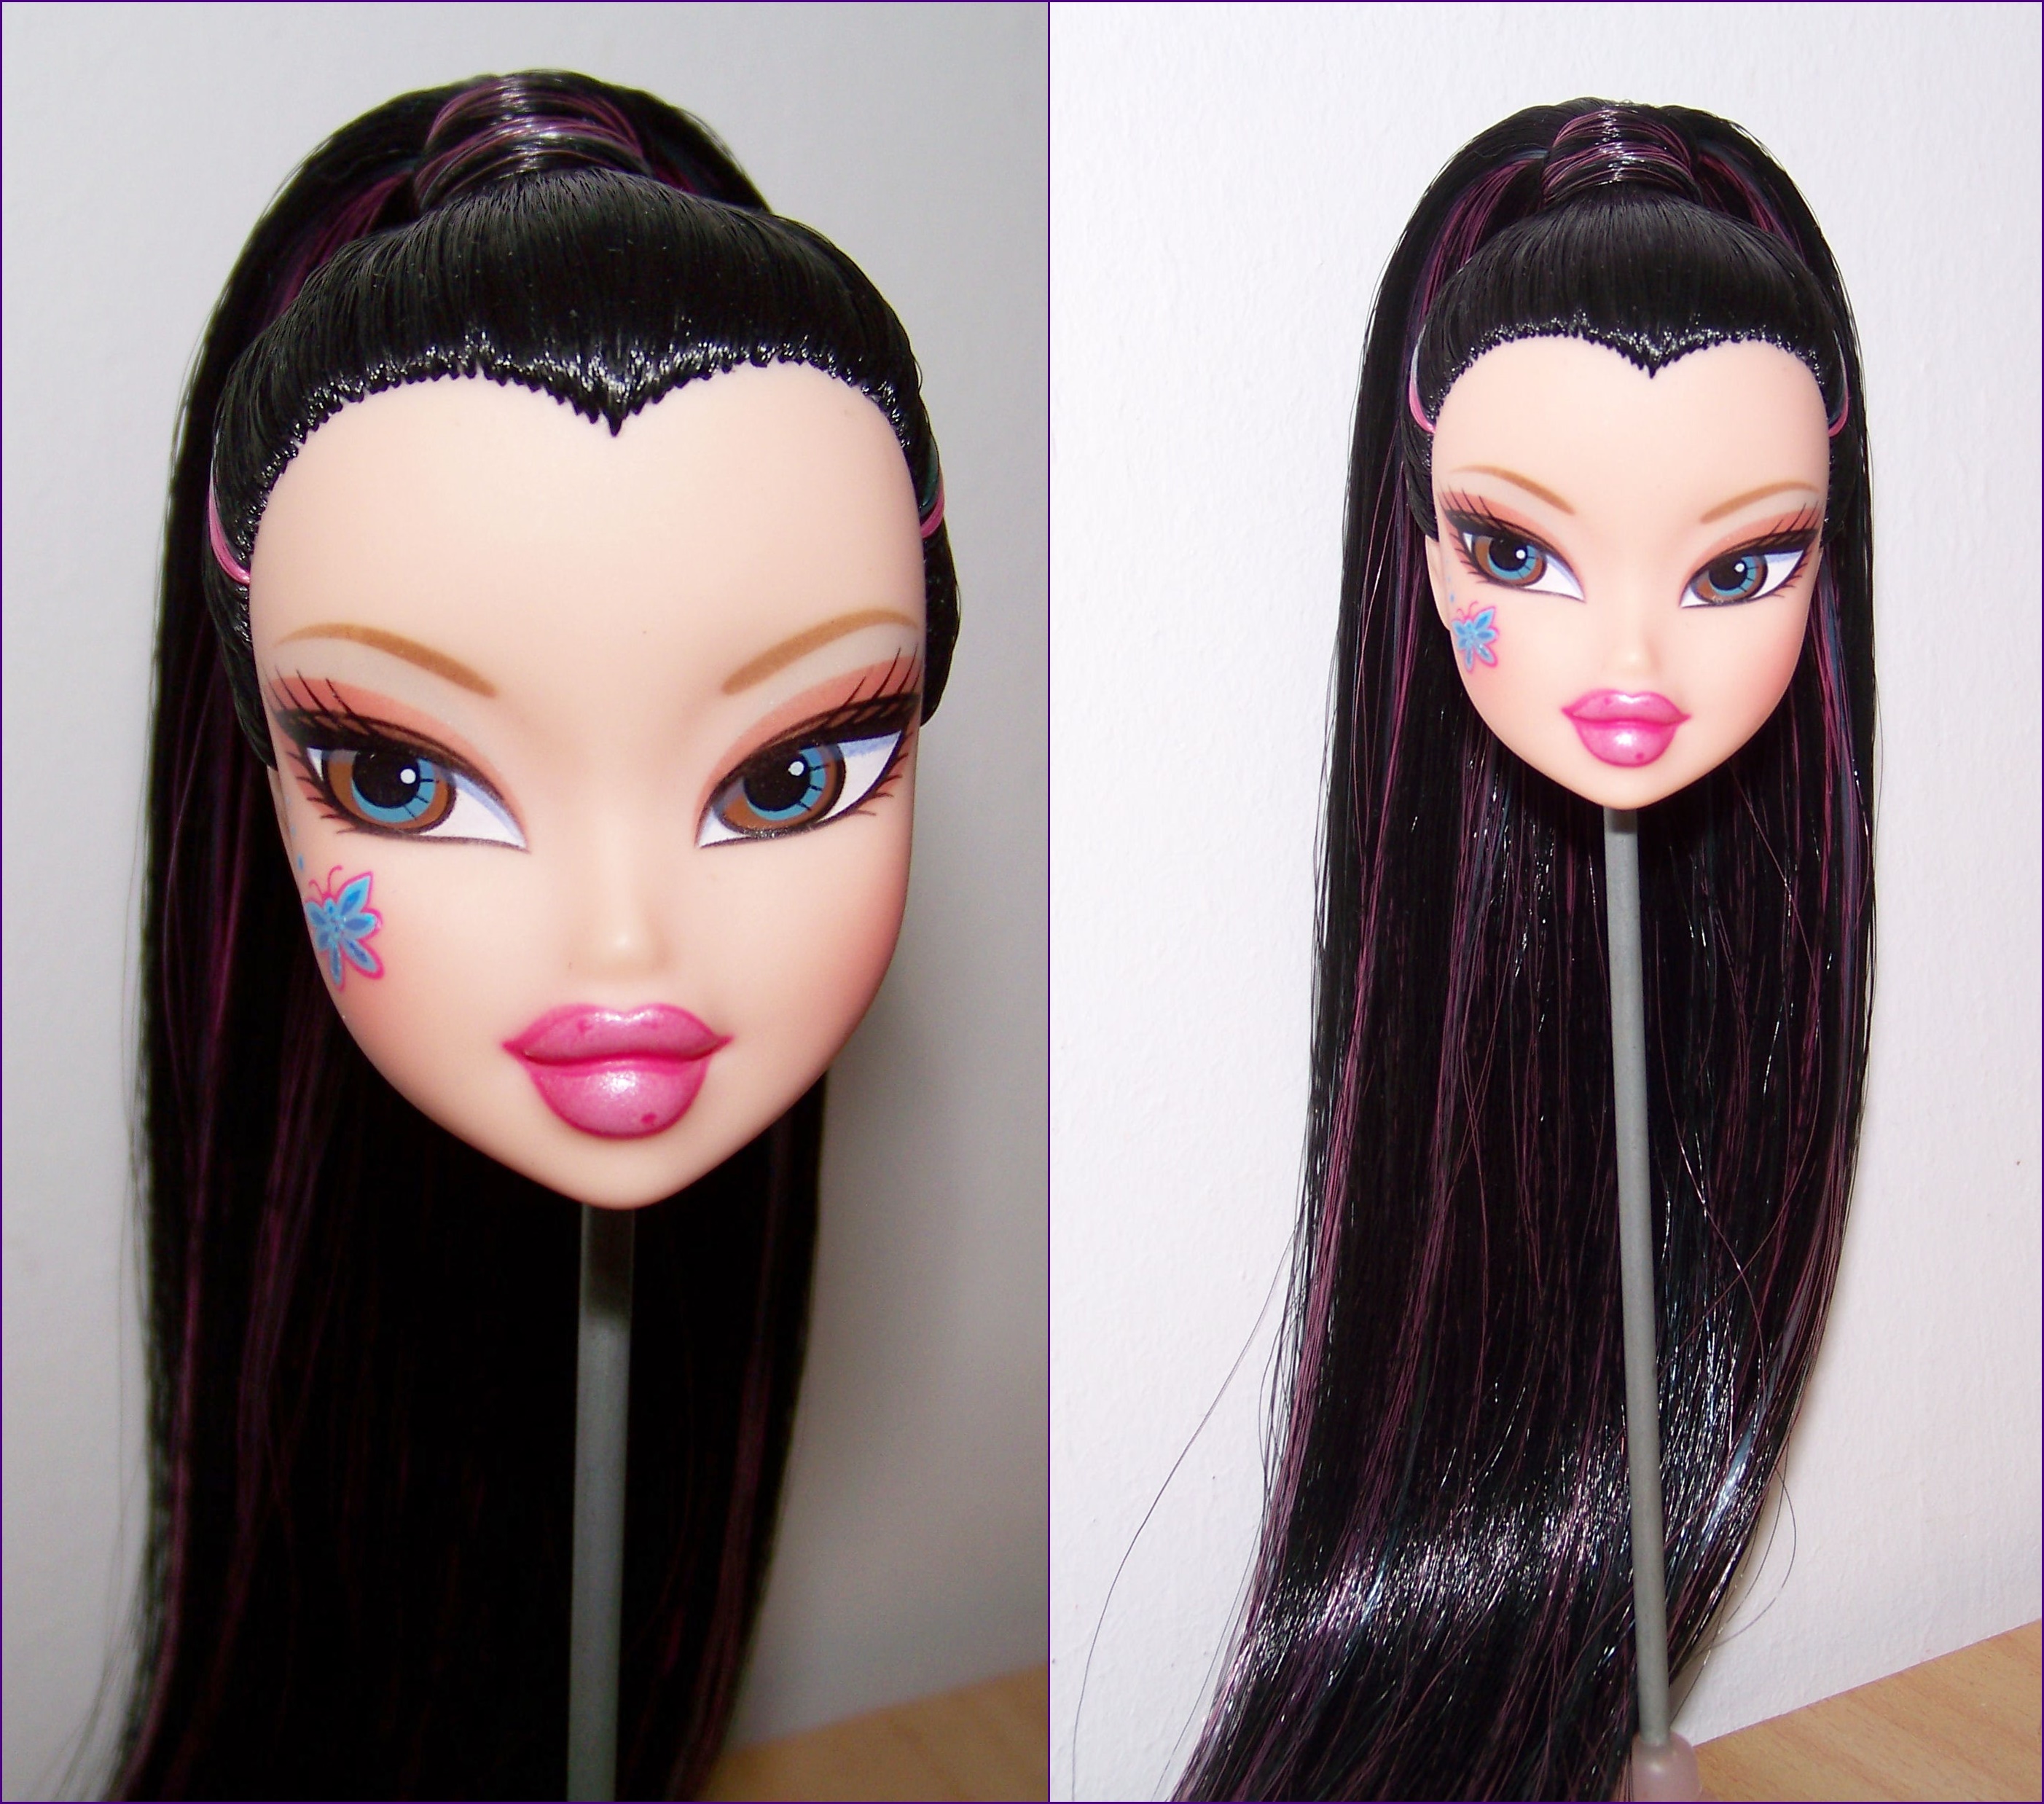
Some photos from working on the bratz pixiez:
The difficulties are that you get about 4 minutes at a time where the head is soft enough to work with and that the head needs to be heated without frazzling the hair if youre using saran. [ By ultra hard heads, I mean the type that give you five minutes of pliability even straight after boiling!] Youll need:
When heating the head, wrap the hair as low to the roots as possible in a tissue or piece of cotton then put on the timer for 3-5 minutes depending on how hot the heat pad is. You need the head to get hot enough to work but that heat is slightly too much for the saran fibre if you go over 5 mins! Since your time is limited, make sure that you seperate out lots of wads of hair with crocodile clips so that you can quickly grab them when you run out. Keep it all in small amounts, brushed and secured with clips etc as youll be moving more than usual and that means more risks for messing up hair piles! Draw out your rerooting lines in pencil on the head in advance to not use up reroot time eyeballing and calculating. Take extra care with front lines, part lines and vunerable areas on the head (take photos before beginning the reroot of any problem zones) as the head is a lot less forgiving. Have something to do during the heating times and budget double the time of a normal reroot (though itll probably be 150-175% unless youre planning something unusual). I recommend Nylon over Saran for ultra hard heads as the melt temperature is higher for Nylon which gives you more leeway. Doll grade kanekalon frazzles if you do a boil perm slightly too soon after the boil so I definitely dont recommend that. Makeshift doll hair curler for use with a hair iron - back to menu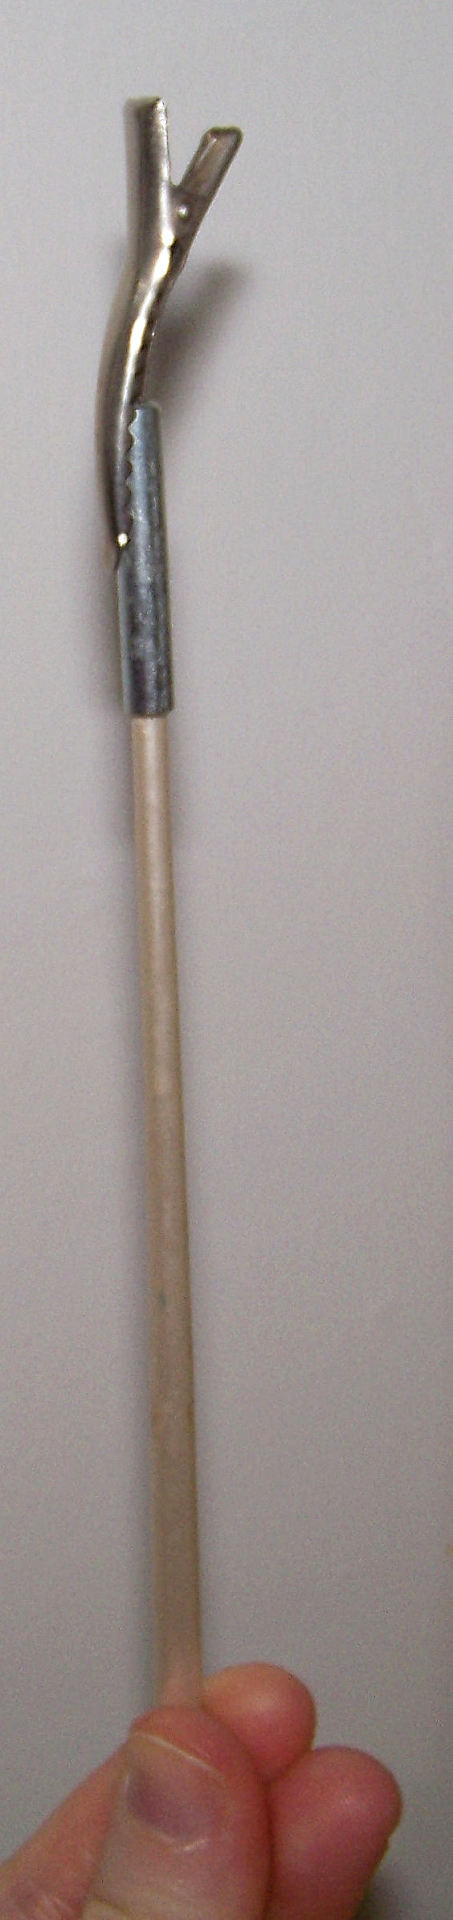
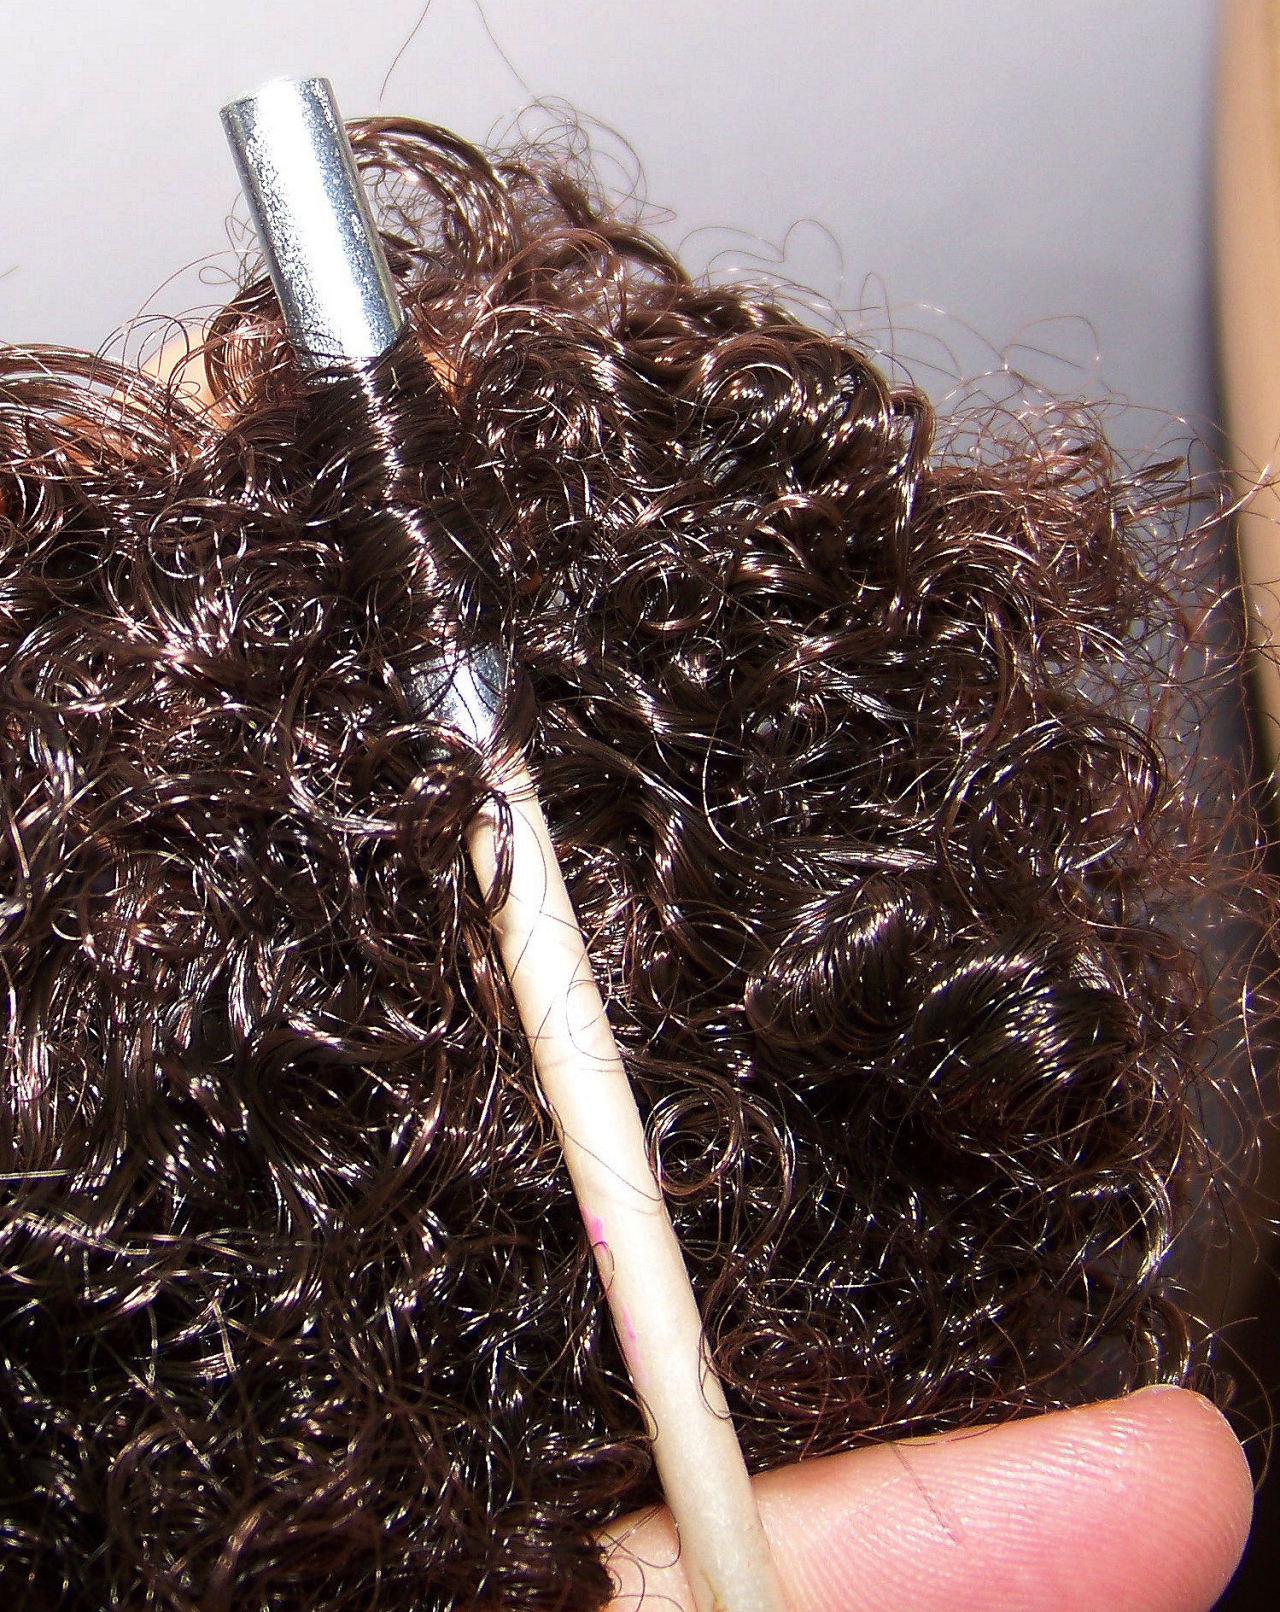
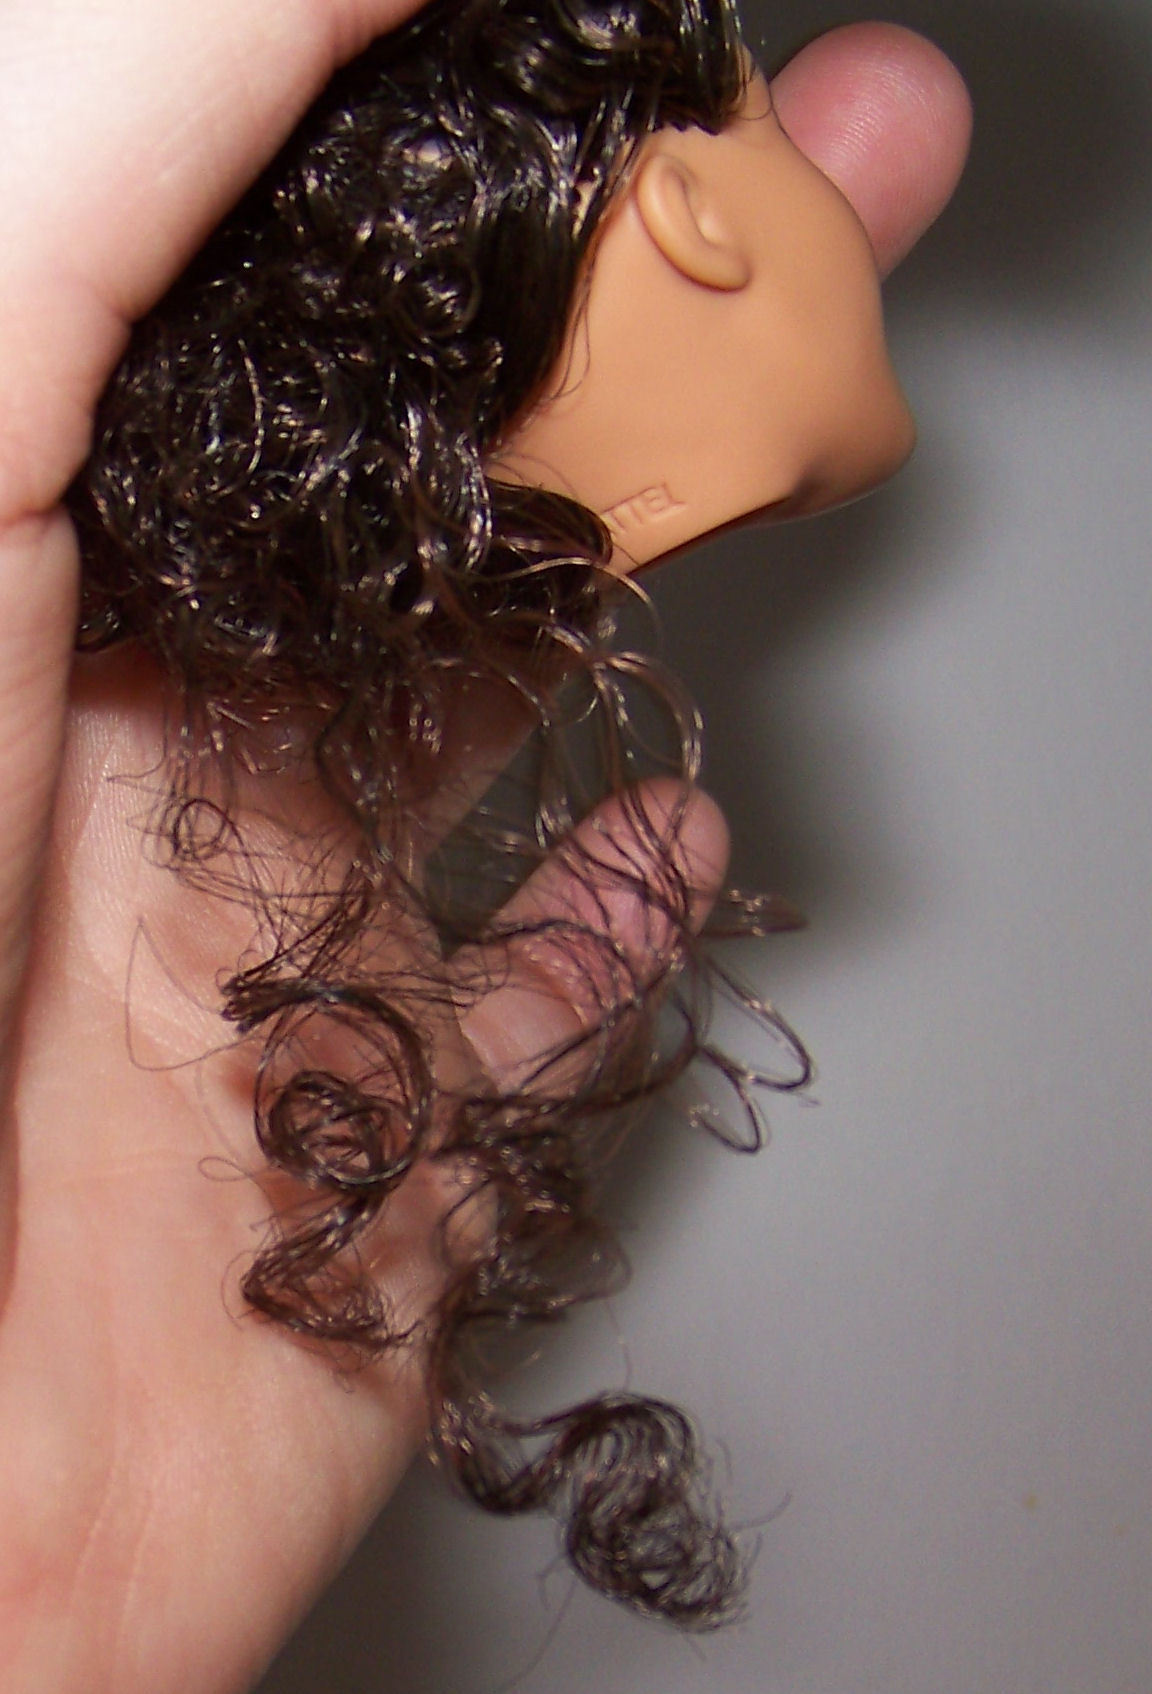
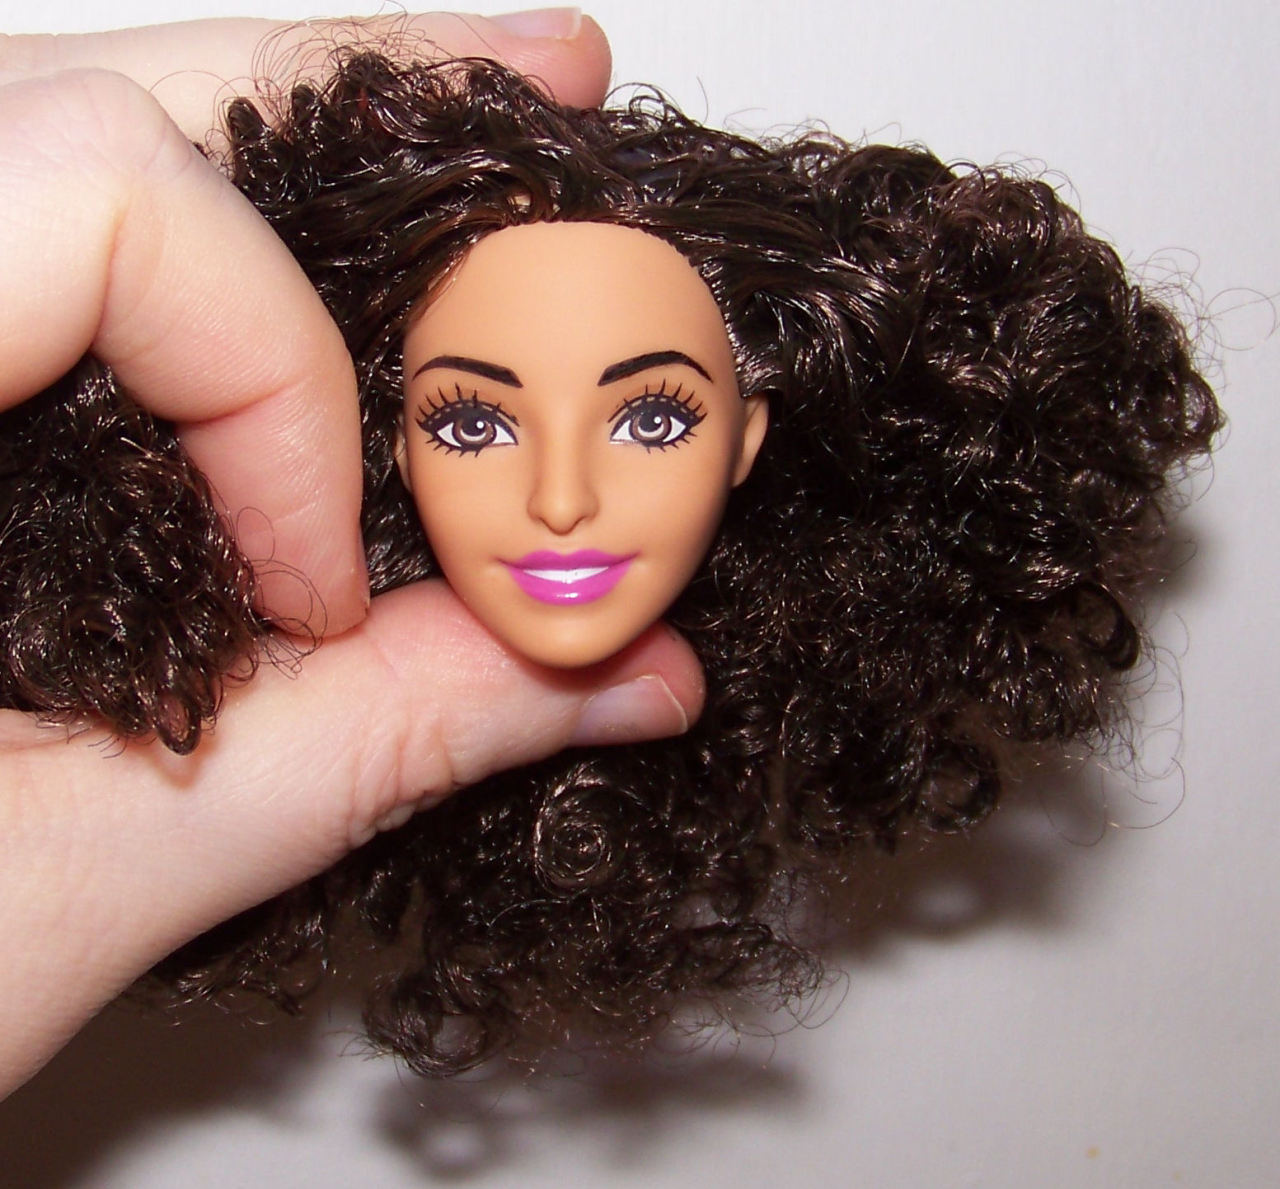
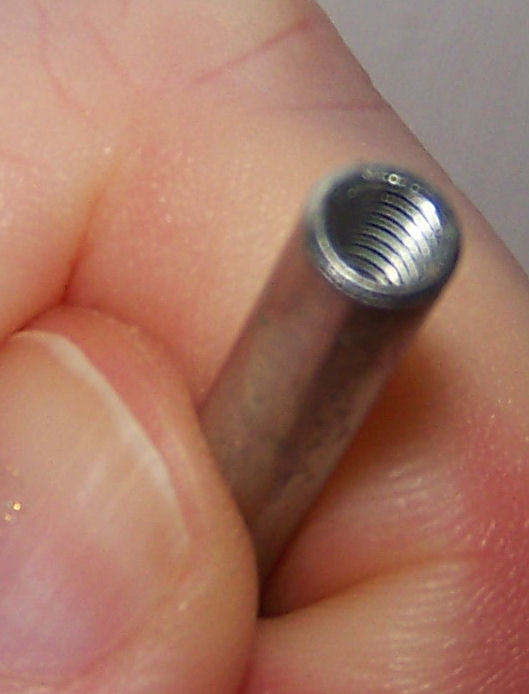 The stick is a fan nail brush Ive only ever used to dust electronics that I snapped with wire cutters and sanded down the splintery bits, Screwed into the long cylindrical nut is a coupling nut or rivet nut (closed end). The clip is a crocodile clip but I didnt need it as I was only curling a few strands. Press the iron on the hair for 20 seconds at 120°C (lowest setting) then rotate a little and do 20 seconds more. Wait a little while before sliding the hair off the cylinder as itll be scalding hot. Patterns - back to menuSo far each colour band (front + back) has taken me 1h30 with the tool method.The pencil rubs off during the reroot so I recommend doing alternate bands of colour or painting the head. Paint the head with acrylic + seal with acrylic matte. The acrylic paint chips off in tiny little flakes where you reroot each hole but leaves plenty enough colour at the end. Licca: 10 bands at the front: 6mm each 10 bands at the back: 5mm each 5 bands across the 3cm parting: 6mm each (This will work with castle/new gen Licca heads with a slight redraw of the front line of hair for a more modern hairline. See side picture of the bald head.) The stripe design worked out great with triple rainbows at the pigtails and options for lots of different hairstyles that show the single or double rainbow. Barbie: 5-6 colour gradient reroot for Barbies: 5 or 6mm at the front but the parting portions need to be 3-4mm apart. MH: Sectioned off 5 zones for 5 colours: I made a pencil mark at 6mm along the front line and 6mm along the parting then drew semi circles. I used the new stripe pattern made for Endless Hair Asha to create these two rainbow reroots. Instead of lines straight down the head, my gradient semi circles pattern or the triple rainbow circles plus lines: this method uses a line down the back to divide 4 of the colours. Im not sure this will work as well on gradient ombré reroots as theres a circular effect to the rainbow where the red meets the pink in back that you wouldnt get with light to dark for example. $$$pearlùùù Just spent two hours writing an email tutorial so I might as well share here except that was in french. uh let me shift. Ok if you’re looking for a pearlized effect for your doll hair you have options: -the natural silkiness of saran as seen on Dresden (champagne) and Bonita (platinum) or even better a blend adds dimension and colour to the existing sheen Winterball Cloe uses a blend of shiny starlight and blond. -Nylons that are shiny: frankie has a matte bright white siberia that only shines under flash (see snow white), Amaya has naturally shiny iceberg, her twin Demaya has iceberg and silver rainbow tinsel for extra bling note: silver must be used with caution and very small amounts: it tends to turn out grey. ask for examples if you’re interested, I only get 10 photos here. -Metallic sheen kiwi: does exactly what it says. My personal preference for “pearlized” effect is to blend a teensy bit of colour into saran instead of going the “diamond” effect with shimmer. |