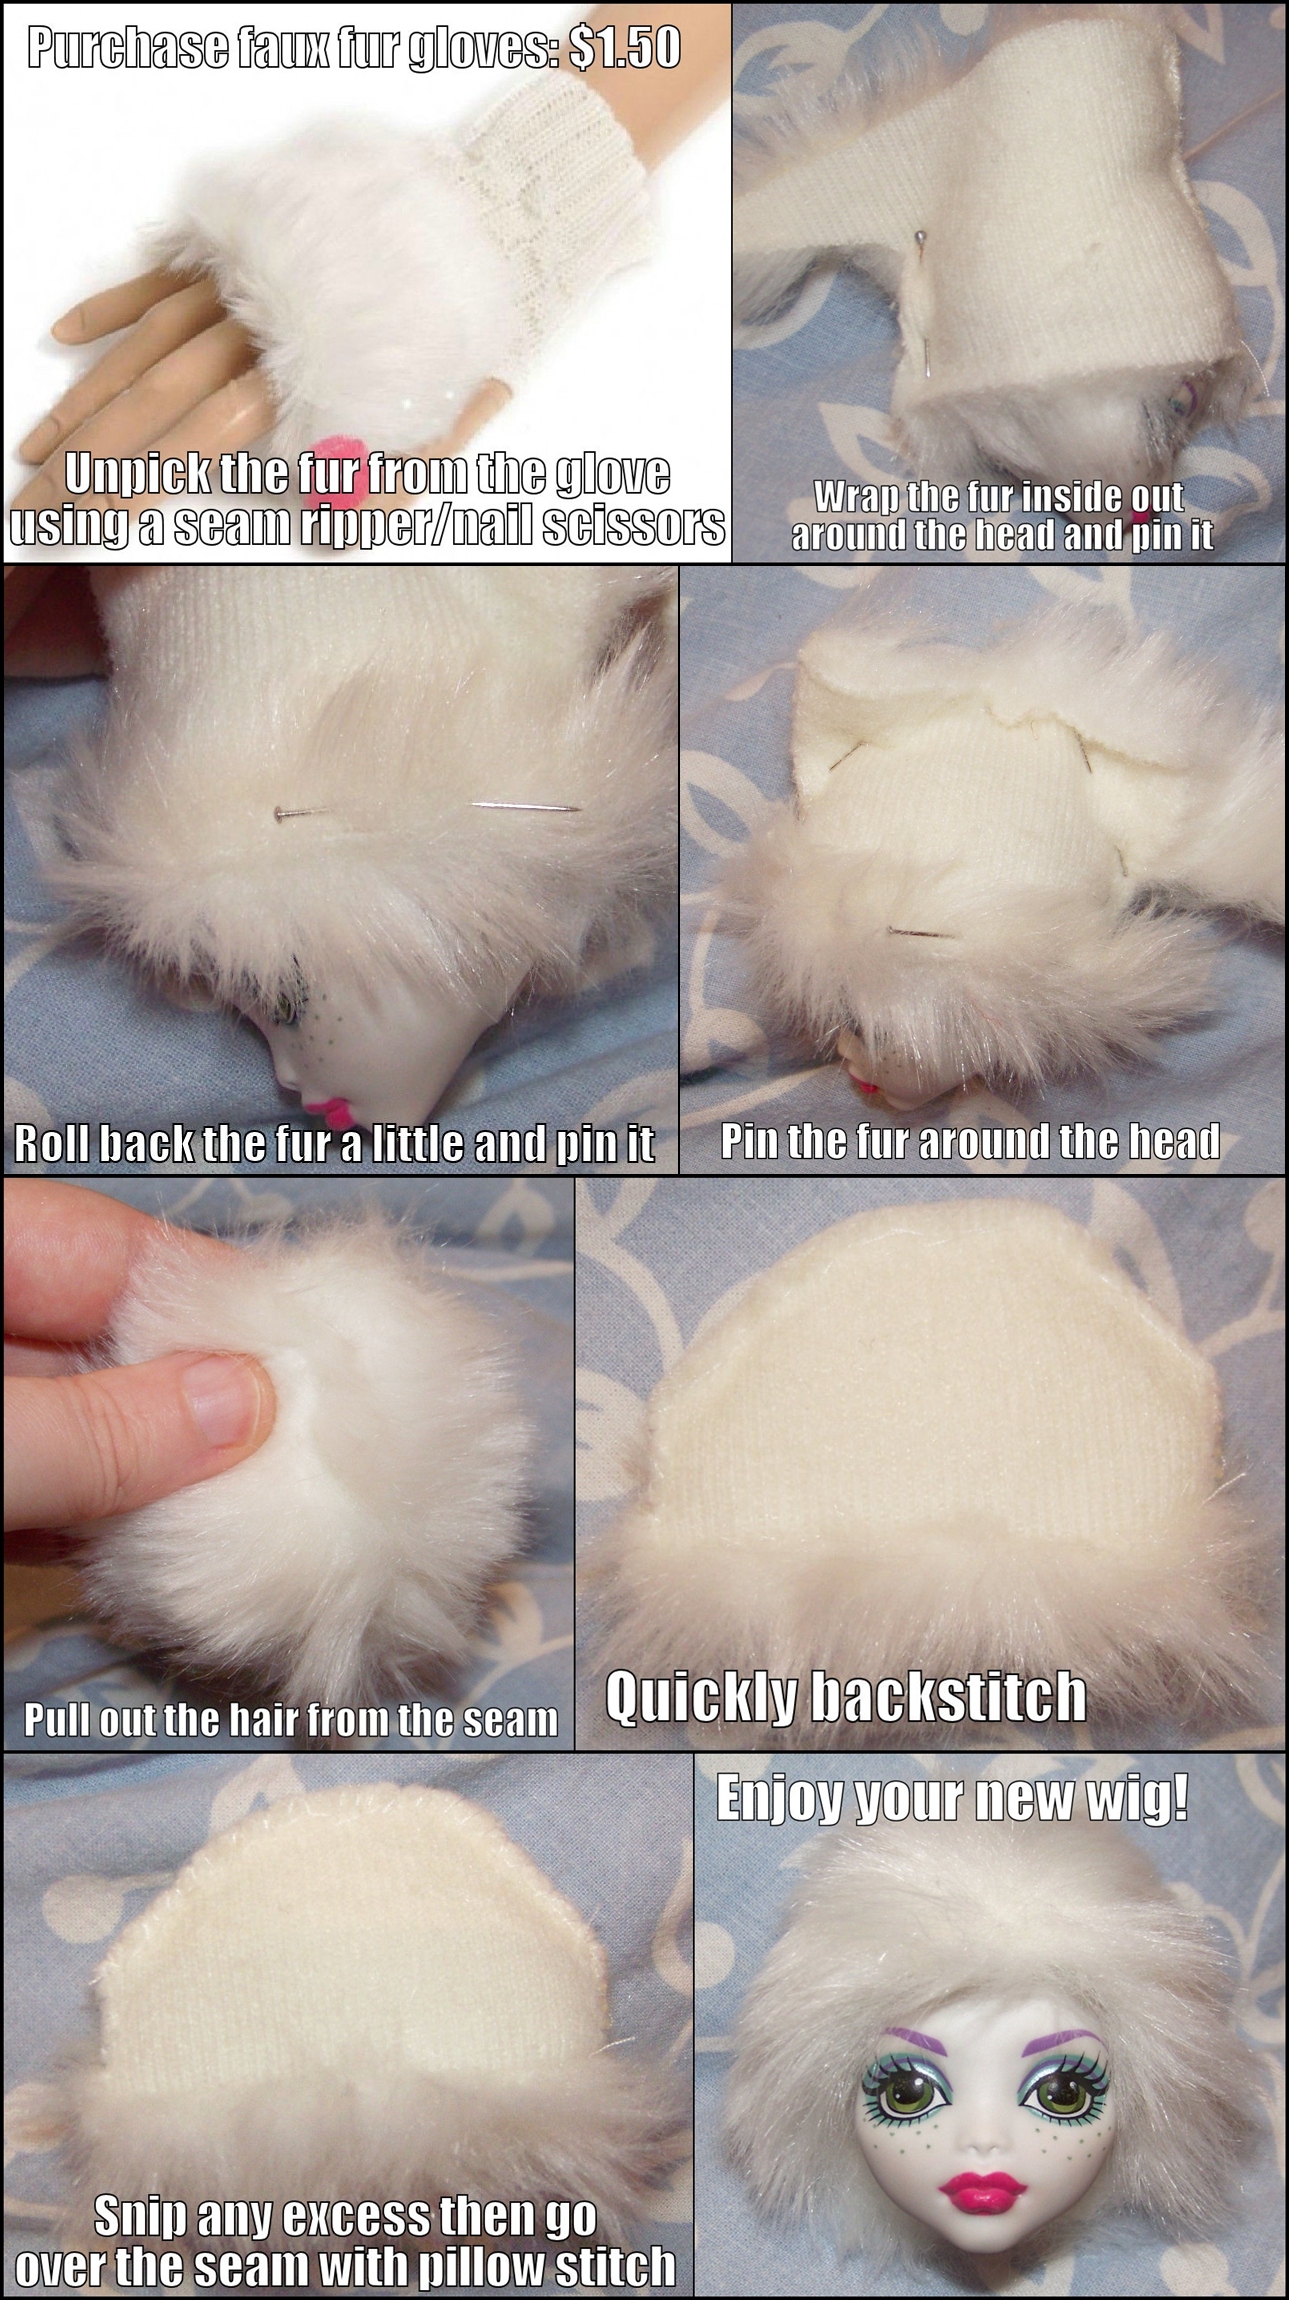
1- Purchase dollar store faux fur fingerless gloves or cuffs (or search ebay for “fur” with free shipping, worldwide, under $1.50)
2 – Unpick the fur part from the wooly part using a seam ripper
Note: If you’d like to save the gloves, stitch through all the open loops using a matching yarn.
3 – Get out your doll and wrap the fur inside out around the head and pin into place.
4 – Roll back some fur all around the head and pin it.
5 – Put pins in place as close as possible to the head
6 – Remove the fur from the head and turn it out and make sure to brush or pull out any fur trapped in the seams made by the pins.
7 – Quickly backstitch the rolled back fur hem and the basic shape of the wig.
8 – Go over and over the seam with pillowstitch to secure it.
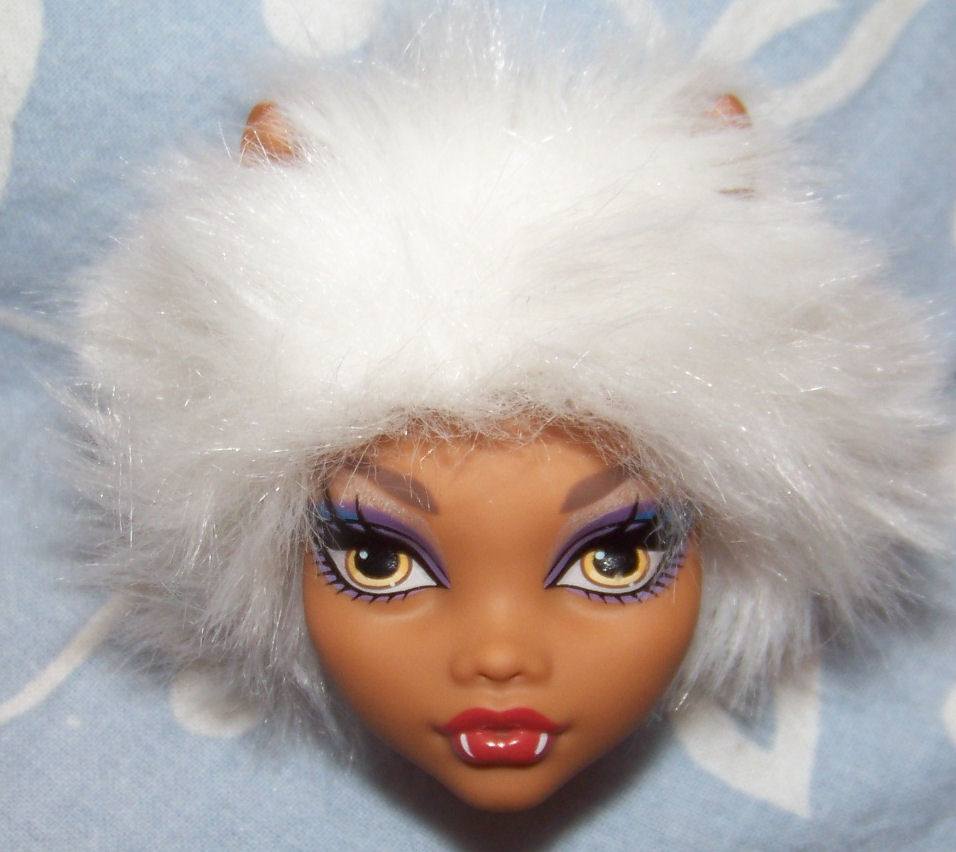
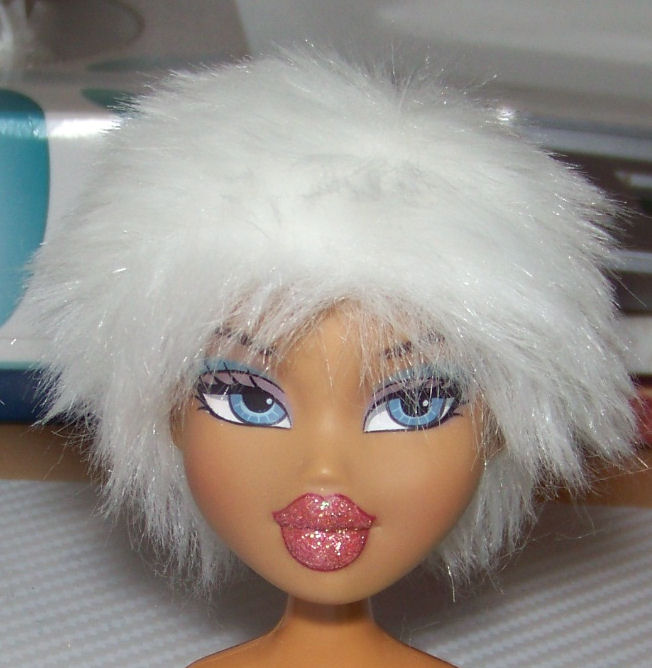
9 – Turn it inside out and you have a wig!
One pair of gloves can make two or three wigs. The third wig will be made of two leftover bits sewn together and will be more messy – like the one I just made for this tutorial.
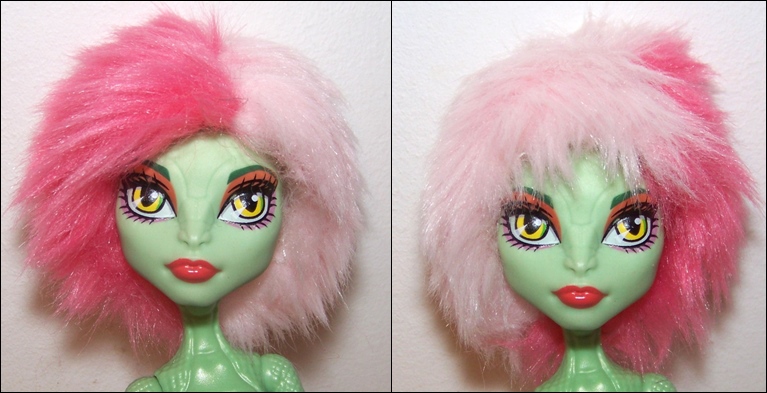
The cheapy faux fur gloves come in white, grey, black and coffee but you can also get equally cheap arm cuffs in fancy colours like red and pink (The arm cuffs can make up to 8 wigs).
Obviously it’s easier if you purchase faux fur fabric and use a 5/6 inch head pattern but this is for people who don’t have access to a fabric shop or don’t want to purchase a yard of the stuff. A generic pattern may not be a snug fit for your doll unless it’s a monster high specific pattern because of their unique head shapes.

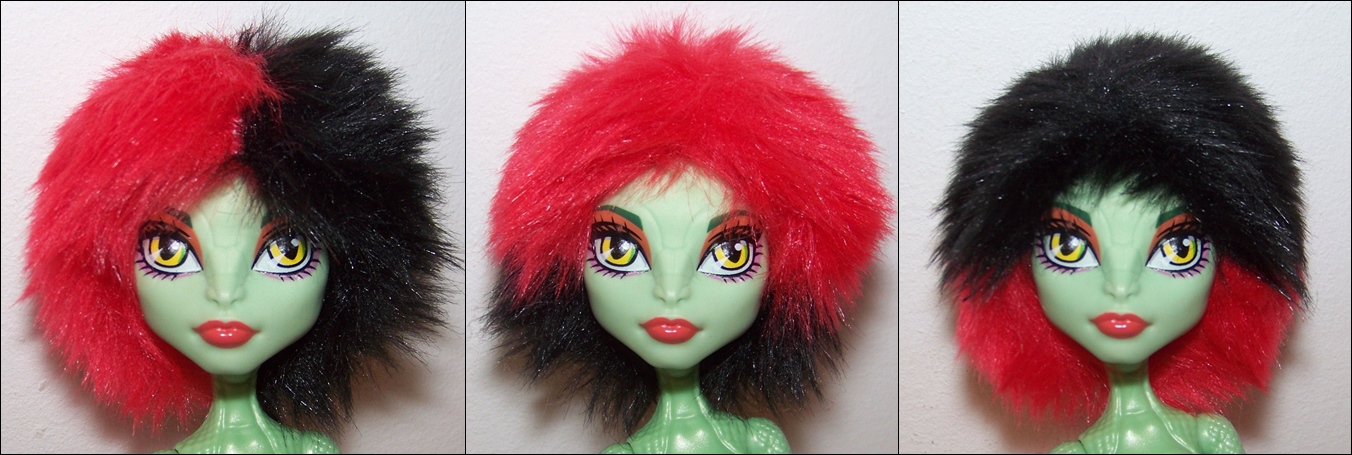
Bi-colour wigs can also be rotated to give different effects.