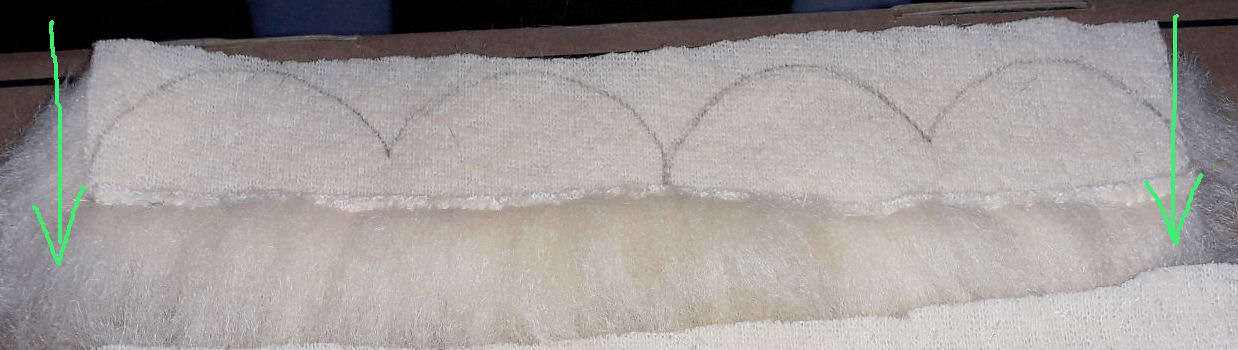
1/ First I sew the hem on the fur fabric as this will need to be brought forwards for choppy or patchier areas. Remember to mark the direction of the fur pile on your fabric
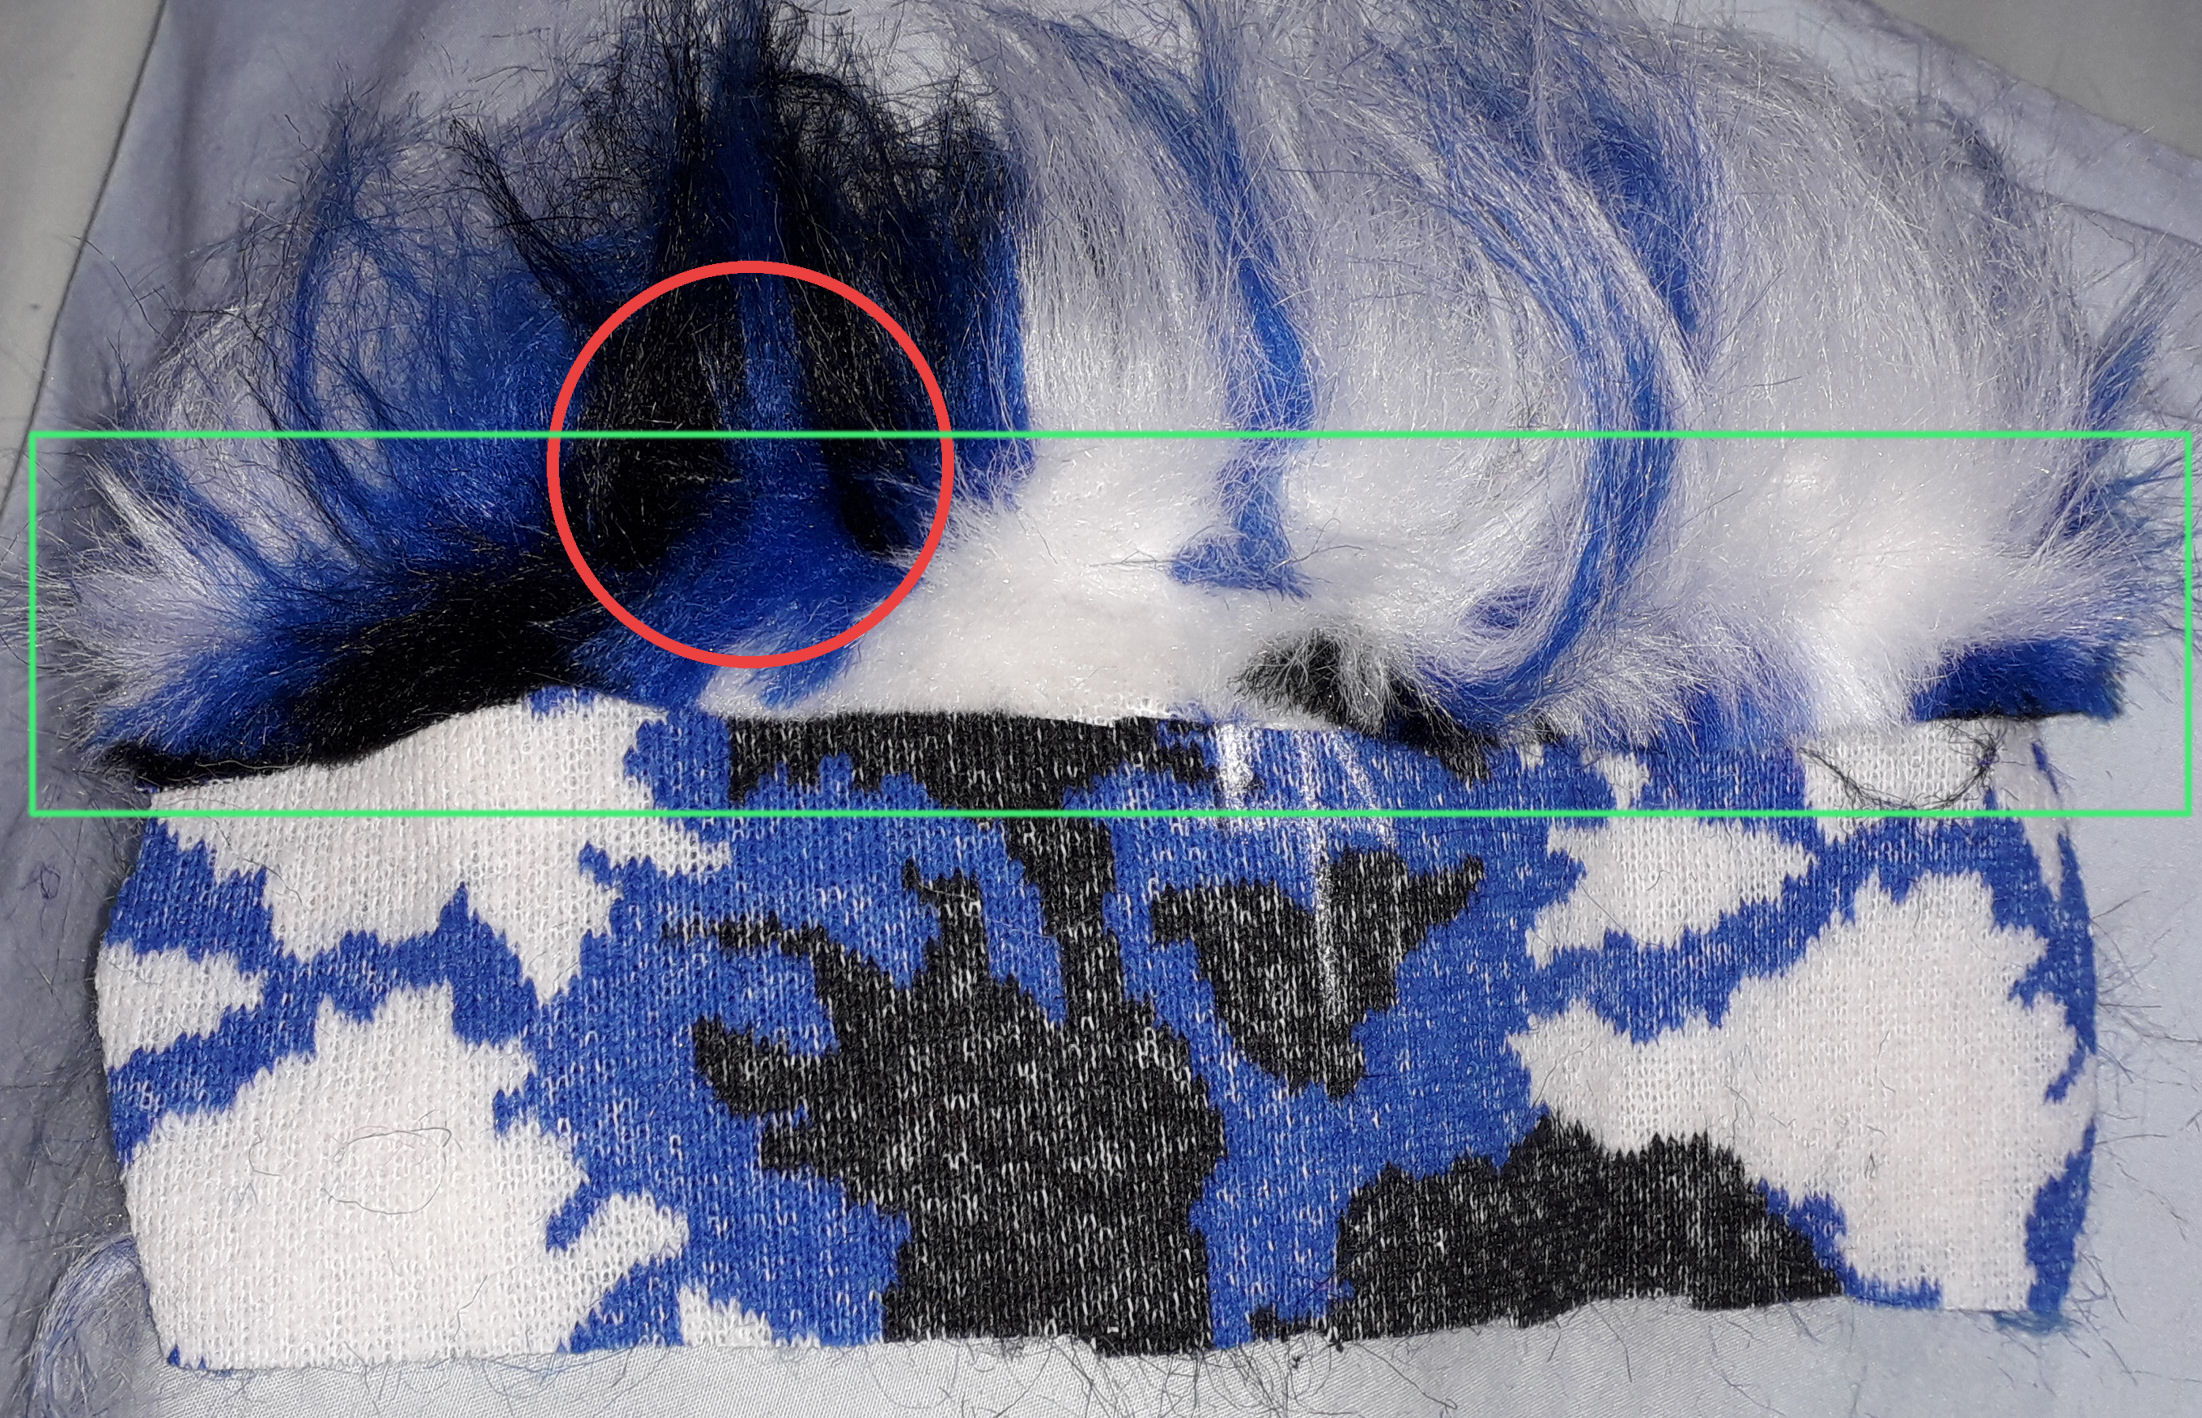

2/ Then I place the wig template just above the line of hem stiches, trace and cut out the wigs with tiny scissors and trim the hem as it’ll be wiggly.
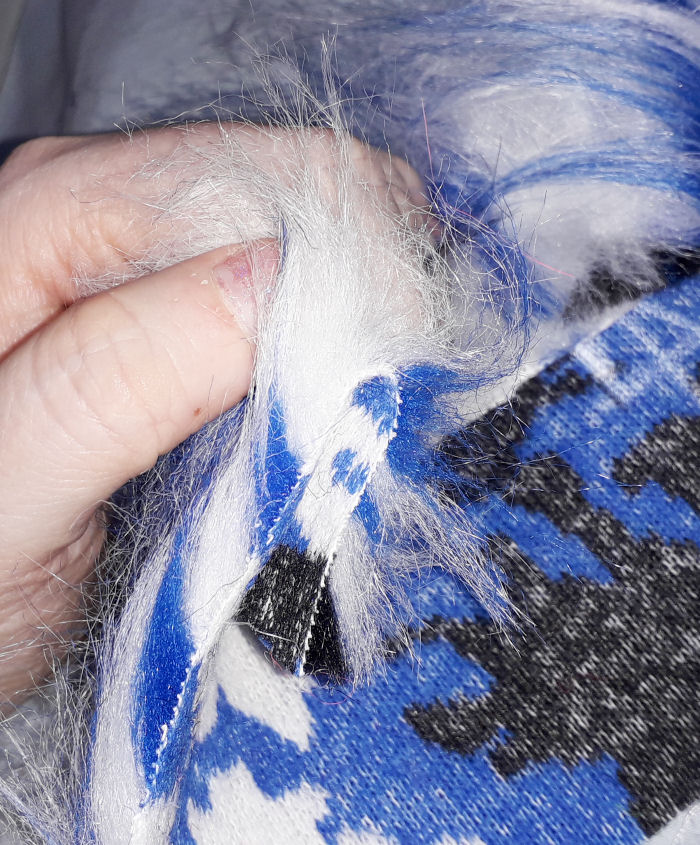
3/ Then each wig is assembled inside out and loosely basted; with a clip or a stitch tucking the fibre inside the wig so that you can sew without too much stray fur getting into your thread which causes knots and mess.
4/ Sewing

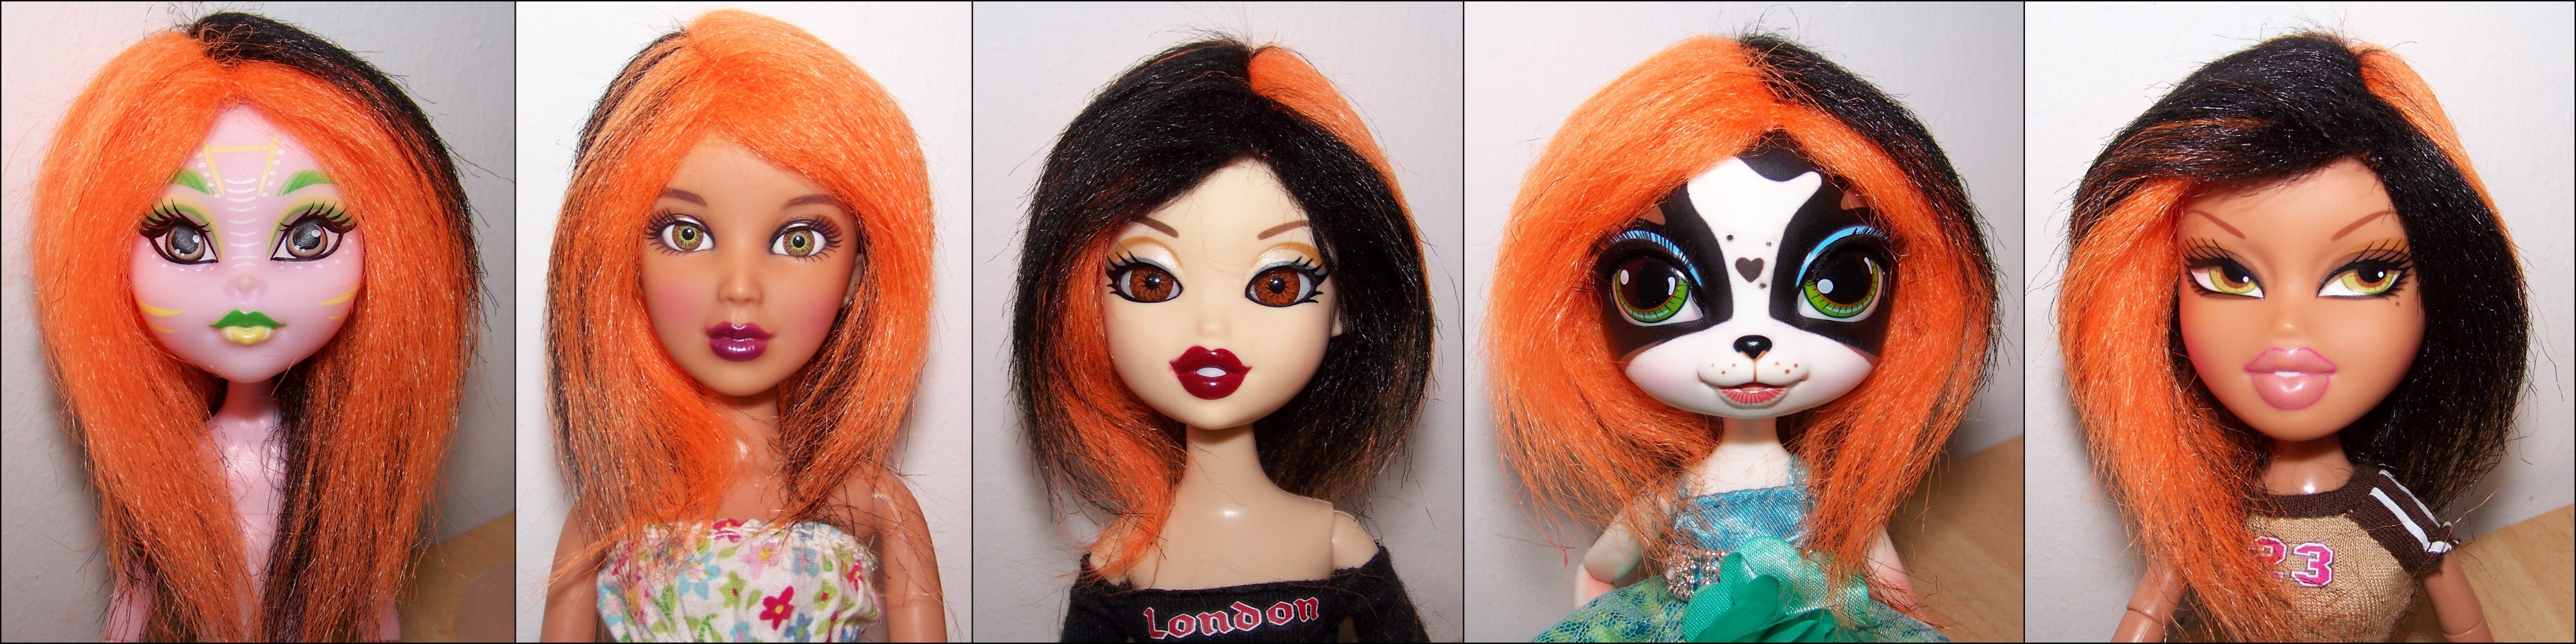
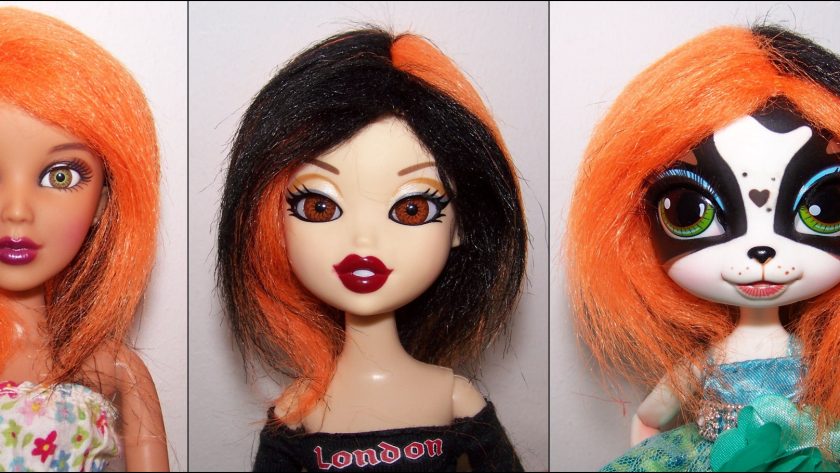
5/ Finally each wig is brushed to remove excess fur and any caught in the hem stitching and tested on Batsy (a bald Monster High with big ears) to see if the parting has thin areas and fits over her ears fully and still matches her front line of hair – if not it’s put aside to be resized for a smaller doll. I figure people can always resize a wig to be smaller but it’s best to err on the slightly larger side.
Notes:
- faux fur can be flat ironed at 120°C or steamed using a clothes iron at a slight distance and brushed straight.
- the process of working with small items made from faux fur is messy, you’ll want to clean up regularly and make rolled up balls of stray fibres.
- use sharp and very small scissors or use the razor method to cut your fur of you’ll have choppy bits.
- use a metal comb for brushing to avoid static, but nothing as dense as a flea comb or you’ll lose too much fibre.
- keep different colours and different stages of prepared wigs seperate in baggies to avoid fibres getting everywhere.
- faux fur can be hand washed and I recommend it if your fabric is musty or needs conditioning with fabric sftener before ironing out kinks but it can lose it’s starch which makes tracing and cutting a little trickier
- use gloves or thimbles if hand sewing as you will get blisters from repetitive sewing through dense fabric