 If you do not have the exact same glue, do not follow the same instructions or wait times.
- Watering down your glue may lead to the flocking dripping off your doll’s head slowly if it isn’t a quick drying glue

- Whatever glue you use make sure that it is solid enough to not ooze. Brush it on then use something flat like a card to make sure the glue isn’t thicker in parts then let it get a little bit tacky before putting on your flocking.
If you use your fingers to tap down the flocking be very, very gentle as you’ll just push around the flocking which leaves thick and thin bits.
Waiting an hour with white school glue was not long enough., I went to brush off the flock and made a mess. If in doubt, wait overnight.
You may have to try this multiple times before you get it right so you won’t have the luxury of not collecting up the un-used flocking for re-use
- Don’t use a plate, use a box with nice pointy corners or collecting your flock for re-use will be difficult. Using paper that you then fold to pour out the flock might seem like a smart idea but don’t underestimate the power of flock to go flying all over the place if you so much as breathe wrong.
- Make sure to look through the flock for any particules that might have gotten in and remove that with tweezers.
Flocking a flexible head is different from flocking a hard head (such as vintage male dolls, integrity toys or ball jointed dolls)
- The edges will probably come unstuck if you have to manipulate the head and depending on the style it may not withstand transport in a bubble enveloppe.
- You will want to reroot first then apply masking tape while flocking as the hair roots may absorb glue if they are a porous fibre.

Different flockings will act differently so following a tutorial made for X flock may not work for what you have in mind for your doll.
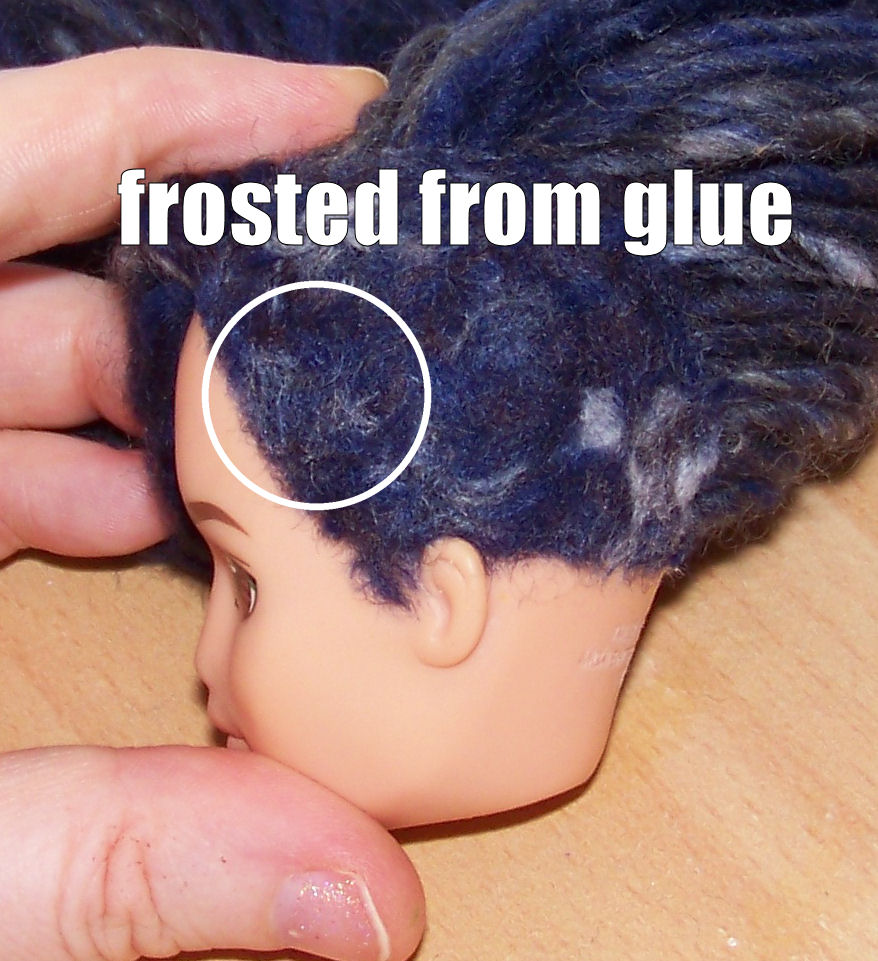
- The wool flock I used went white and crunchy when using multiple layers because it absorbed the glue too well so it was easier to gently apply extra wool to thin spots by hand bit by bit.
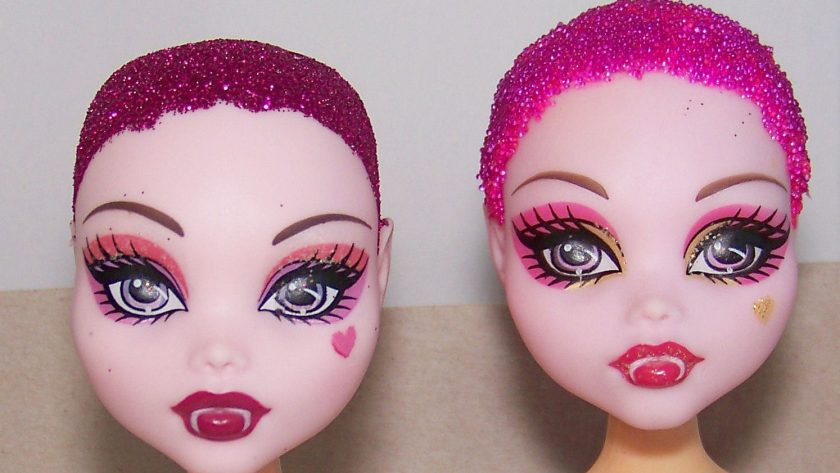
- The glitter became dulled and grey where the glue was too thick. Also some glitters or flock made from chopped ribbon will bleed colour when mixed in non water based glues. (This can stain your doll)

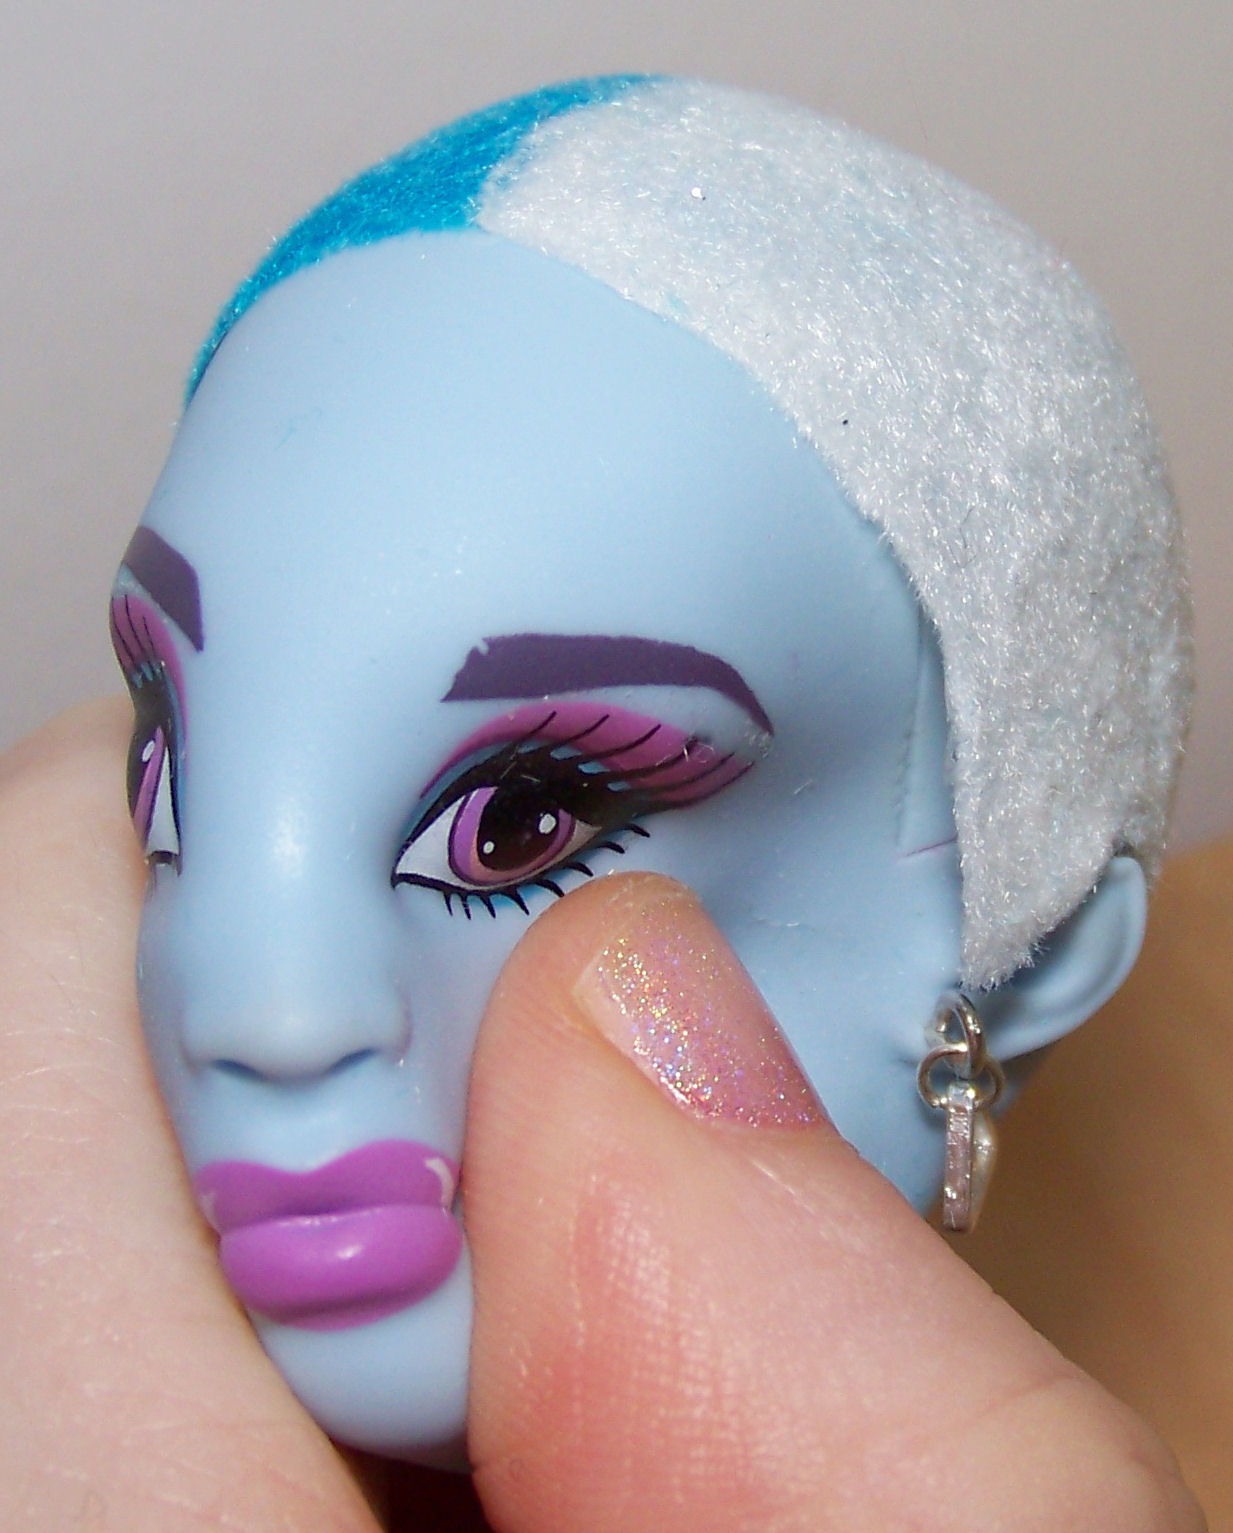
- Velvet flock usually needs multiple layers to look good.
- The flock they sell in doll restoration shops is often finely chopped doll hair so you can make your own to match the exact colour of the reroot.
Extra stuff
- If using masking tape, you need to remove it while the glue is still a bit wet or you’ll tear your new flocking which has a paperlike quality

- scale matters! the flock that creates a fuzzy look on a small ken head may make a larger doll look near bald. Are you going for a shaved look or a pixie cut look?

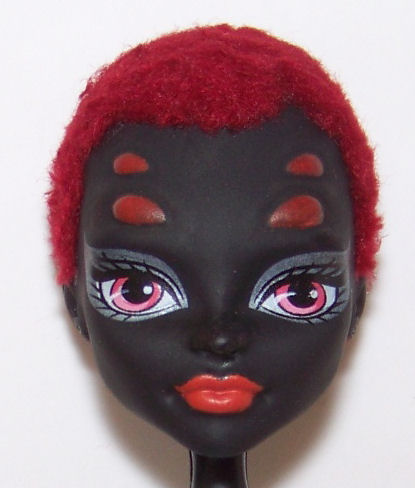
- You can work with chopped wool or mohair for a fluffier look and trim any excess with tiny scissors
- Flocking is too delicate to serve as a wig: you’ll want to create a hard wig cap then flock that or create something fairly solid (and bulky) with silicone glue or caulk.
- The amount of microbeads/nail caviar contained in a small vial such as those in 12 colour sets (barely 1g) is not nearly enough for a Monster High sized head and microbeads get embedded in the rooting holes and take quite some scrubbing out if you change your mind or mess it up.


- paint the scalp if you’re using translucent microbeads as it’ll look patchy no matter how many layers you add